Disclosure: Some of the links below are affiliate links, meaning that at no additional cost to you, I will receive a commission if you click through and make a purchase. For more information, read our full affiliate disclosure here.
Great graphic design is the secret super power behind many content creators. However, for many content creators, graphic design is either too time consuming to tackle or too expensive when outsourced to professional designers. Luckily, Canva has made creating your own custom designs much easier. In this tutorial, our team of design experts will cover how to turn a presentation into a video, in Canva. This has many useful applications. Content creators can turn ordinary presentations into courses, webinars, or narrated educational material.
How to Turn a Presentation into a Video in Canva
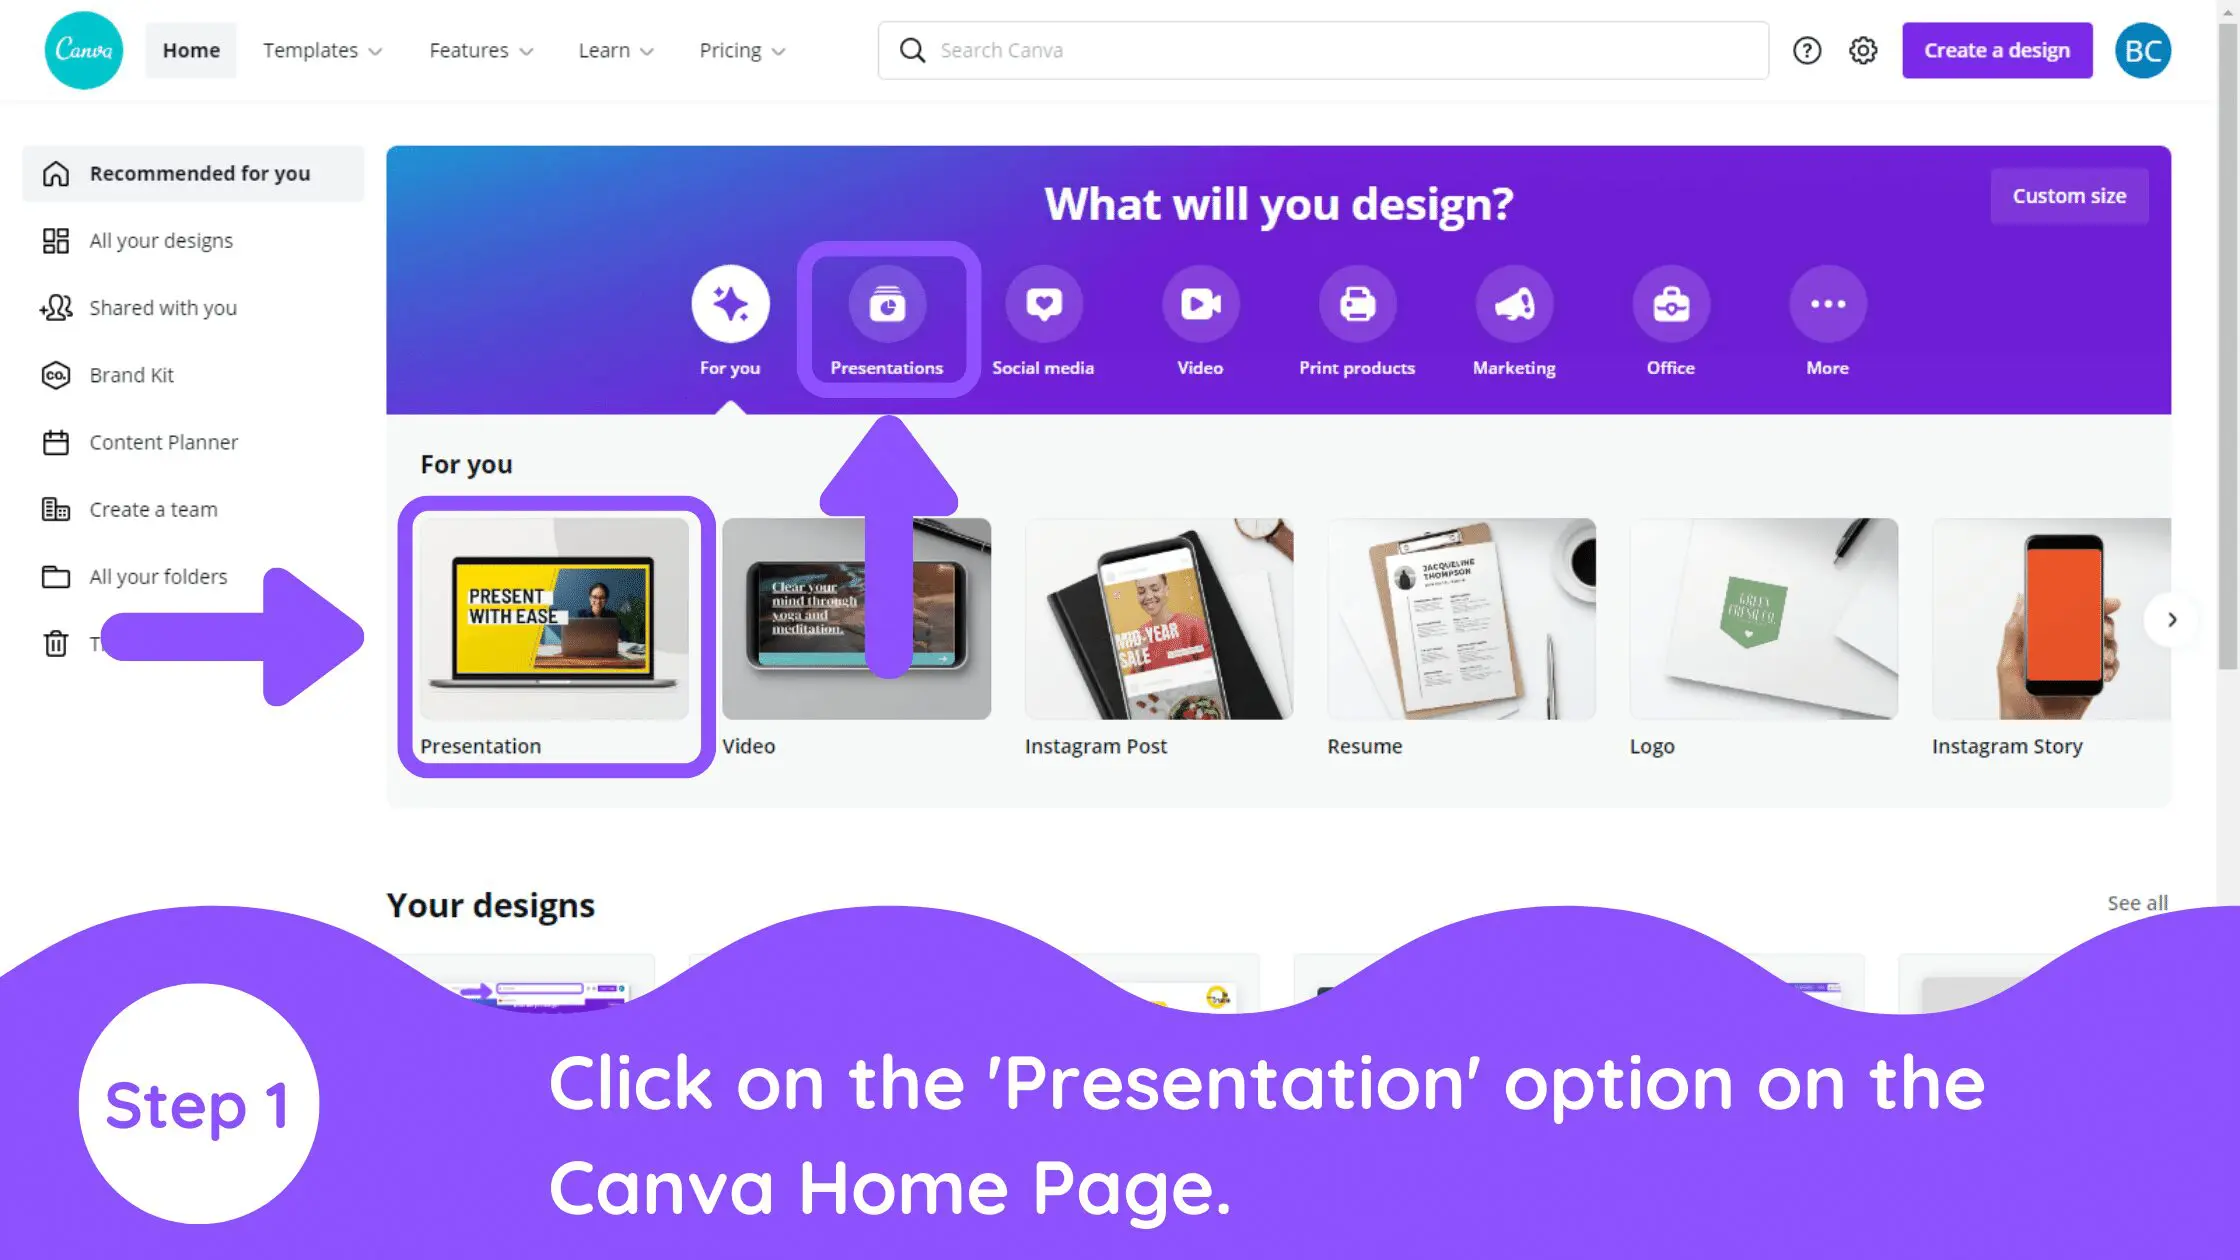
1. Click on Presentation Option on Canva’s Homepage
Go to the Canva homepage and search for ‘Presentation’. This will allow you to see so many ready-to-use templates. Some of the templates are free while others are for ‘Pro’ users only. You can use this link to get a free 30 day trial of Canva Pro!
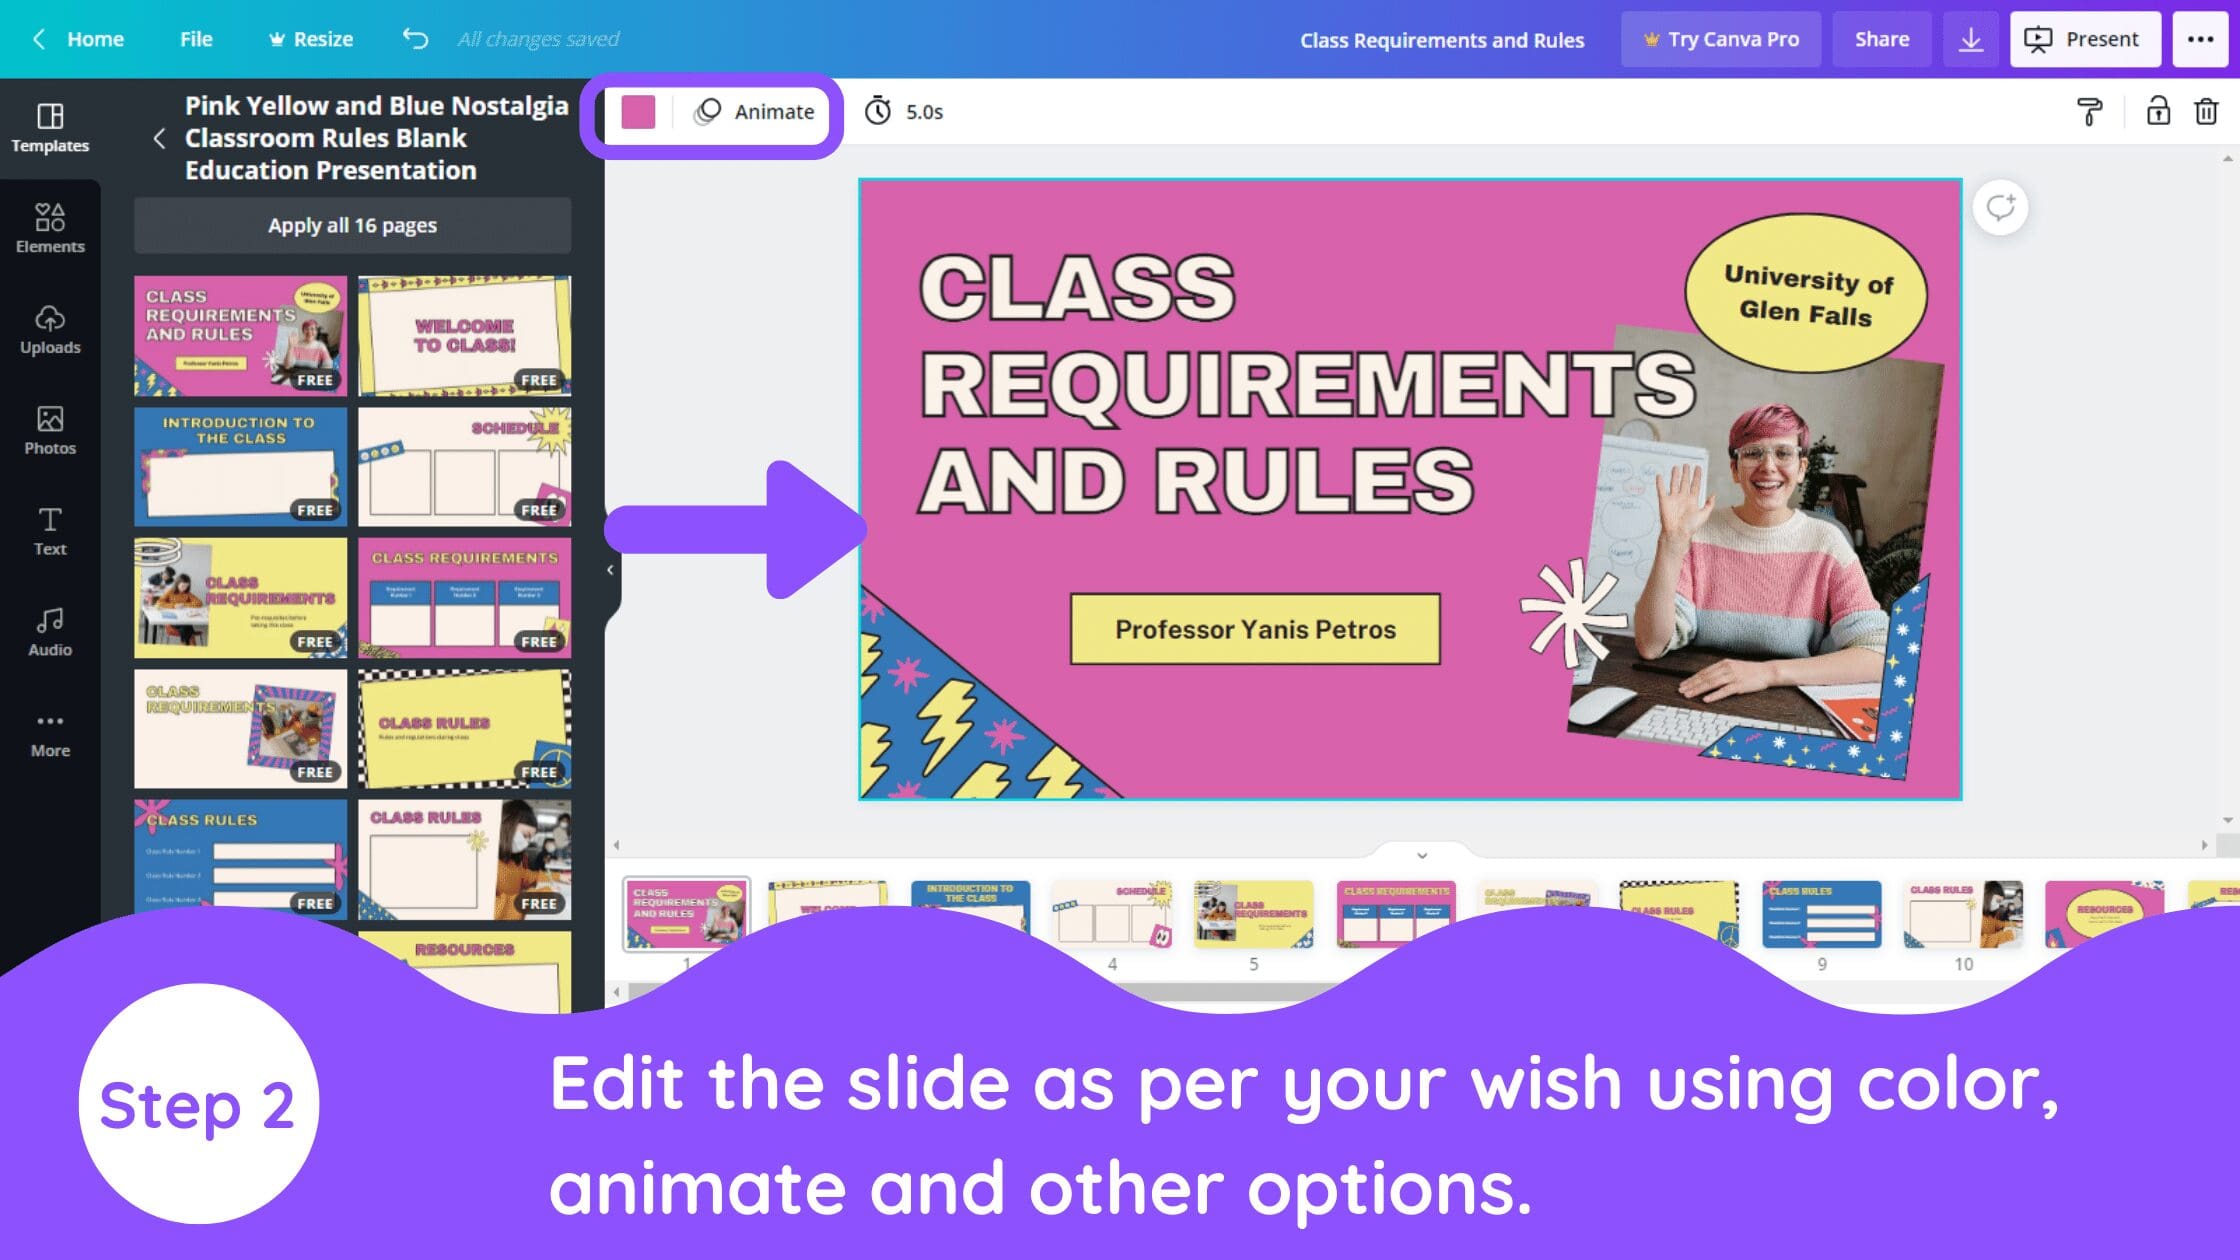
2. Edit Slides
Let’s say we are making for an aesthetic mood board for your traveling photography business. All you need to do is select the appropriate mood board template for it. You can also choose any of the templates and customize them according to your requirements.
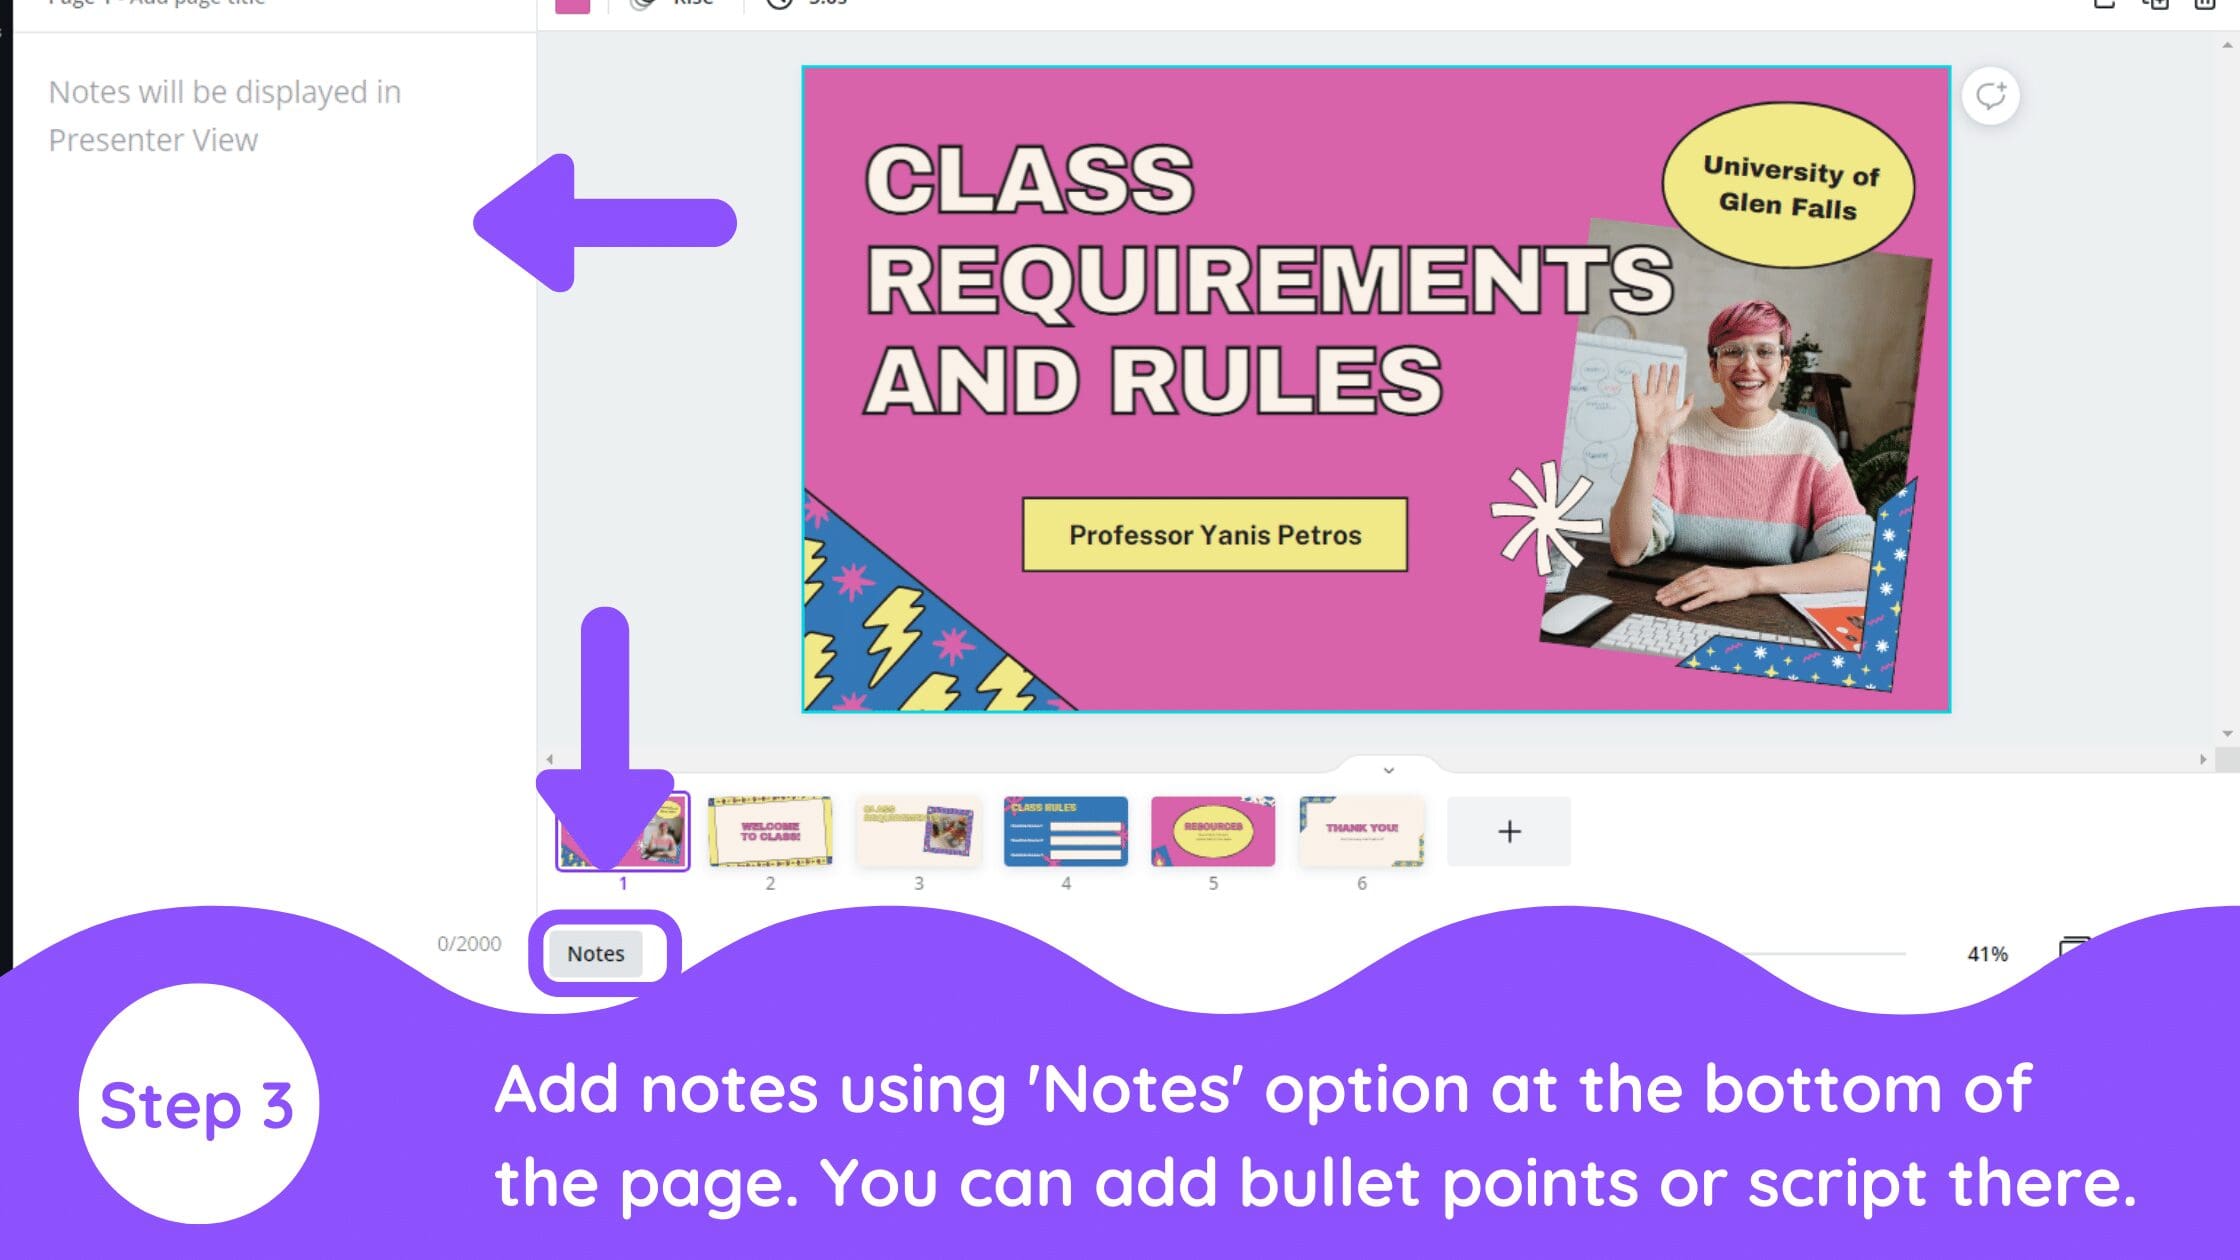
3. Add Presentation Notes
Once you are happy with your presentation, you can also add notes at the bottom of the page. You can add important bullet points or the script in the notes. It will help you to remember the important things while presenting it.
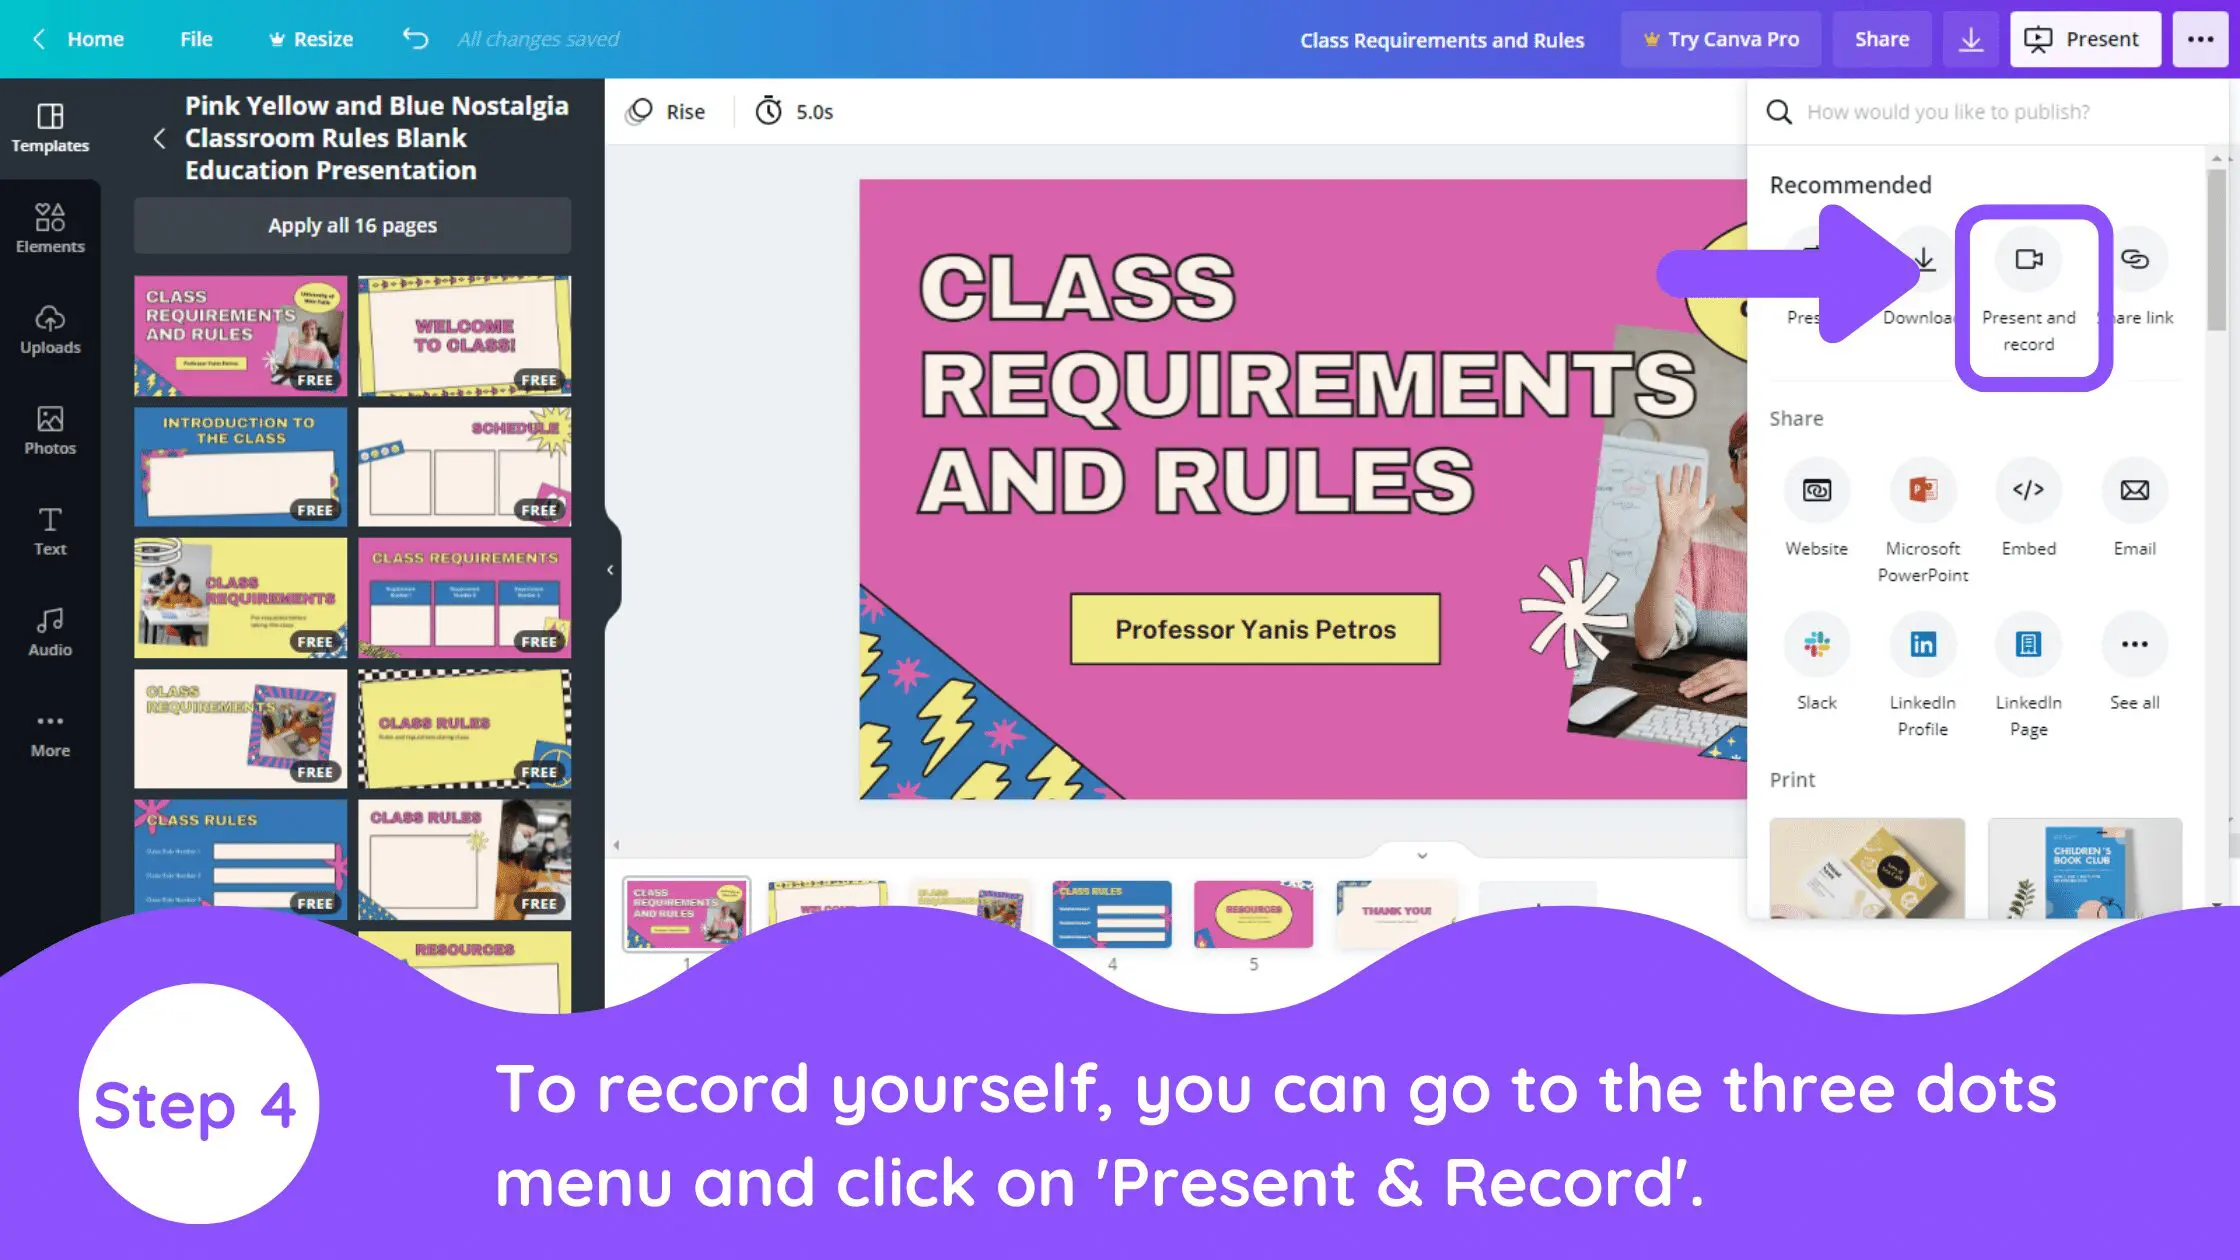
4. Use Present and Record Feature
After adding the notes, your presentation is ready to record. So all you need to do is go to the three dots menu and select ‘Present & Record’.
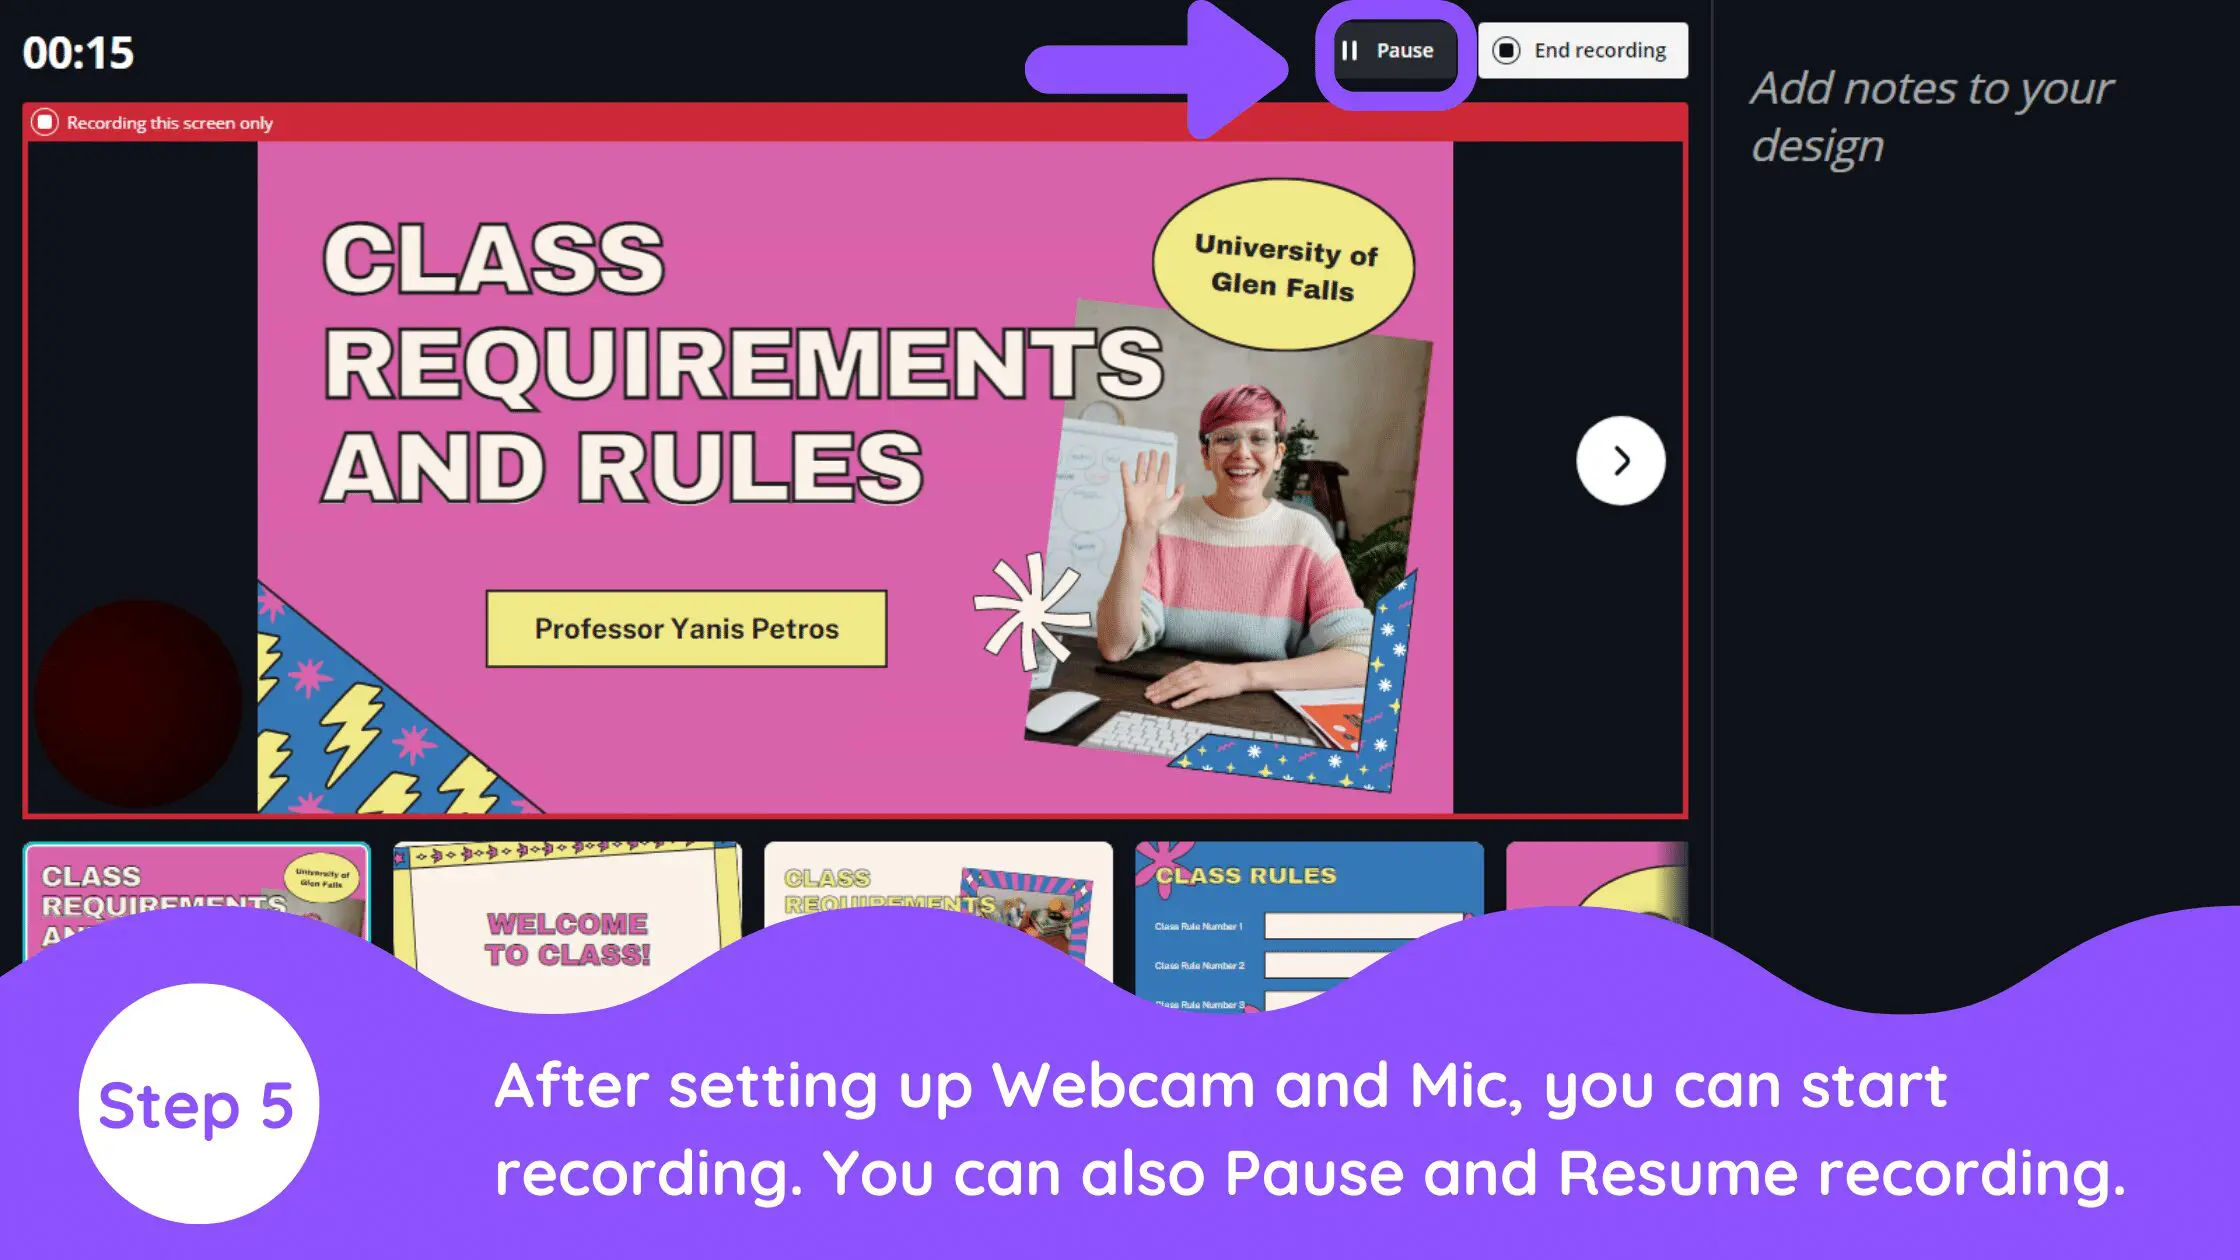
5. Activate Webcam or Microphone
You can also ‘Pause’ and ‘Resume’ your recording in case you want to move from the WebCam. This will record your screen and yourself in the circular webcam at the bottom of the page.
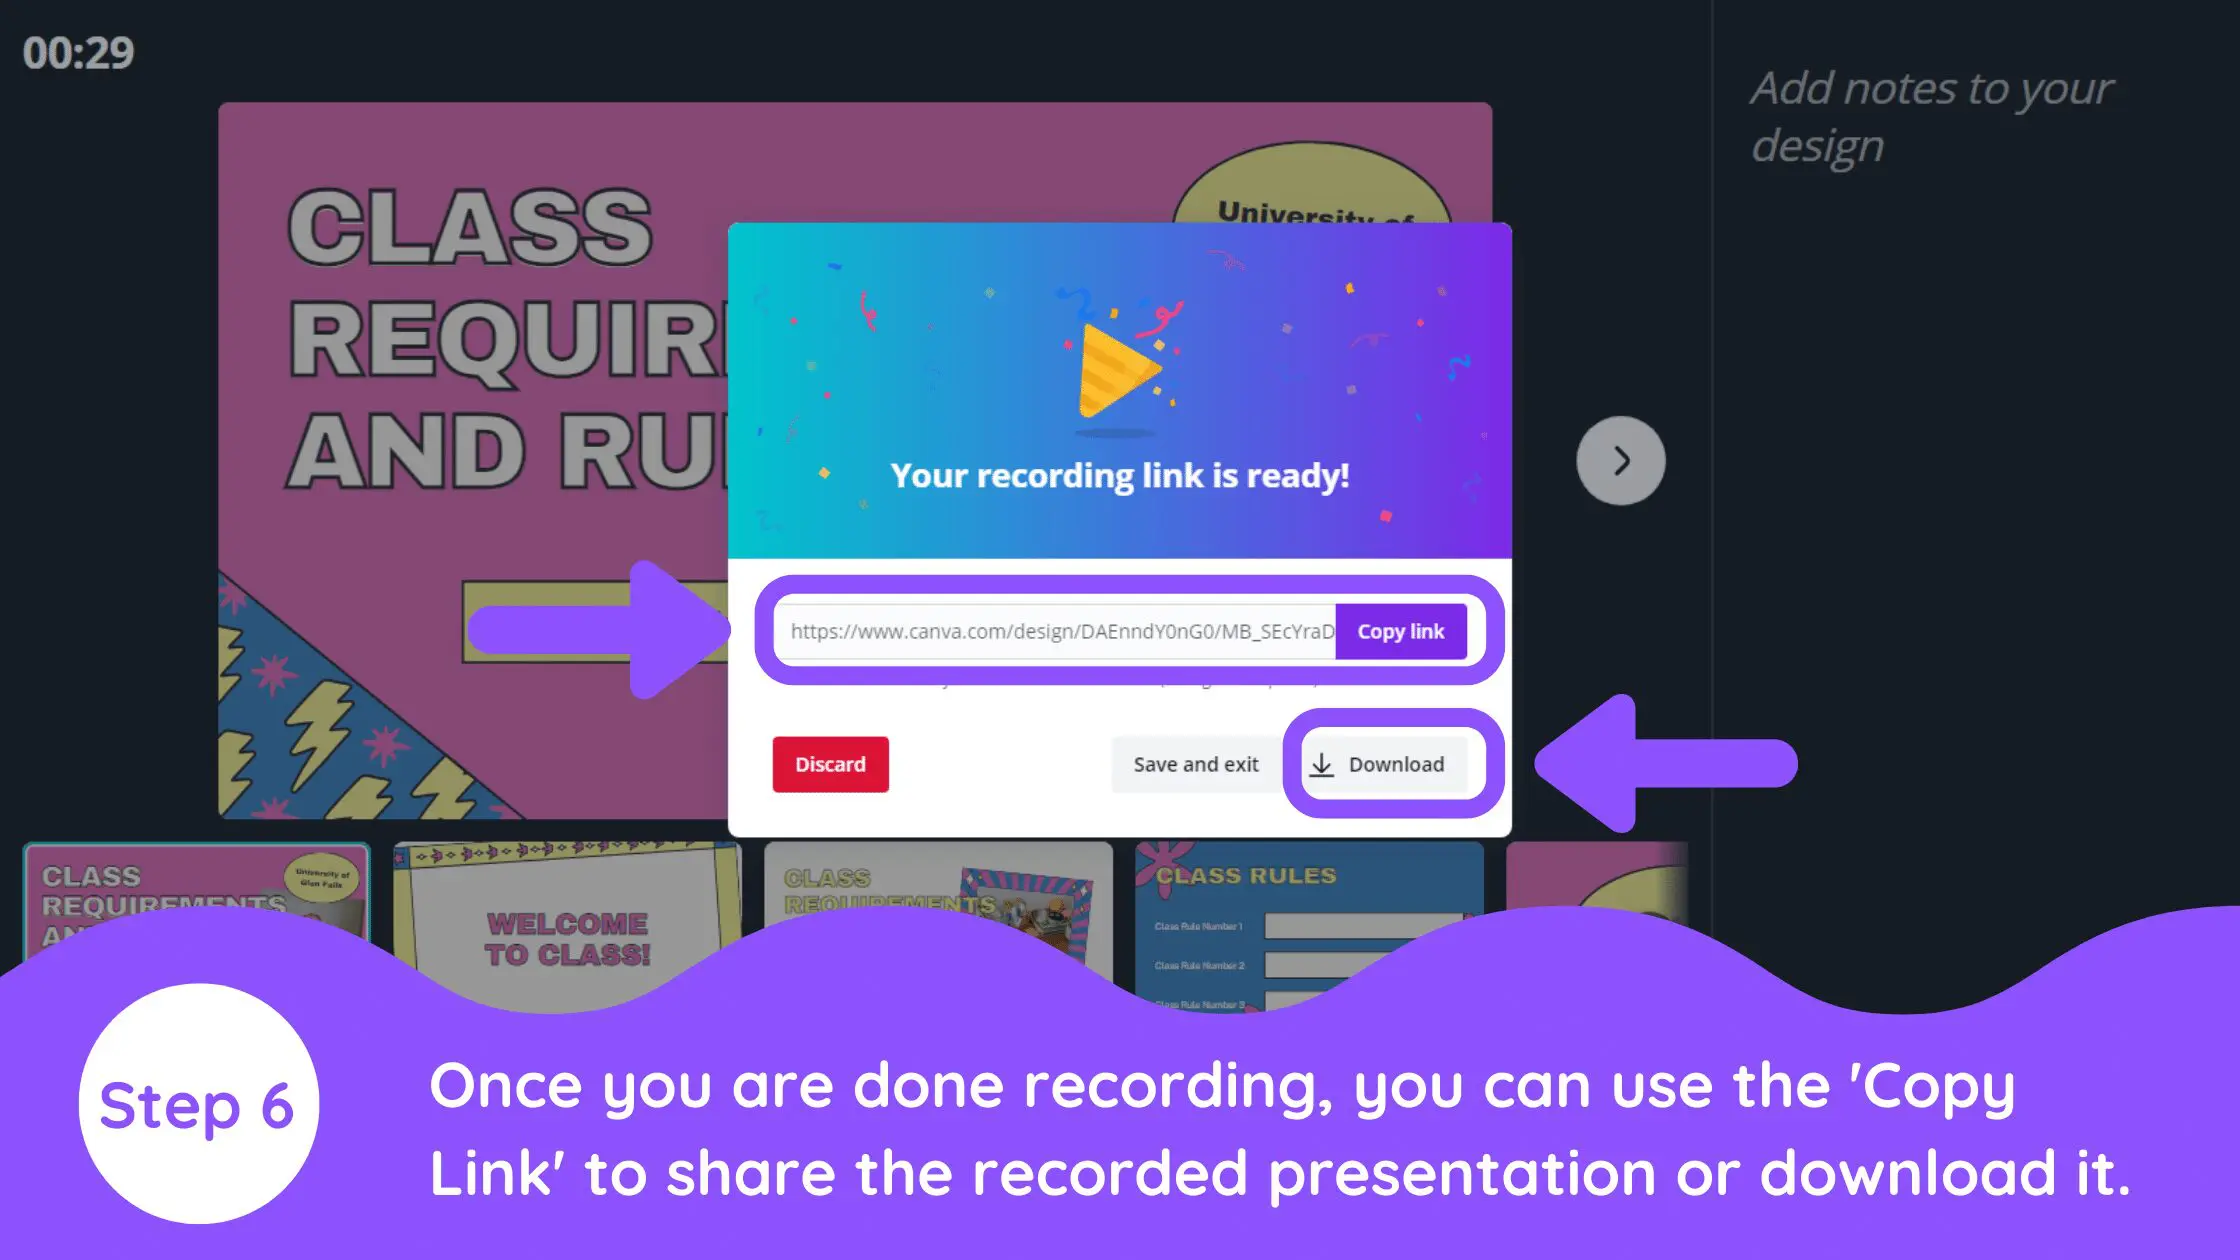
6. Share Link or Download Video
After recording, you can use the ‘Copy Link’ option to get a sharable link. You can also download the recorded presentation. You can use a shareable link in emails or directly send the downloaded recording.
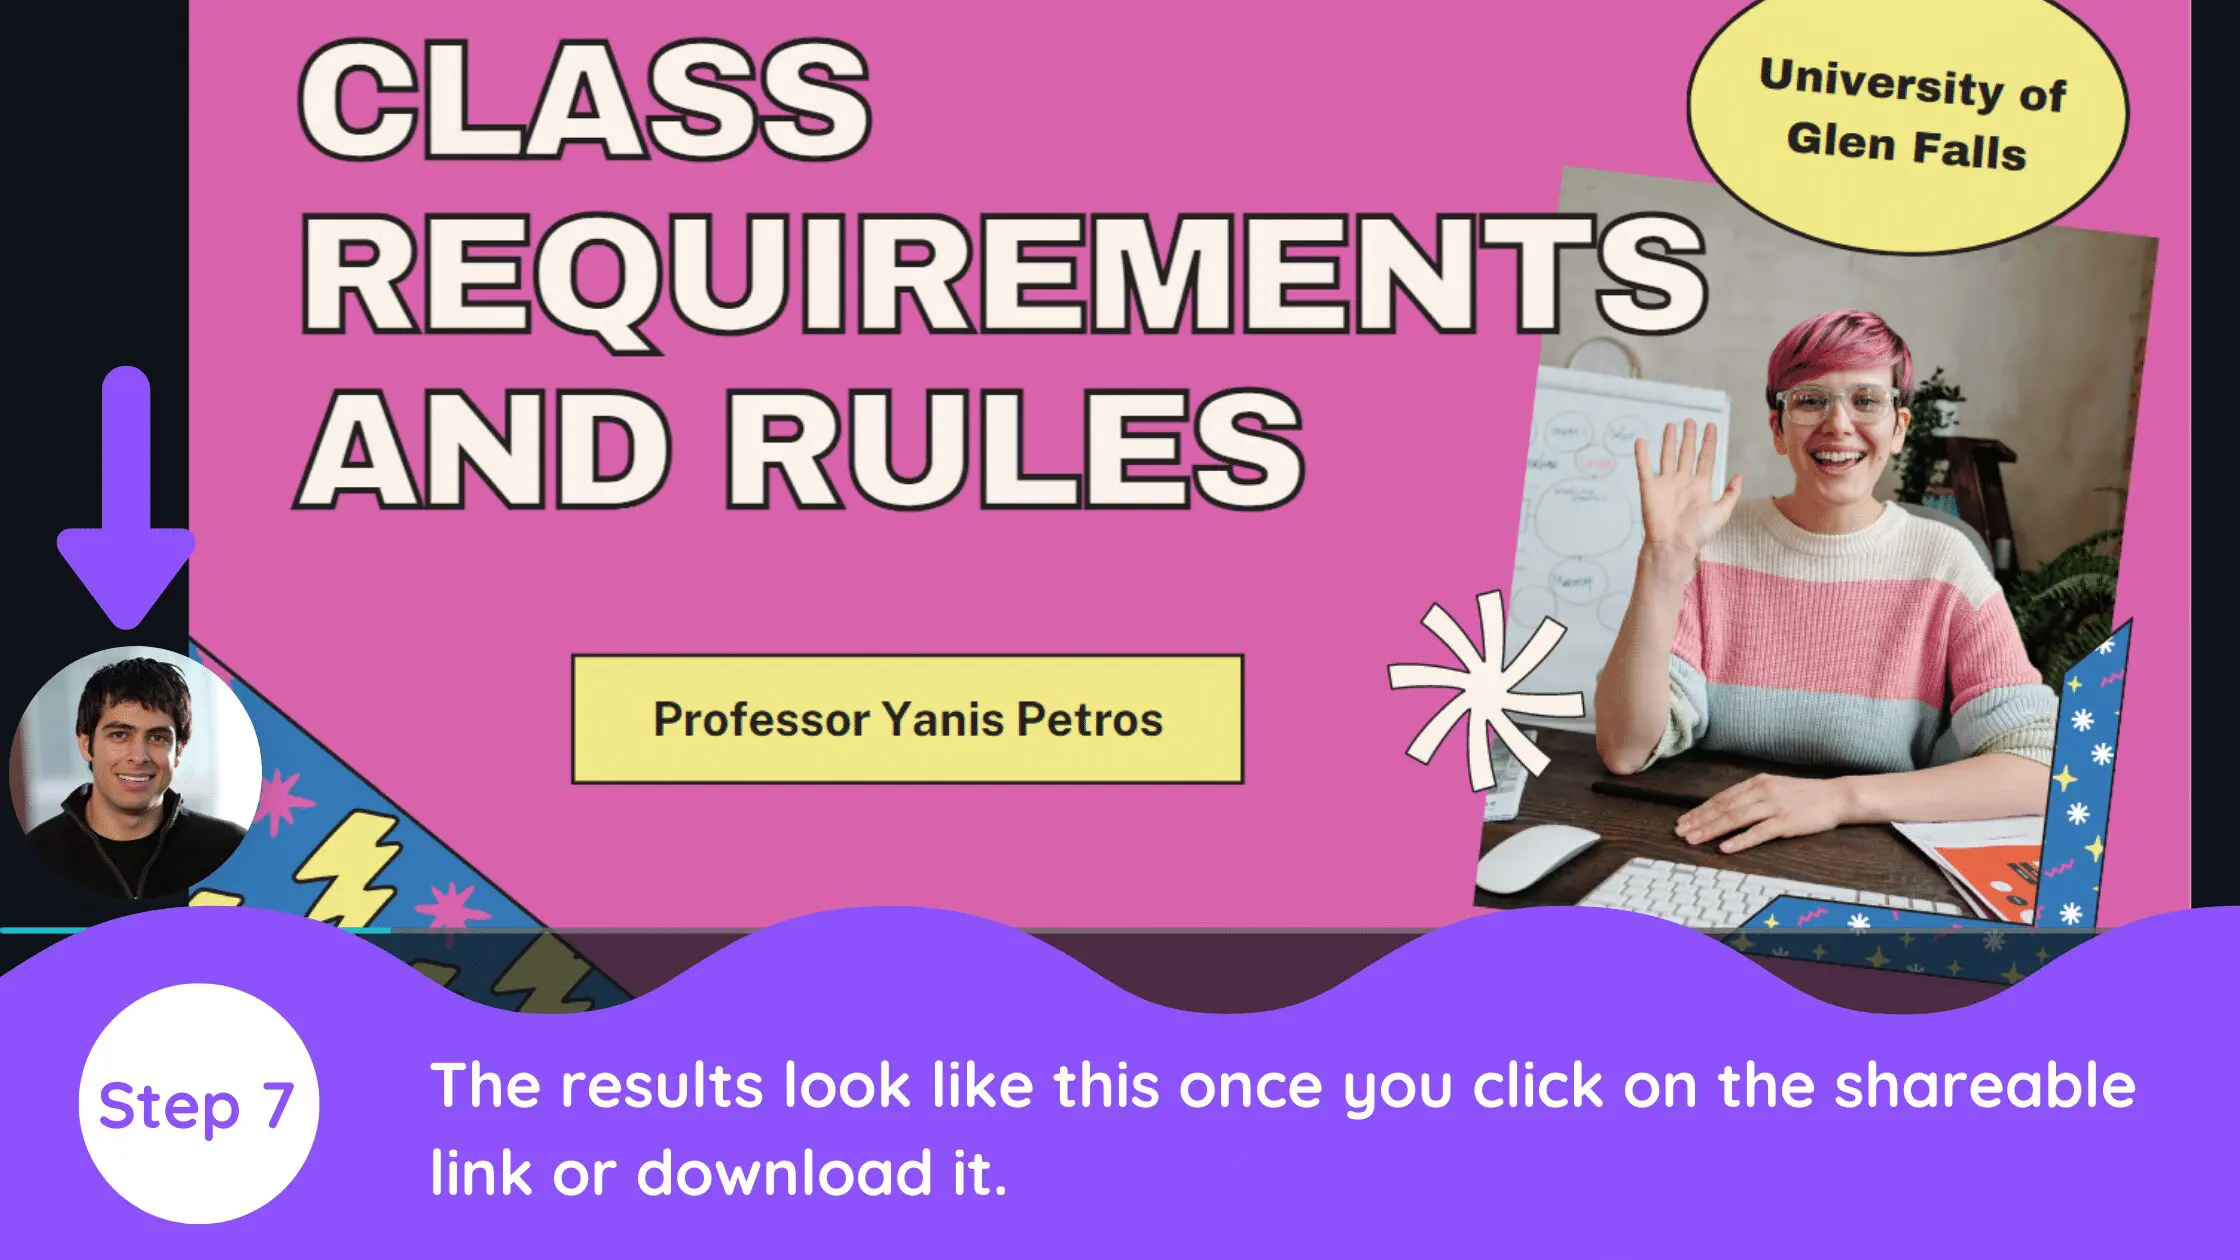
7. View Final Product (with You Face Appearing in the Circular Cam)
The results will look as shown below. You can see yourself in the circular cam at the bottom corner of the page.
Conclusion
Canva is an amazing graphic design tool, and I hope you found this tutorial covering how to turn a presentation into a video in Canva, useful! Click here to read our comprehensive Canva Guide. If you haven’t tried CanvaPro, click here to try it for free for 30 days through our exclusive offer! Below are several related Canva tutorials that you might find useful.
