How to Create a Textured Vintage Photo Effect in Canva

Written by Casey Botticello
Disclosure: Some of the links below are affiliate links, meaning that at no additional cost to you, I will receive a commission if you click through and make a purchase. For more information, read our full affiliate disclosure here.
How to Create a Textured Vintage Photo Effect in Canva
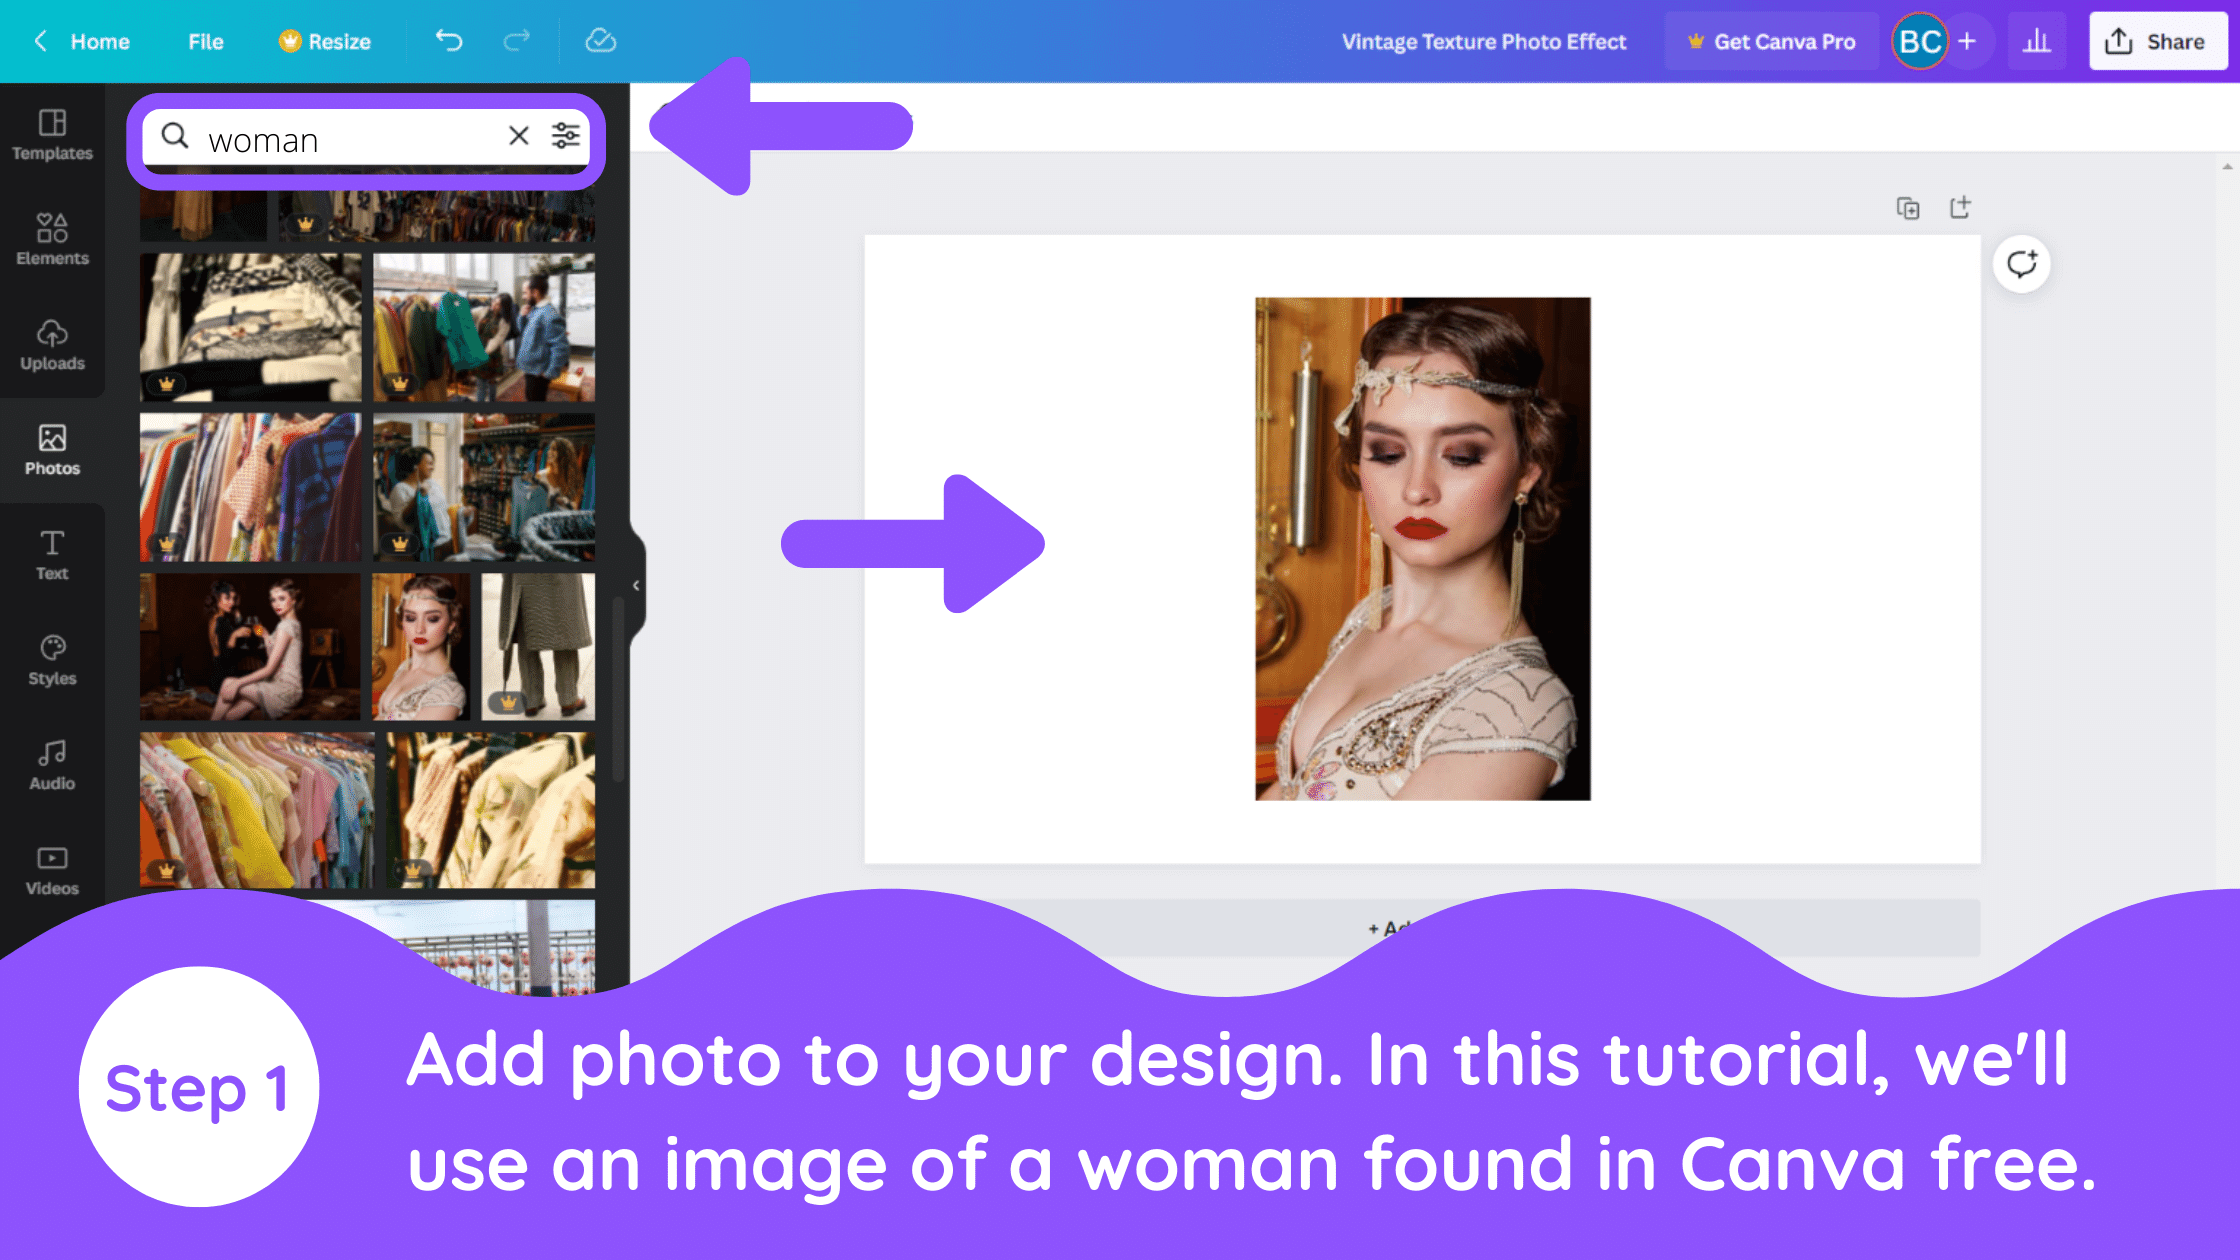
1. Add Your Desired Photo
The first step in creating a textured vintage photo effect in Canva is to add your original image. This can be any “modern” image (although, the effect may not work as well with ultra modern images).

2. Apply Duotone Option Coral
Go to ‘Edit Image’ and look for an option – DuoTone and select the ‘Coral’ option.

3. Adjust Duotone Highlight and Shadows
Go to the settings of the Coral Duotone and change the following colors
- Highlights – F7E8D4
- Shadow Color – Black

4. Duplicate Image & Add Frame
Now duplicate the page and search for the ‘Placeholder Frame Background’.

5. Insert Image Into Frame
Insert your edited image into the distressed frame.

6. Add Black Paper Background
Next, add a second frame. Search for the ‘Black Paper Background’ in the elements. Now adjust the image following these settings in the ‘Edit Image’ section.
- Brightness – 5
- Contrast – 5
- Saturation – 100
- Blur – -5
- Clarity – 3
- Highlights – -100
- Shadow – 100

7. Place Paper Background Over the Image Frame
Place the paper background on the image frame.

Conclusion
Canva is an amazing graphic design tool, and I hope you found this tutorial covering how to create a textured vintage photo effect in Canva, useful! Click here to read our comprehensive Canva Guide. If you are interested in downloading Canva or trying Canva Pro for free, click here. Below are several related Canva tutorials that you might find useful:


