How to Create The Matrix Effect in Canva

Written by Casey Botticello
Disclosure: Some of the links below are affiliate links, meaning that at no additional cost to you, I will receive a commission if you click through and make a purchase. For more information, read our full affiliate disclosure here.
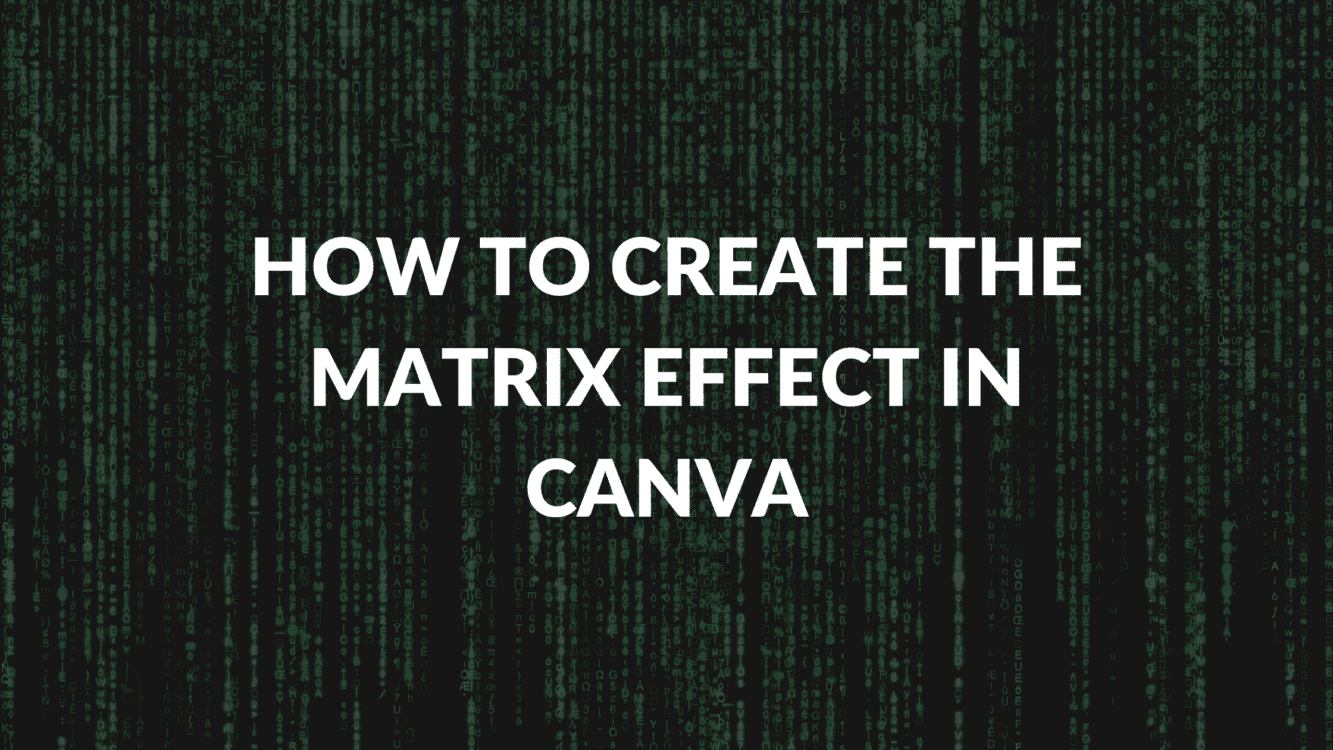
One of the most enduring icons/images from cinema in the past 20 years is the digital rain or Matrix code, which is seen in The Matrix Series. The falling green code is a way of representing the activity of the simulated reality environment of the Matrix on screen by kinetic typography. Now, with just a few simple steps, you can convert any image into a Matrix like illuystration using the Leteer Mosaic effect. This guide will cover how to create the Matrix effect in Canva, in just a few simple steps!
In case you haven’t seen The Matrix, here is a sample of the iconic green code:
We will be converting the following image of a city skyline:

Steps to Create The Matrix Effect in Canva
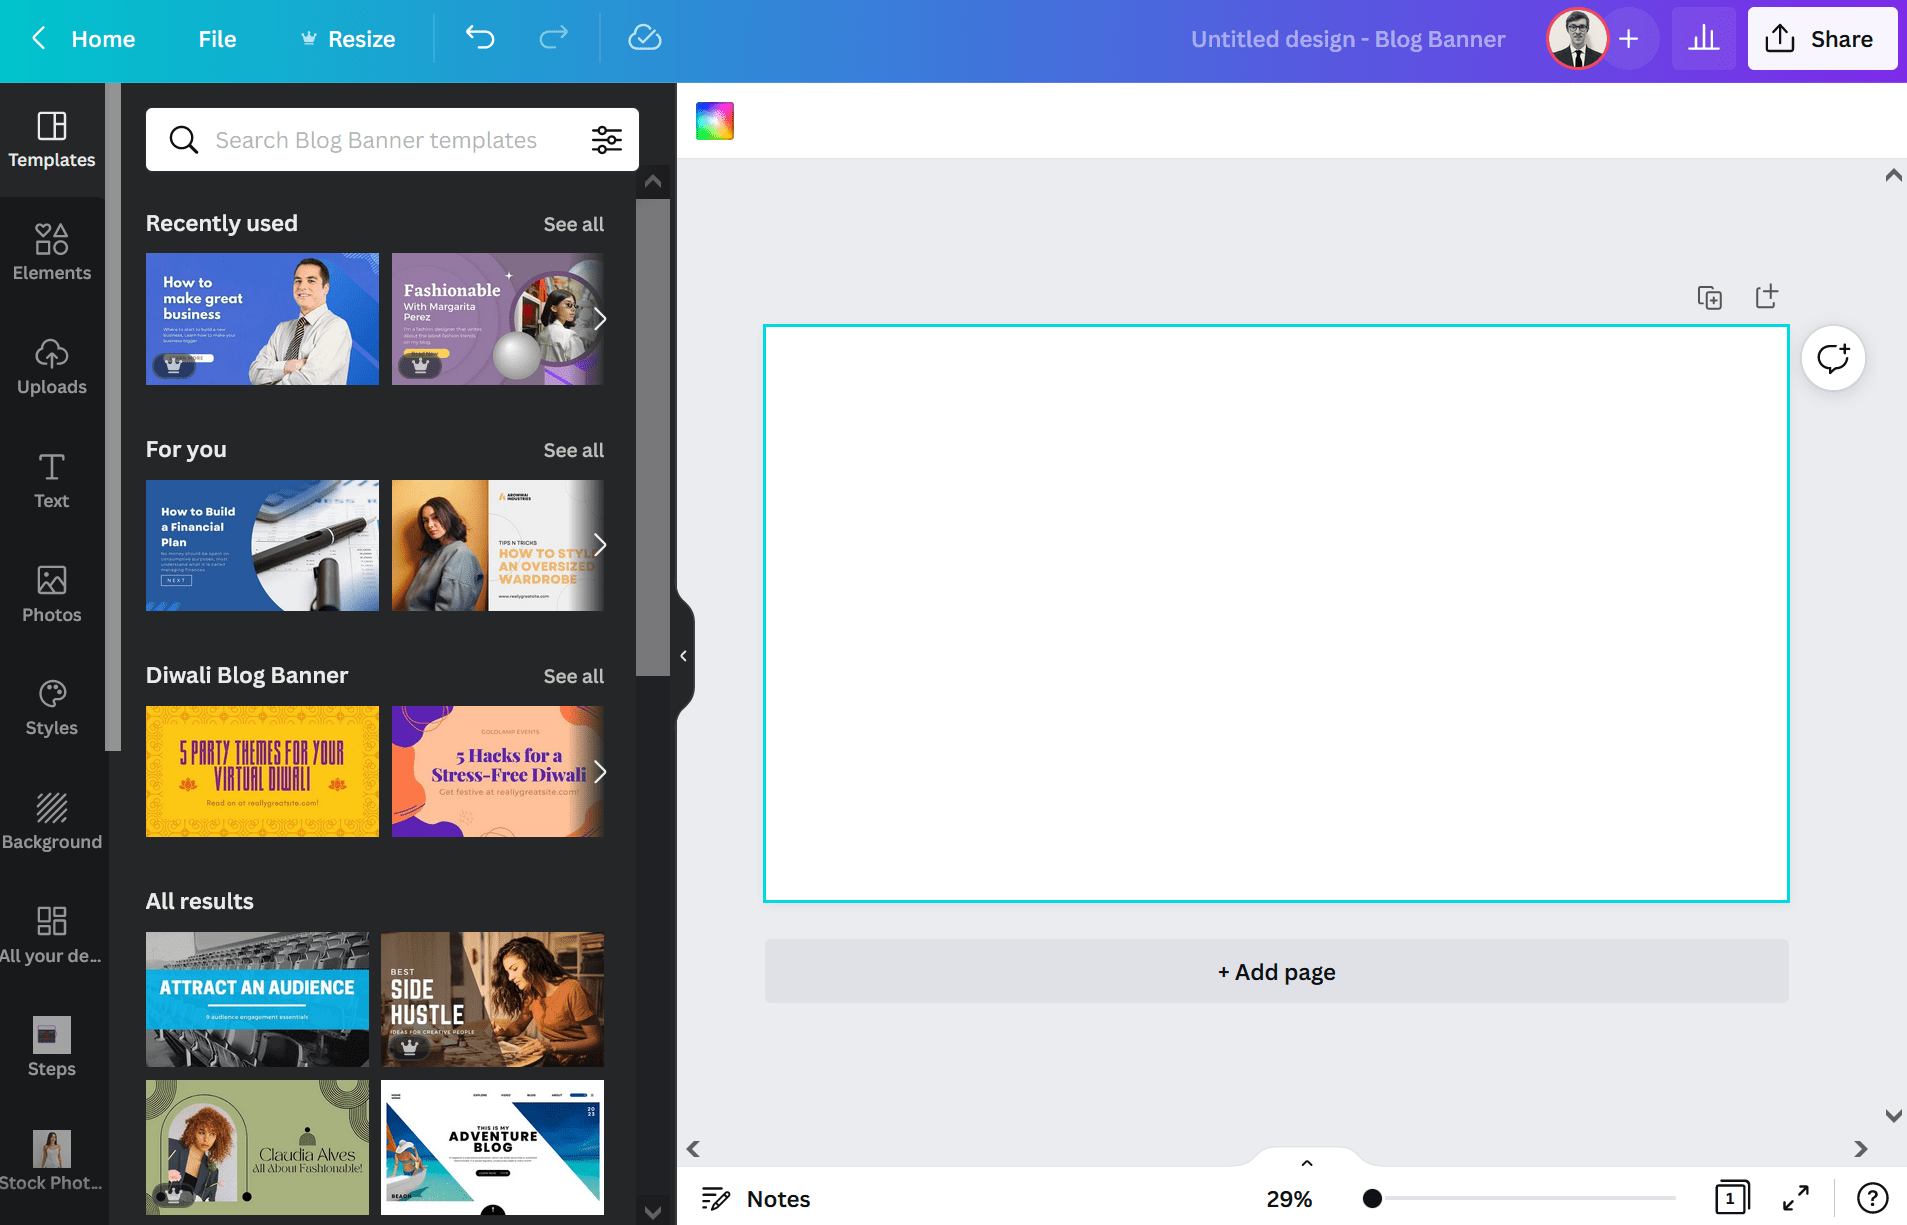
1. Open New Blank Canva Design
First, open a new design in Canva. For this tutorial, I’ll use the standard blog banner dimension pre-programmed into Canva (2240 x 1260), but this image effect will work with any size design.
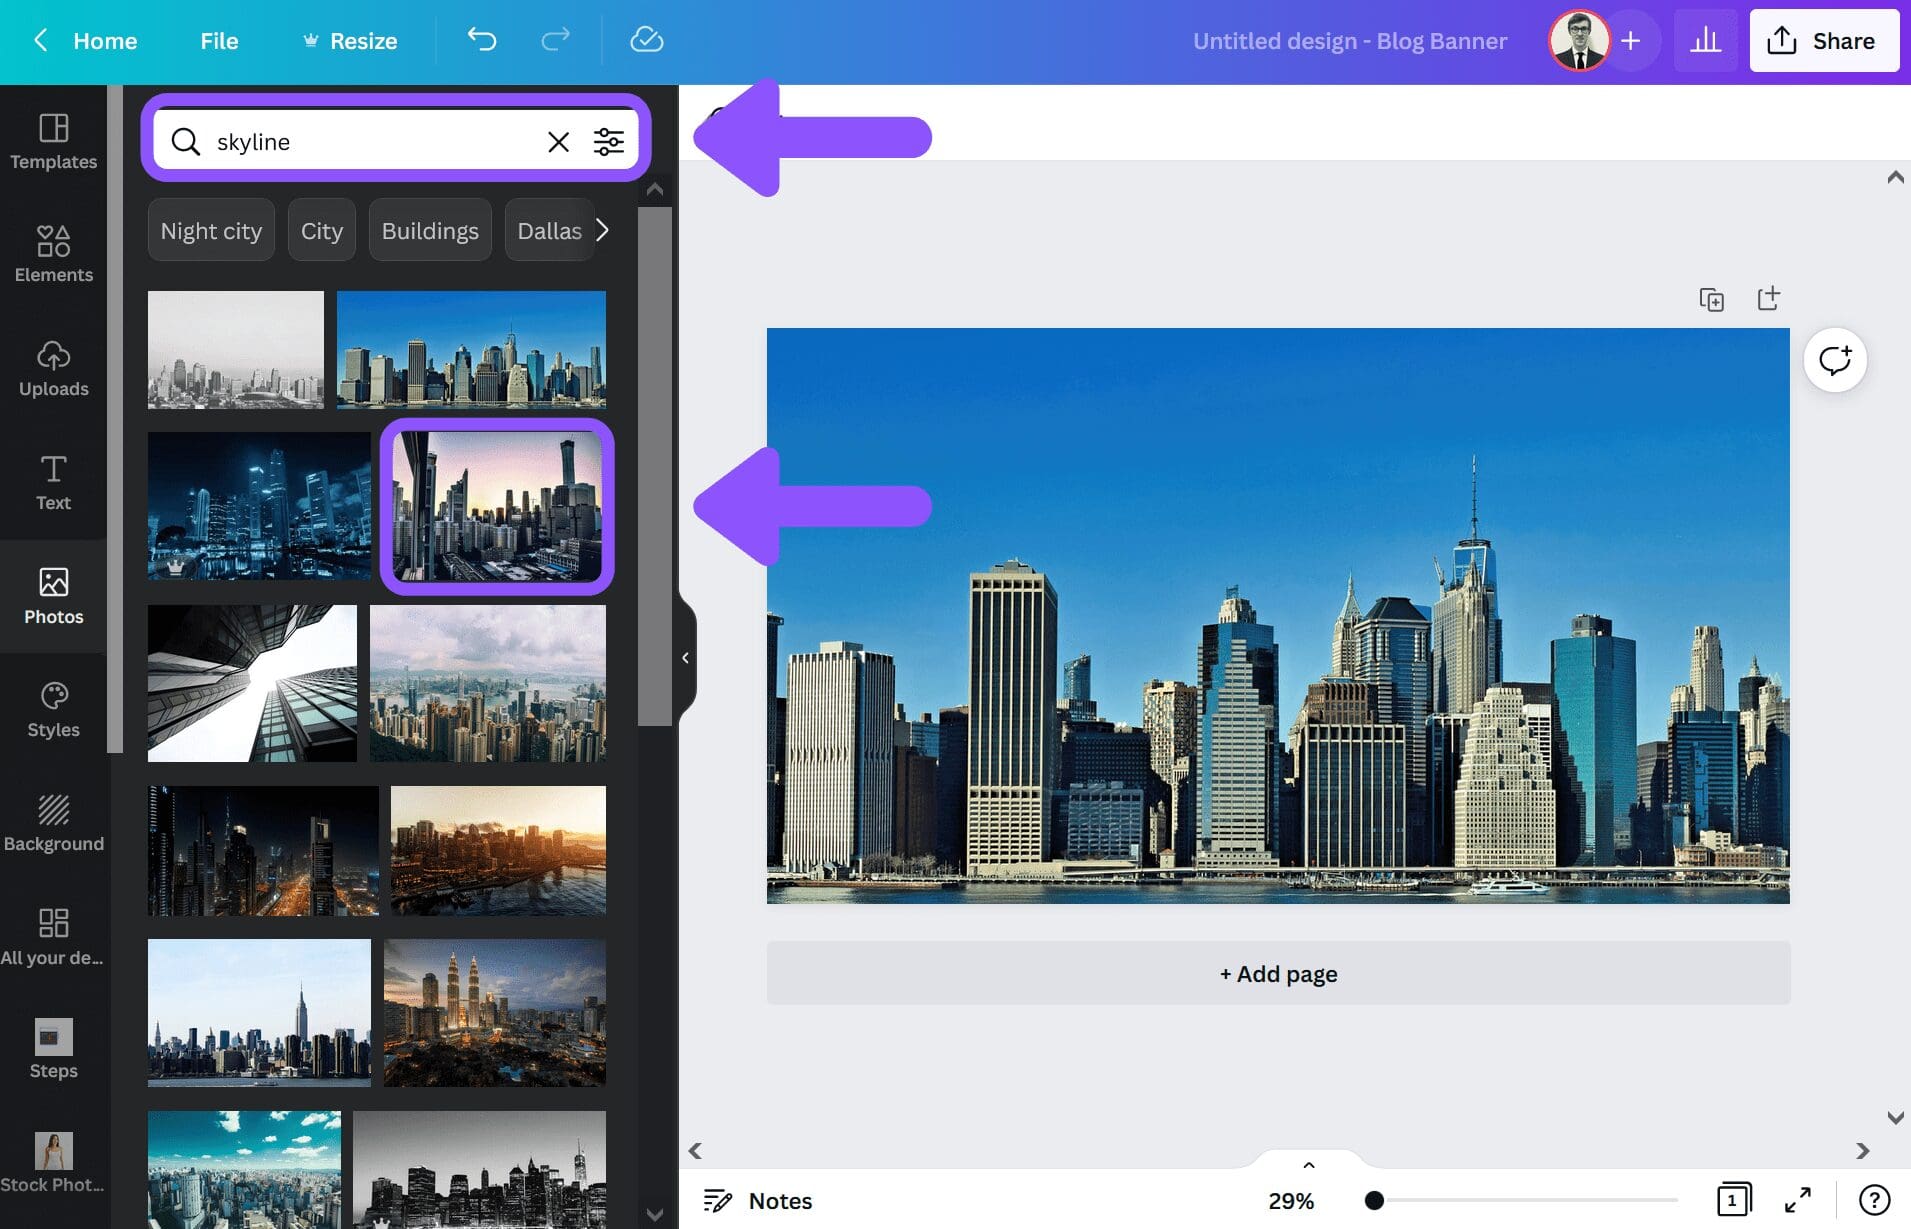
2. Choose or Import Your Image
Next, add the image that you want to edit to your design. For the purposes of this tutorial, I’ll add this image of a city skyline (which can be found in Canva, by searching under photos for “skyline“):
3. Edit Image Using Letter Mosaic Effect
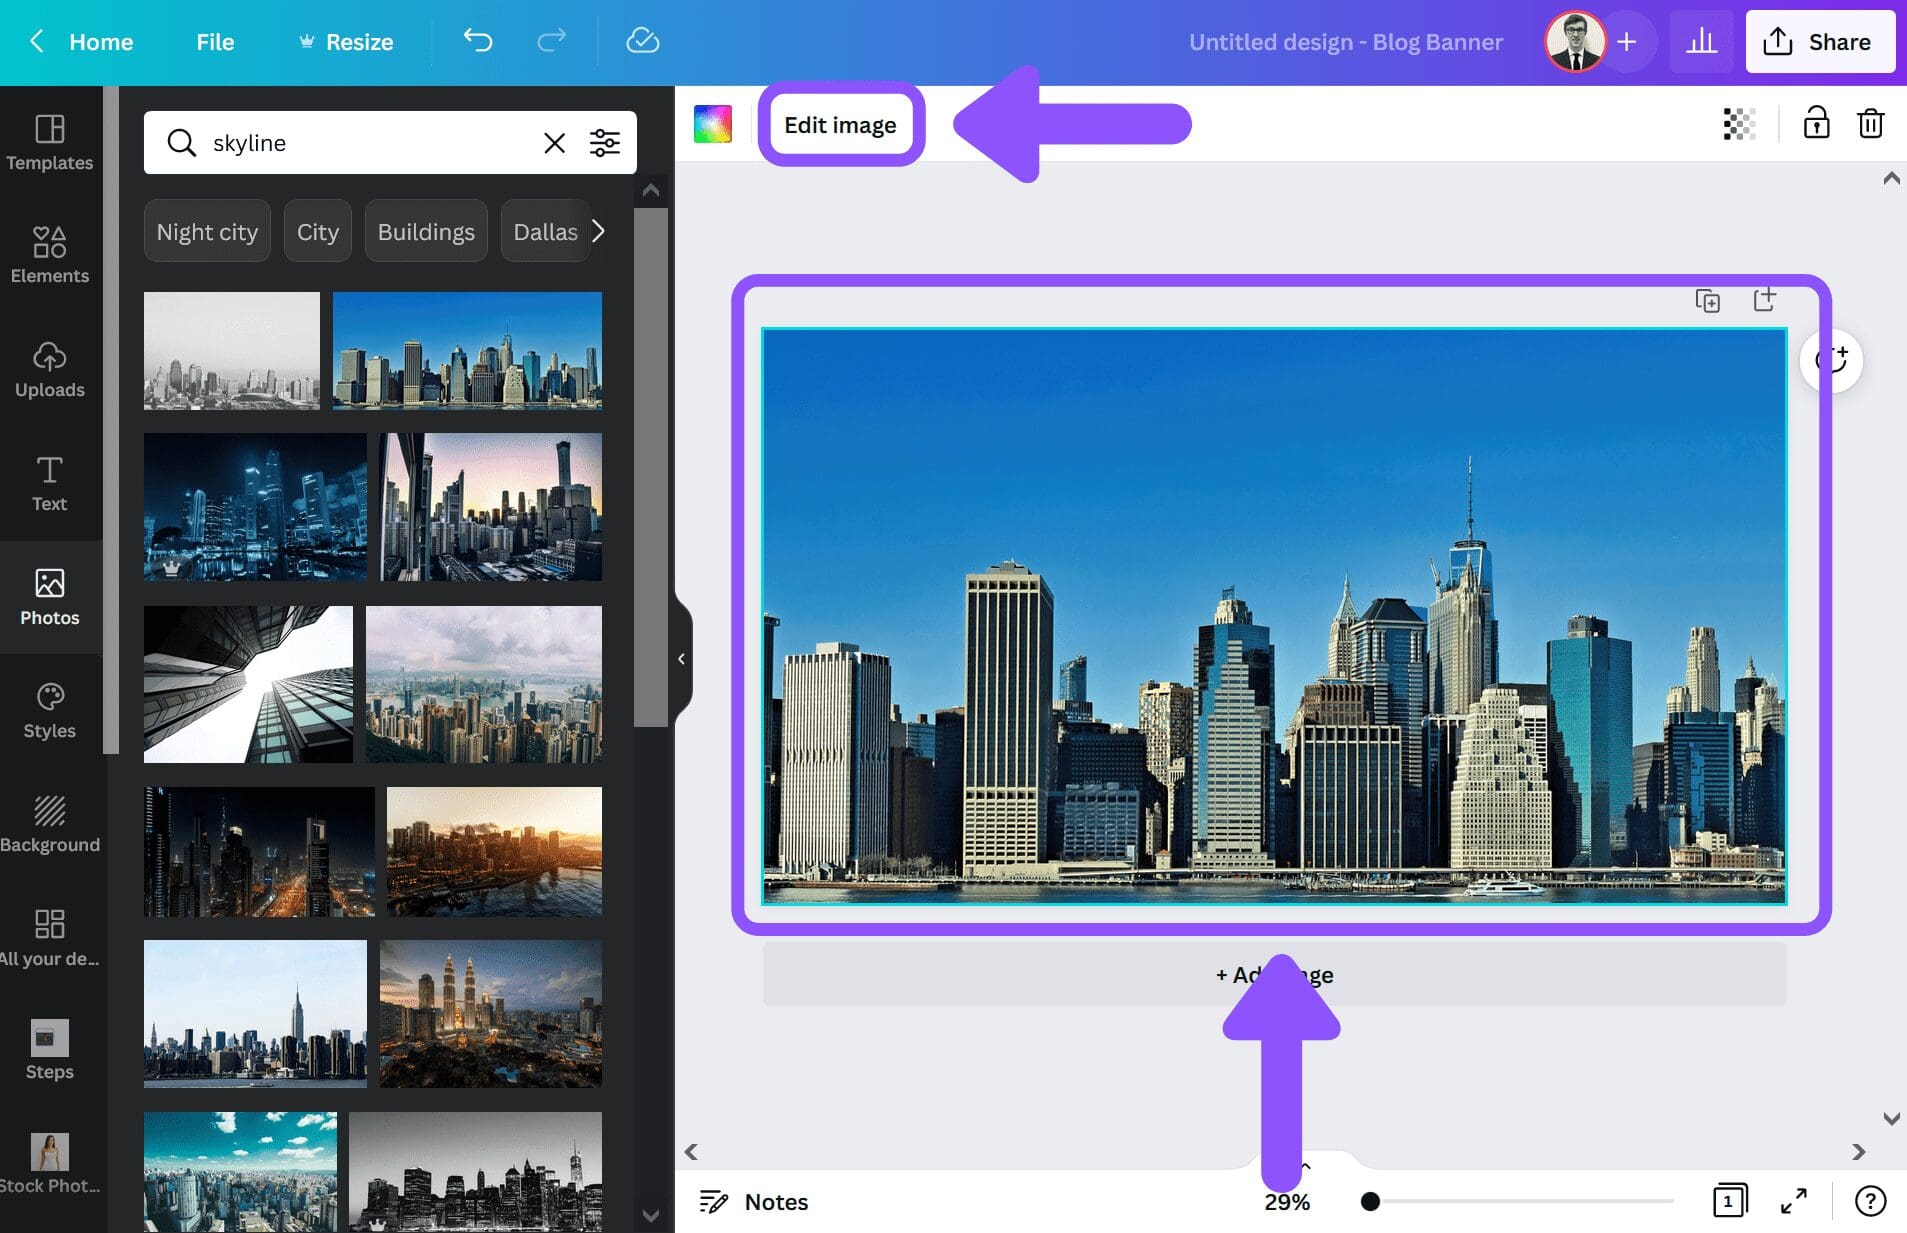
Next, click on your image. Once you click on the image, you should see an edit button appear in the top of your design toolbar:
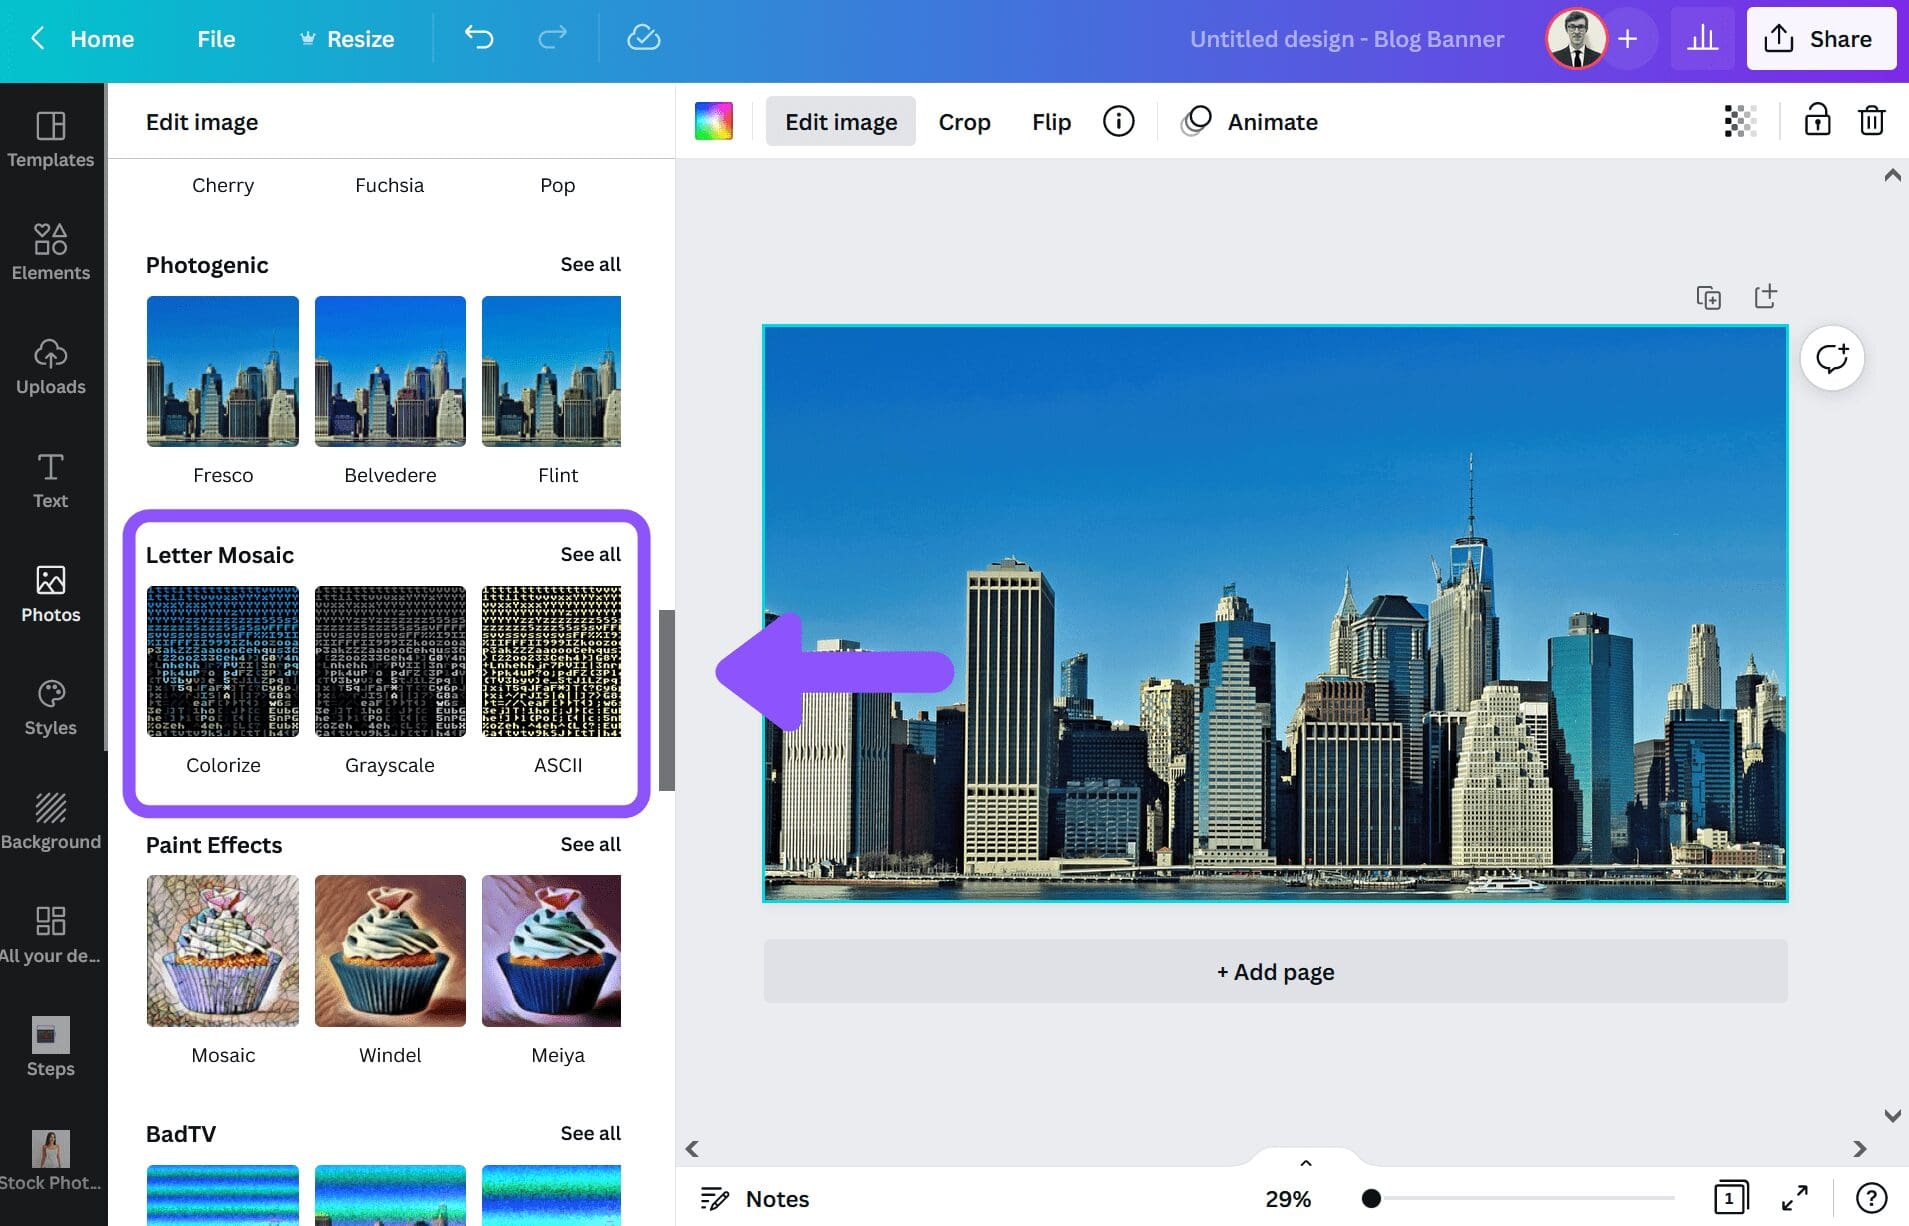
Next, click on the edit button. This will open up a menu of photo editing options on the left side of your screen. Scroll down until you see the photo effect called “Letter Mosaic” and click on the “See All” button to see all the letter mosaic effects:
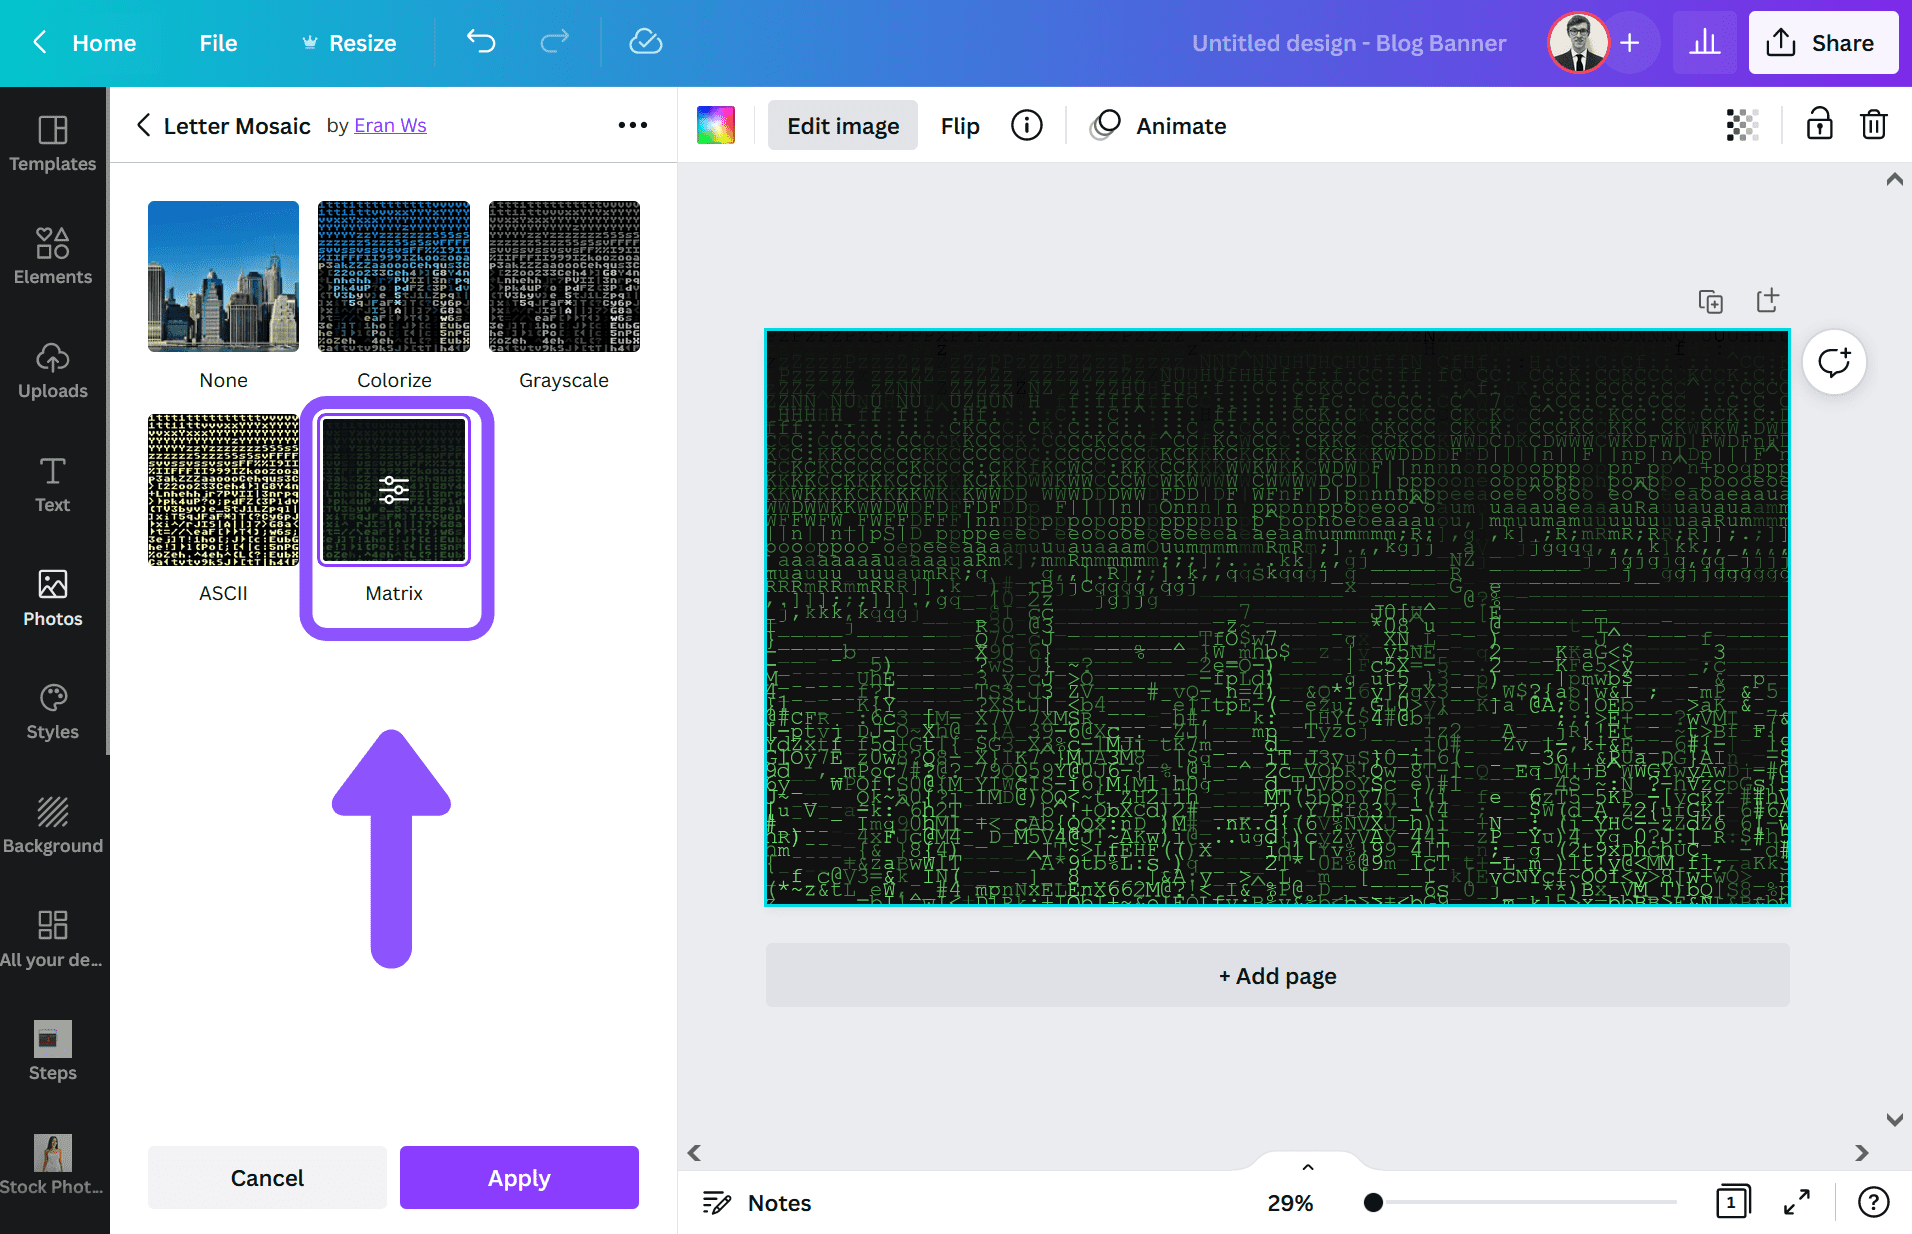
Next, click on the option labeled “Matrix.” It will take a few seconds to load. Click again on the Matrix icon to adjust the settings.
Next, under the Matrix letter mosaic settings, increase the “Columns” and “Presence” settings to create a more detailed picture. I would suggest increasing them to the maximum (200).
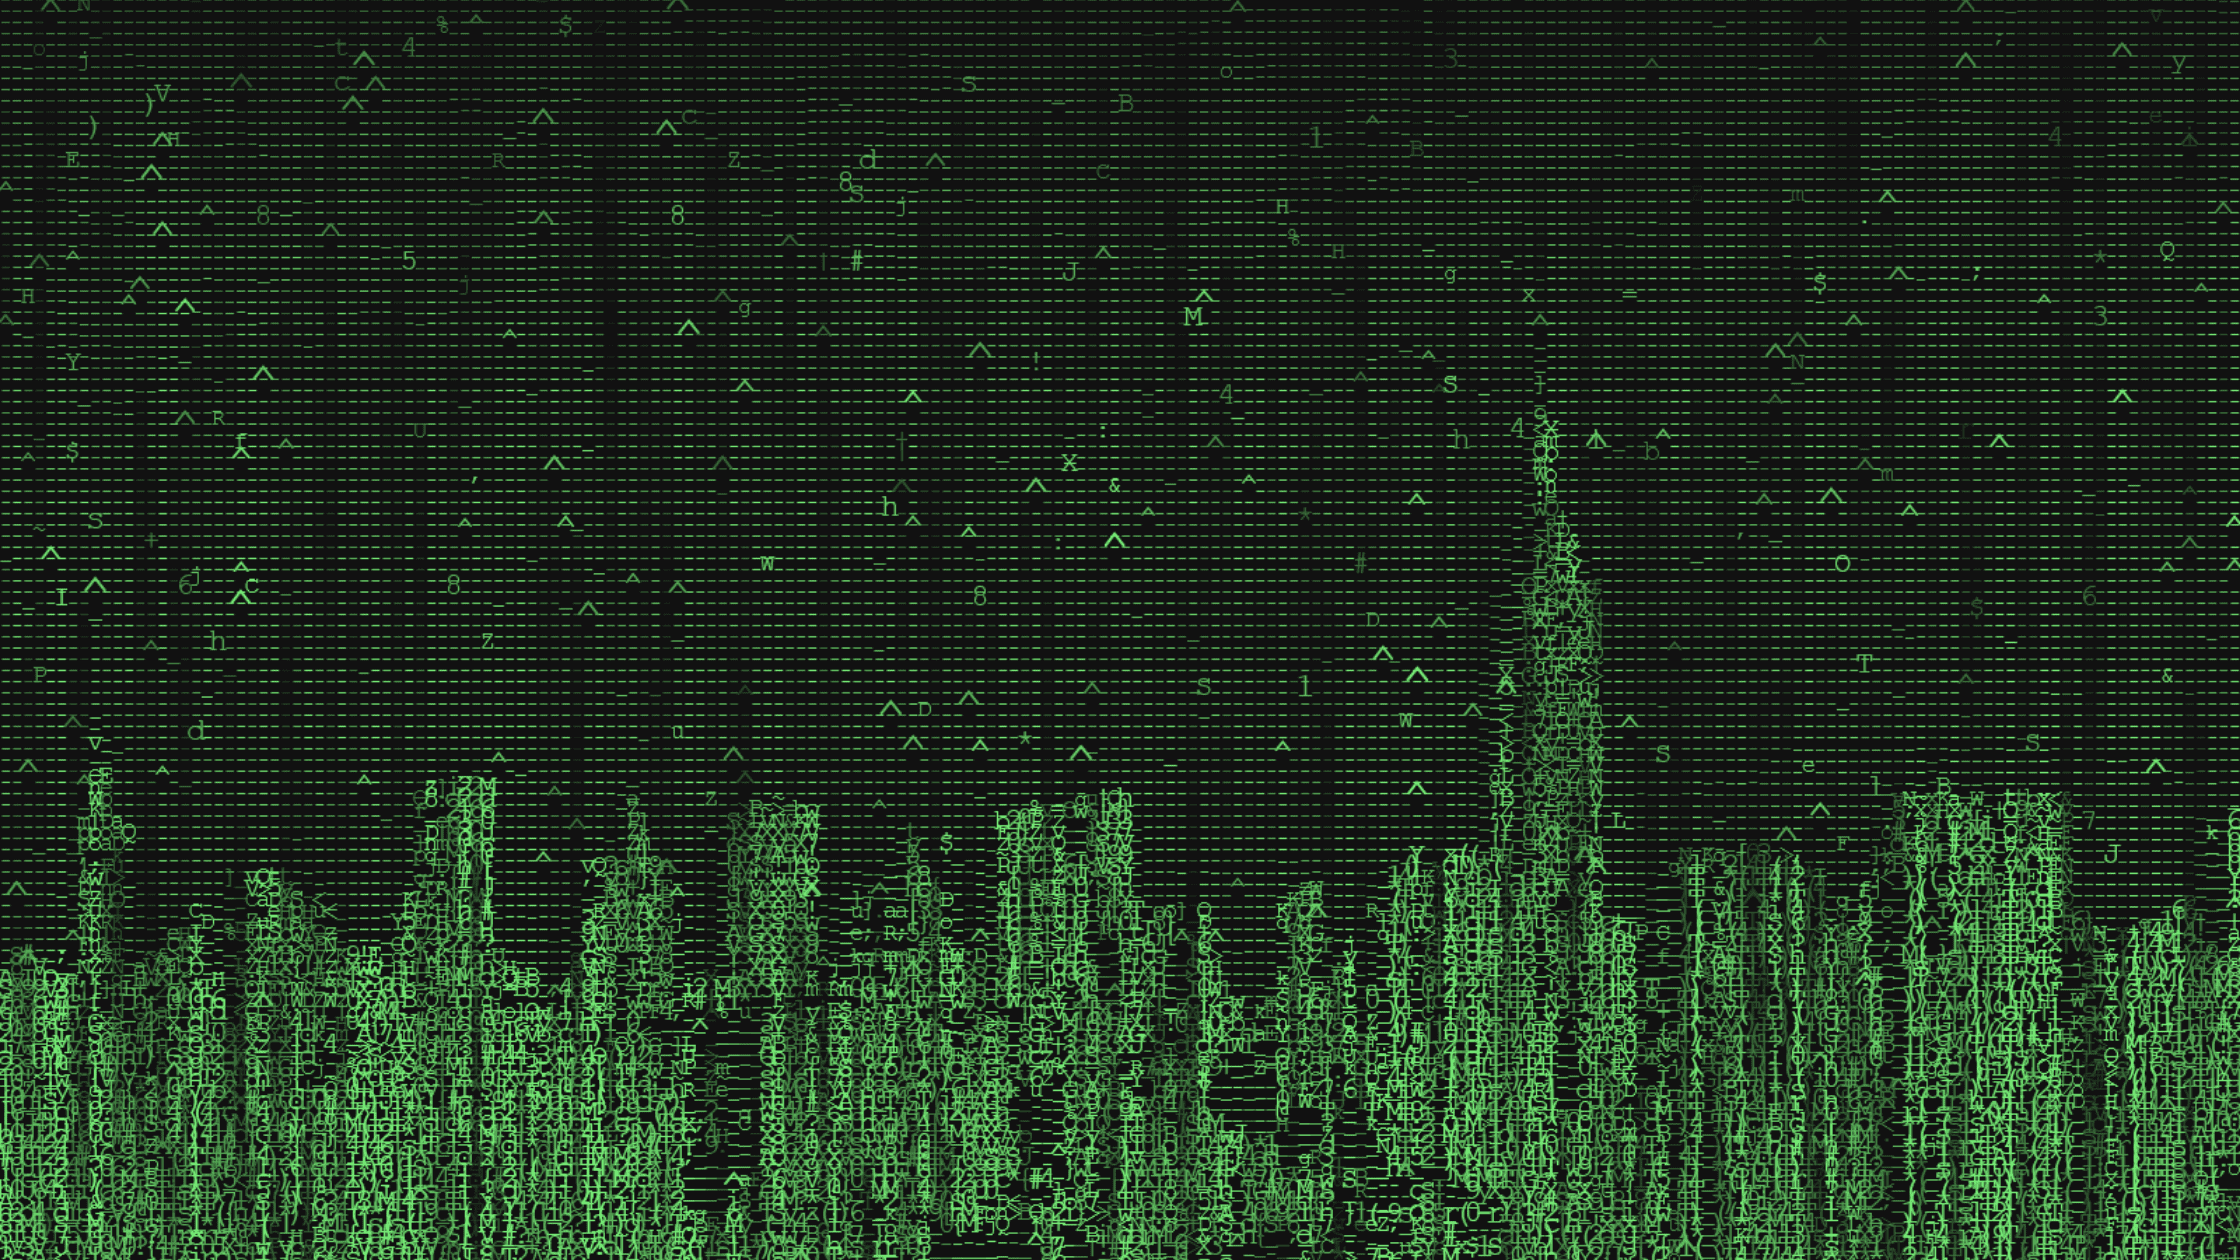
Final Product
You have now successfully created a Matrix like effect using Canva!
Conclusion
Canva is an amazing graphic design tool, and I hope you found this tutorial on how to create a Matrixd effect in Canva, useful! Click here to read our comprehensive Canva Guide. If you are interested in downloading Canva or trying Canva Pro for free, click here. Below are several related Canva tutorials that you might find useful:
