How to Outline Text in Canva

Written by Casey Botticello
Disclosure: Some of the links below are affiliate links, meaning that at no additional cost to you, I will receive a commission if you click through and make a purchase. For more information, read our full affiliate disclosure here.
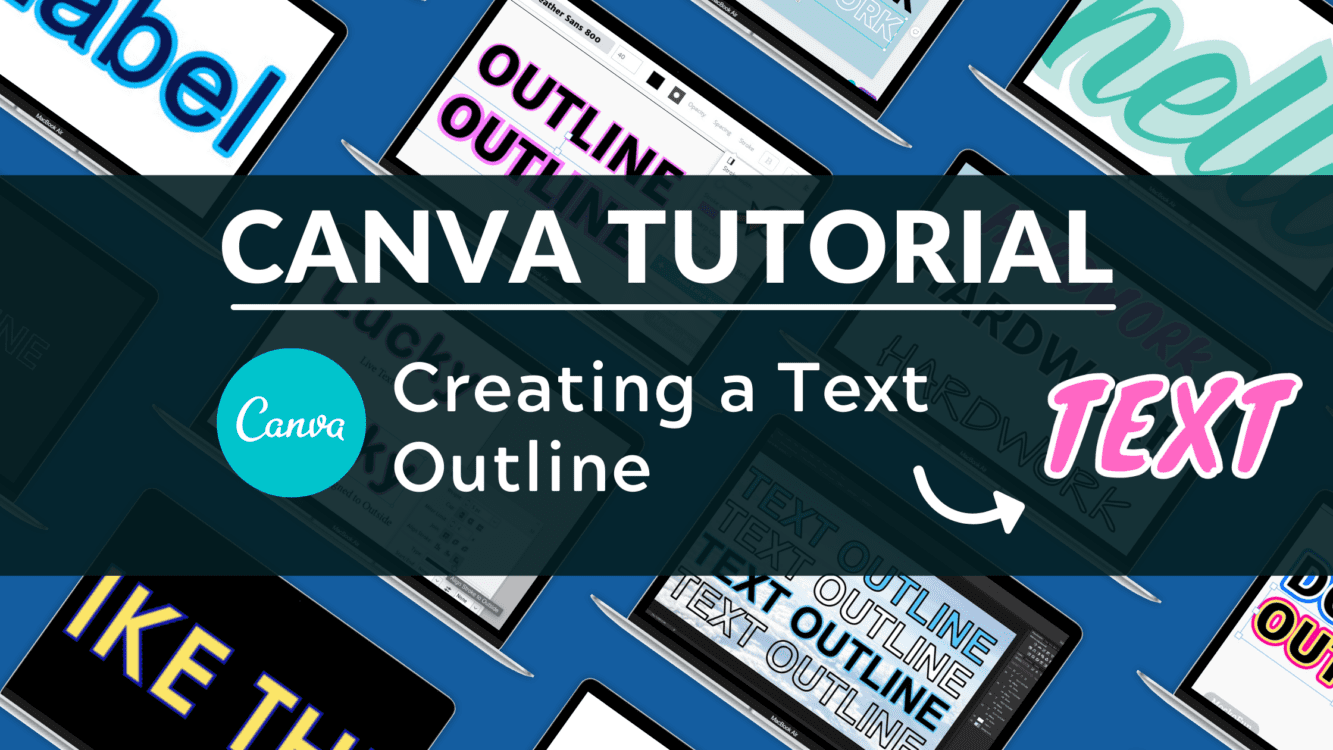
Adding an outline to your text in Canva is a great way to make your font stand out from the crowd. This effect is frequently used in popular YouTube videos, as the video’s thumbnail, or in blog post banners to help underscore some word in the title text. This Canva tutorial will teach you how to create a text outline in Canva, in just a few, simple steps!
For the purposes of this Canva tutorial, we will be recreating the outlined text shown in the image below, although the text outline effect can be applied to any type, font, or color of text.

Steps to Create a Text Outline in Canva
1. Enter Your Sample Text
The first step is to enter your sample text. For this tutorial, we will use the text “hardwork” to create a text outline. Type the word “hardwork” and adjust the font to Now Bold and increase the font size to 105 (if you want to recreate this sample text exactly).

You can also change the background color from white to any other color (we will be using a white outline, so we need the color contrast to see the final product).
2. Change Background Color
Next, we will change the background to a light blue color. While you can use any color for the background, avoid white since it will make it harder to see the contrast between the background and the white outline.

3. Duplicate Text
The next step is to duplicate our text. You can do this by pressing the duplicate button under the top toolbar:

4. Customize Duplicate Text
Next you can drag the two pieces of text apart so that they are not completely overlapping. The next step is to customize the newly created text. You can do this by first clicking on your new textbox (so that it is selected) and then clicking on the effects button in the top toolbar:

Next, select the image effect labeled “hollow” from the menu on the left of your screen:

5. Change Color of Duplicate Text
Next, to help us differentiate between the two pieces of text, we will make the outlined text (text with hollow effect), white in color. Whatever color you input here will be the outline accent color of your final text.

6. Align The Two Pieces of Text
Finally, we will align the two pieces of text so that the outline text is on top of the original text, which serves as the inner layer of the newly created text effect. Make sure the images overlap completely or the effect will not work. You can accomplish this by manually dragging one image over another or by using the

Make sure the images overlap completely or the effect will not work. You can accomplish this by manually dragging one image over another or by using the “Position” tool in the the top toolbar (select “middle” and “center“).
7. Adjust the Outline Text Settings
Now that you know the basic steps for creating outlined text with Canva, I will show you how to create the other two sample pieces of text found at the beginning of the article.
First, make two copies of the completed text from step 6, using the “duplicate” button from the top toolbar:

Now, we will quickly recreate the other two pieces of text:

For the first version of the text, you are going to go through the same steps, but will make your original text pink (hex color #FF66C4 ) and your outline text white (as we did before). But you need tochange the font of the hardwork text to “Knewave” to achieve the same appearance.
In the second example, you will make the original text white (#FFFFFF) and make the outline text black (#000000. You need to change this text to “Architects Daughter” to achieve the same appearance.
You can also adjust the size of the text outline to create a unique appearance. By default the outline thickness for the hollow effect is set at 50. But you can easily change this by dragging the slider higher or lower.
A higher value will create a thicker text outline. For example, I adjusted the three pieces of text from a 50 thickness to an 80 thickness:

A lower value will create a thinner text outline. For example, I adjusted the three pieces of text from a 50 thickness to a 10 thickness:

You can even layer multiple outline layers on the original text, creating 3, 4, or as many layers as you want! However, it becomes hard to see at some point as seen in this Canva text outline with 4 layers (2 layers added to image above):

Final Product
This leads us to the final product:

As seen above, Canva offers designers a number of ways to easily create outline text, edit the outline text’s color, change the outline text’s font, and even adjust the thickness of the outline itself.
Conclusion
Canva is an amazing graphic design tool, and I hope you found this tutorial covering how to outline text in Canva useful! Click here to read our comprehensive Canva Guide. If you are interested in downloading Canva or trying Canva Pro for free, click here. Below are several related Canva tutorials that you might find useful:


