How to Automatically Tweet Your Blog Posts

Written by Casey Botticello
Disclosure: Some of the links below are affiliate links, meaning that at no additional cost to you, I will receive a commission if you click through and make a purchase. For more information, read our full affiliate disclosure here.
If you don't already have PenSignal, try it for free! PenSignal makes it ridiculously simple to automatically tweet your blog posts. It is also one of the few blogging tools that I use on a daily basis.
CASEY BOTTICELLO
Founder, Blogging Guide
Writing a high quality blog post can be challenging. However, for many bloggers, the steps required to market and promote your blog post after hitting publish are just as challenging. While there is no one single solution to automating content promotion, bloggers can automate the promotion of their articles via Twitter. This article will show bloggers how to automatically tweet your blog posts, using a simple tool (with a free option).
How to Automatically Tweet Your Blog Posts
1. Create a Free PenSignal Account
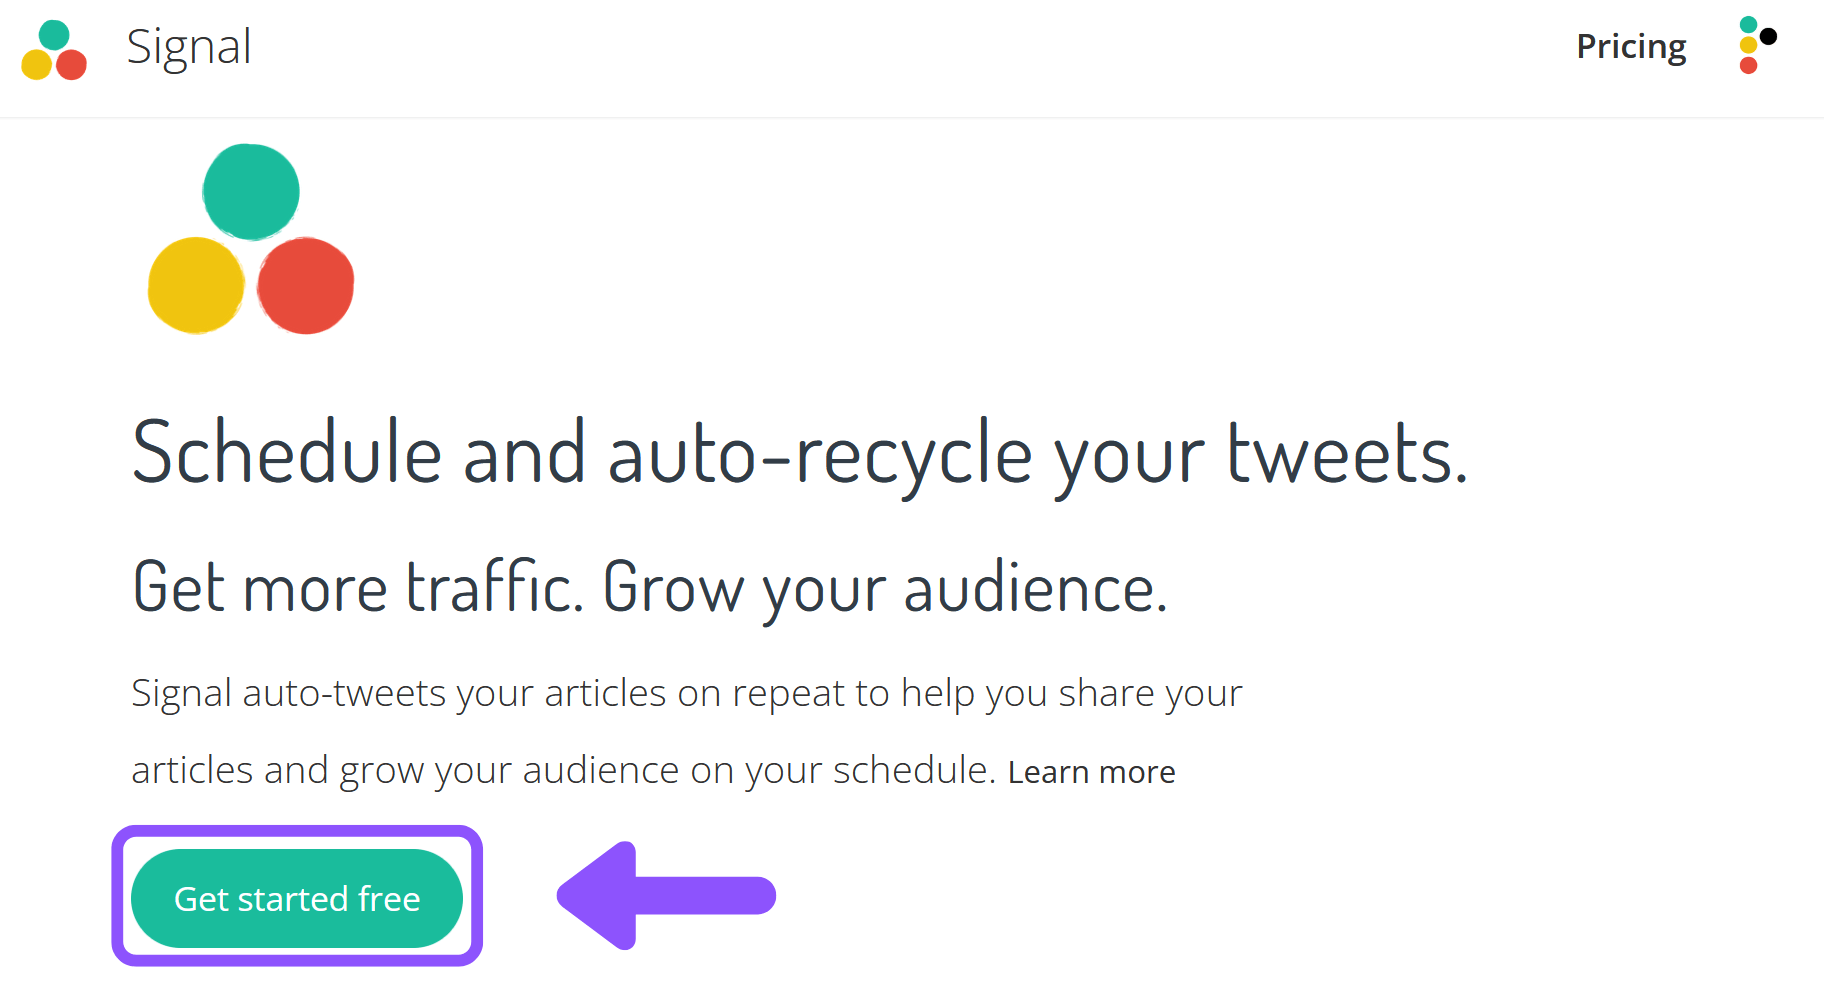
The first step in learning how to automatically tweet your blog post is to create a free Signal account. Signal is a free tool that auto-tweets your articles on repeat to help you share your articles and grow your audience on your schedule.
2. Link Your Twitter Account
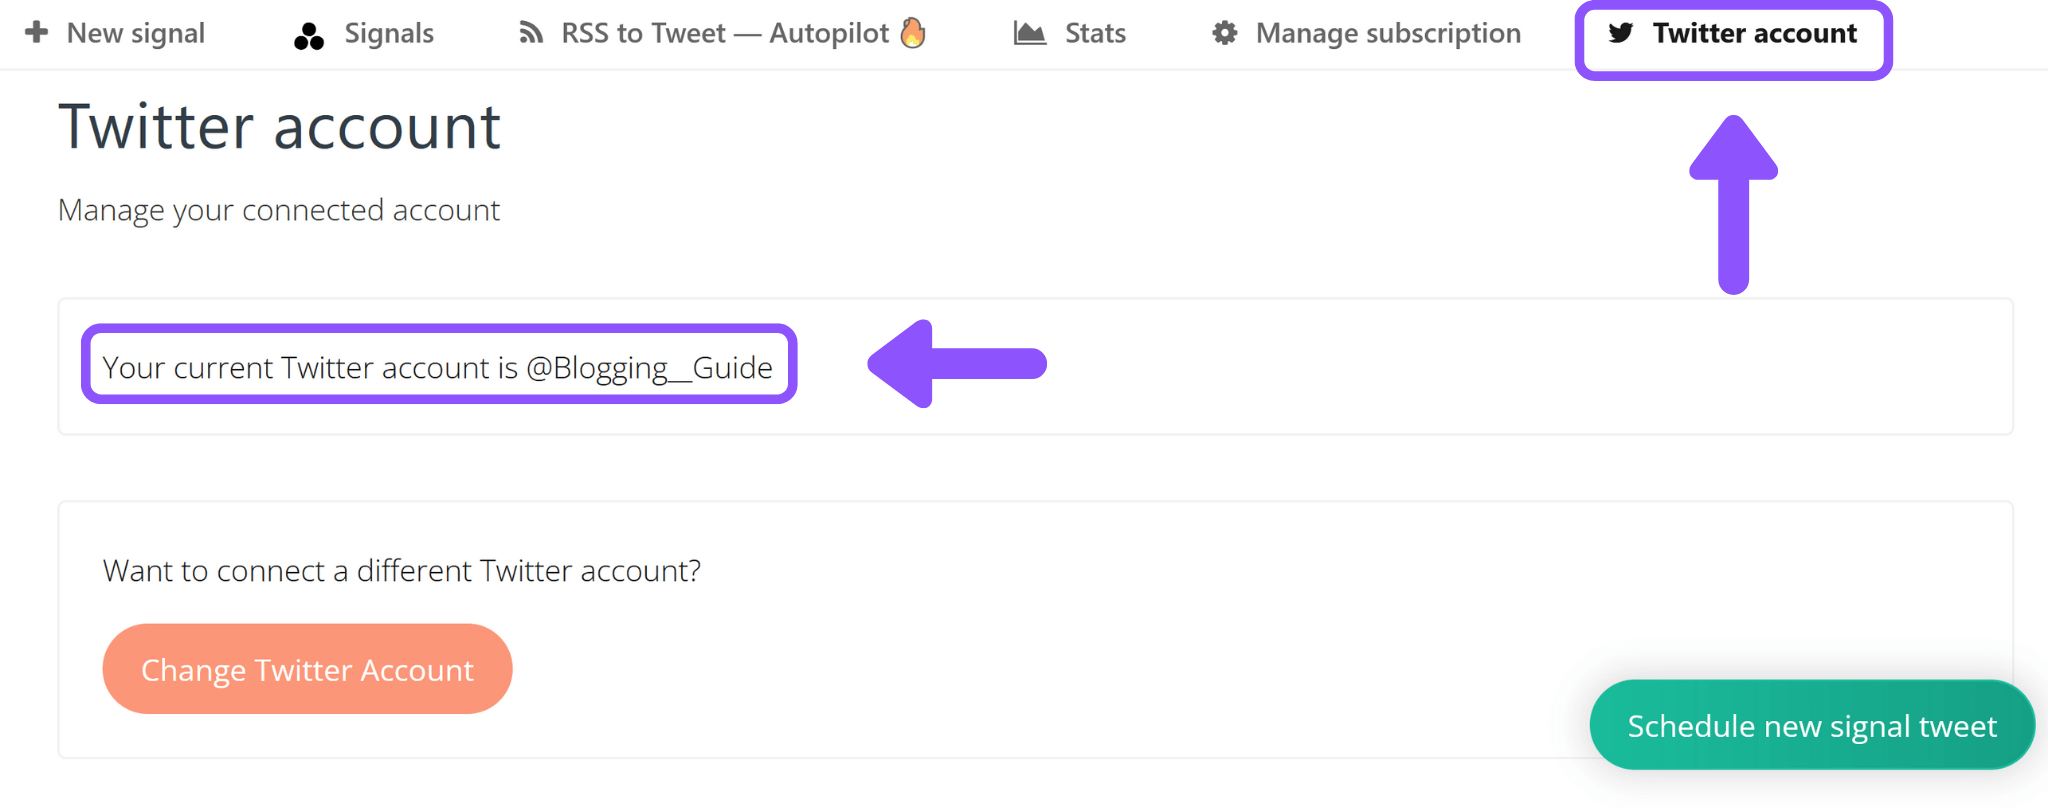
After you create your Signal account, you can link your Twitter account to Signal. This will allow Signal to publish your blog posts on your Twitter profile. As seen in the sample image above, I have linked my Signal account to my Twitter profile @Blogging__Guide.
3. Schedule New Signal Tweet
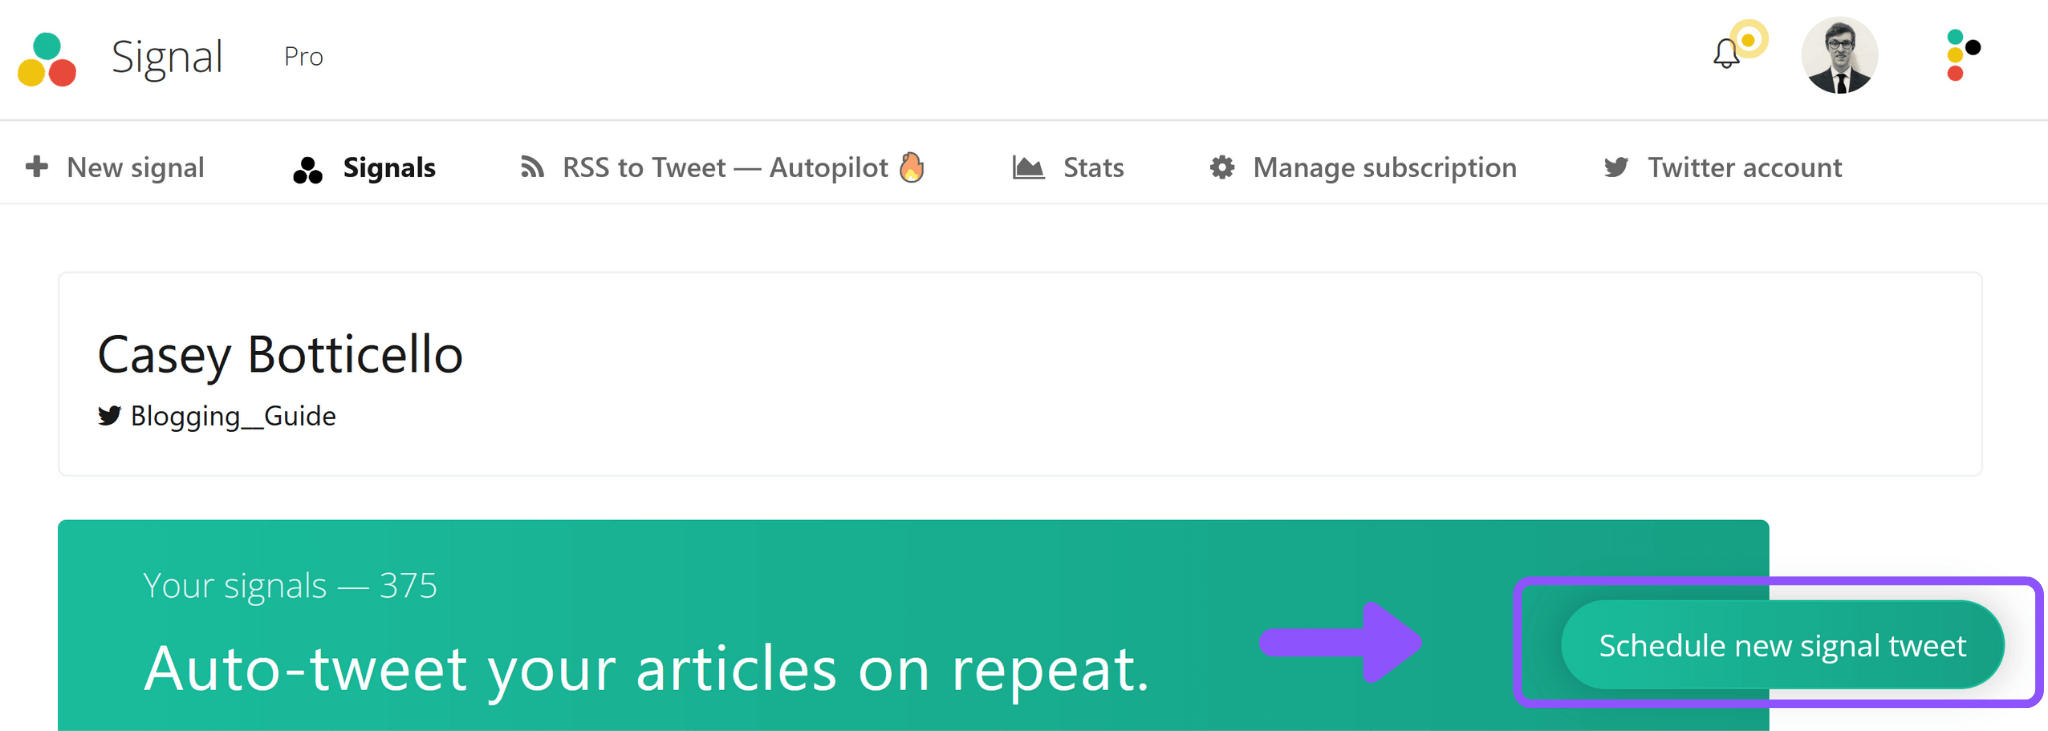
After you have linked your account, click on the green box labeled “schedule new signal tweet” to begin creating your first tweet.
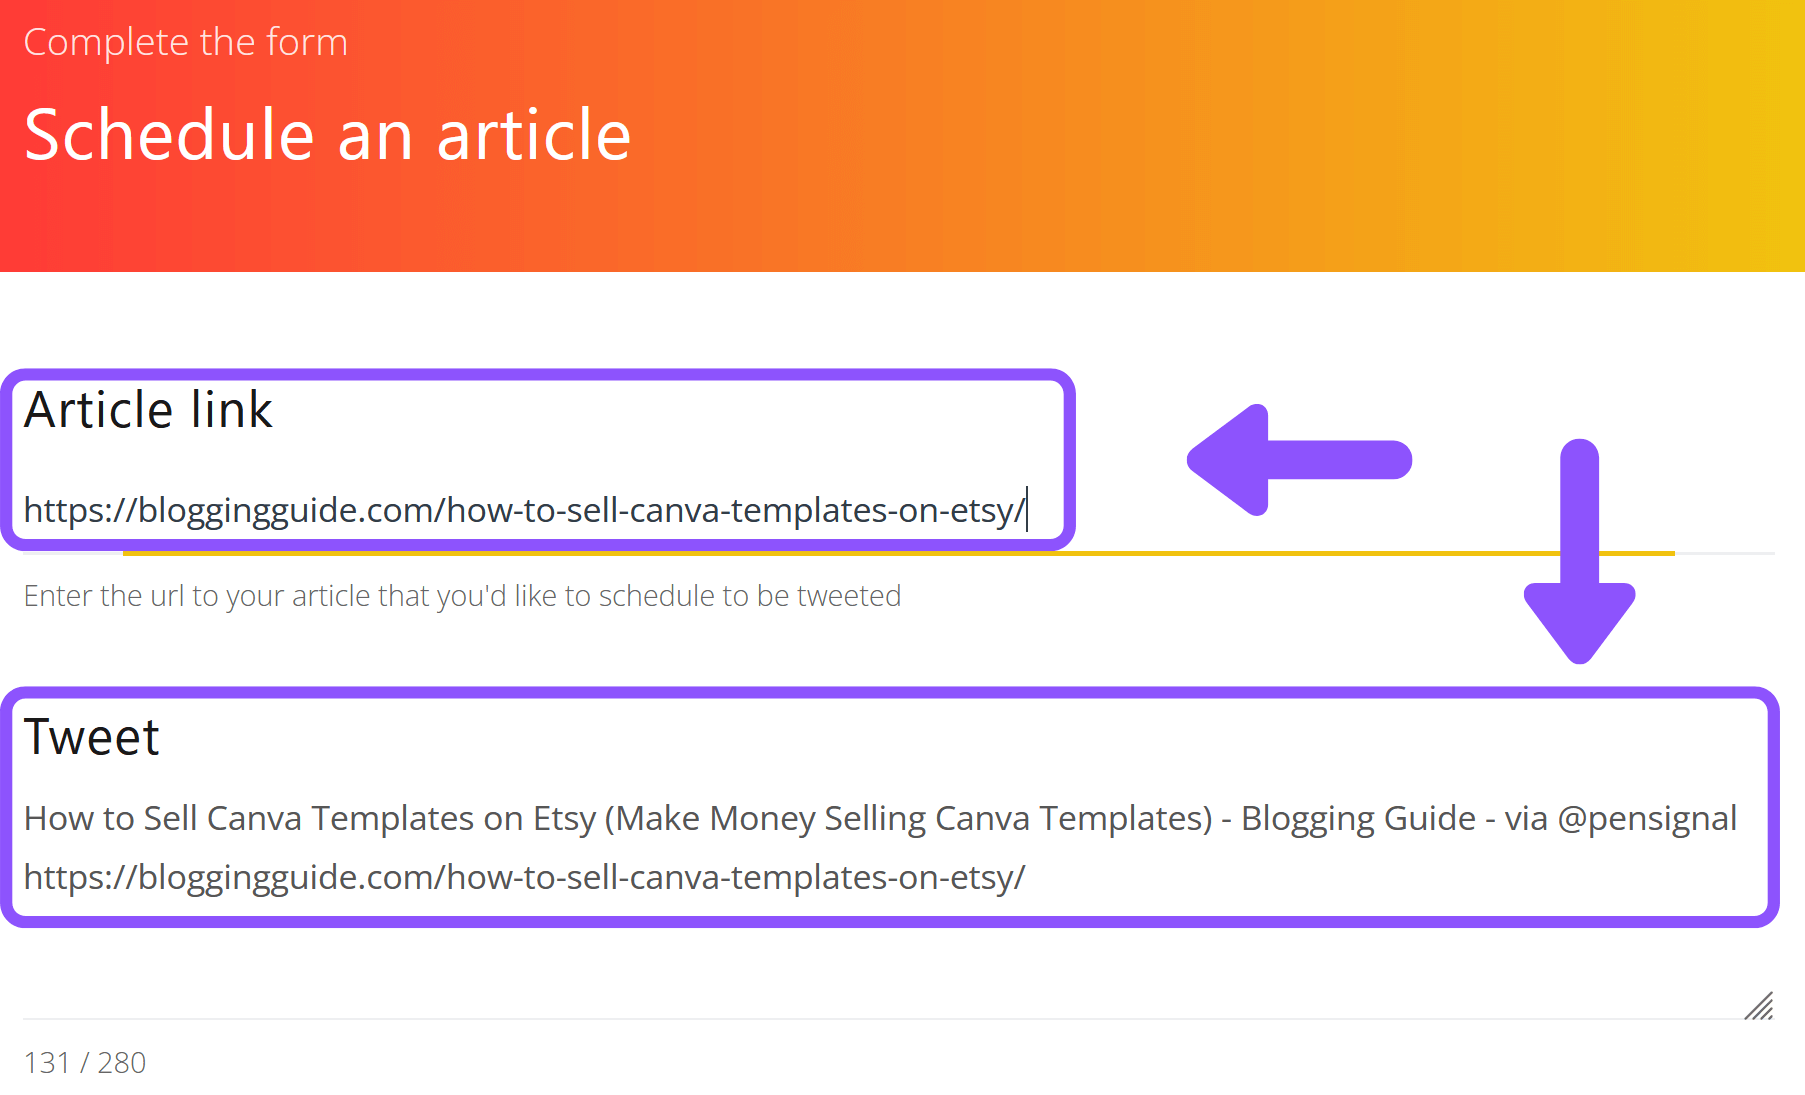
4. Enter Article URL
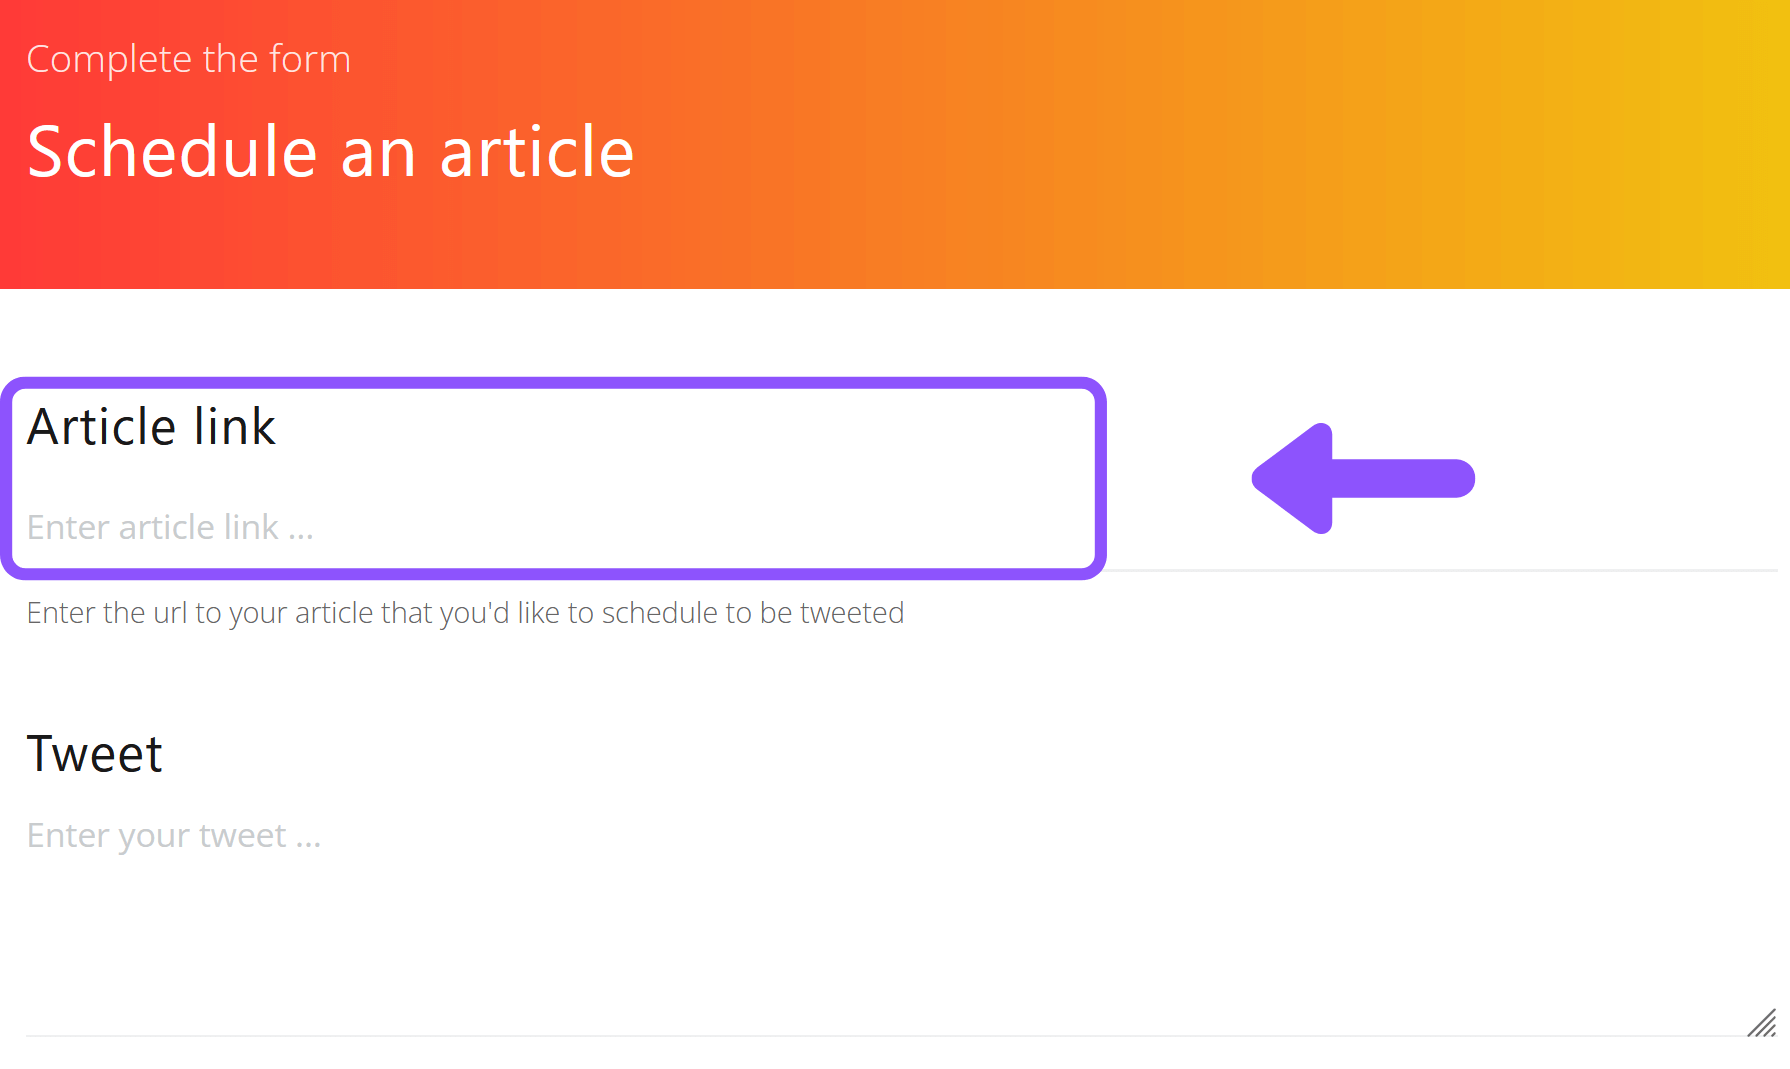
The next step is to enter the URL of the article you want to share on Twitter. Note: this link can lead to any article (it is not limited to your blog or a preset blog).
After a few seconds, Signal will automatically generate the tweet based on the link you provided.
5. Edit Tweet Text (Optional)
You can now edit the auto-generated tweet text. The only parameter that you cannot change is the link to the article that you provided.
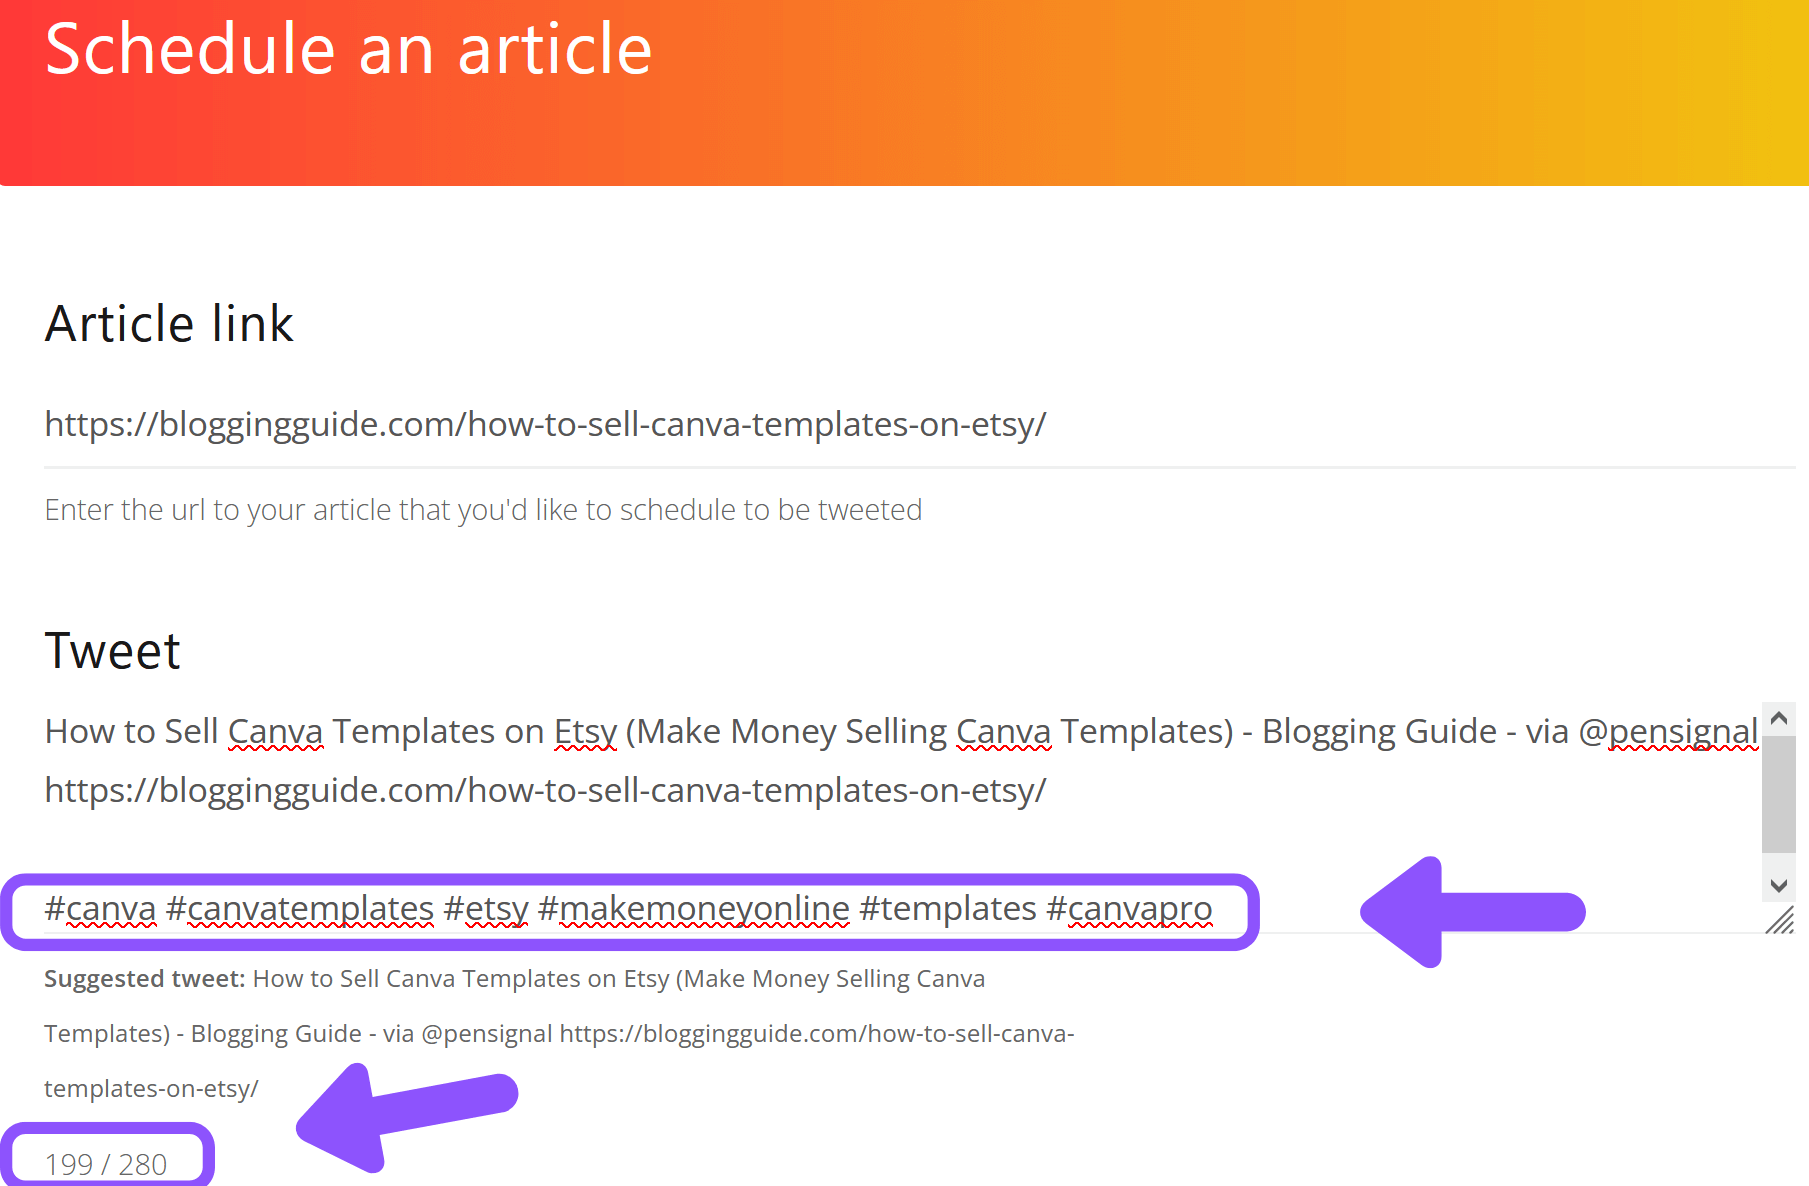
6. Add Hashtags to Tweet
Next, you can add hashtags to your tweet. You can add as many hashtags as you want, provided you do not exceed the 280 character limit, shown in the bottom left corner.
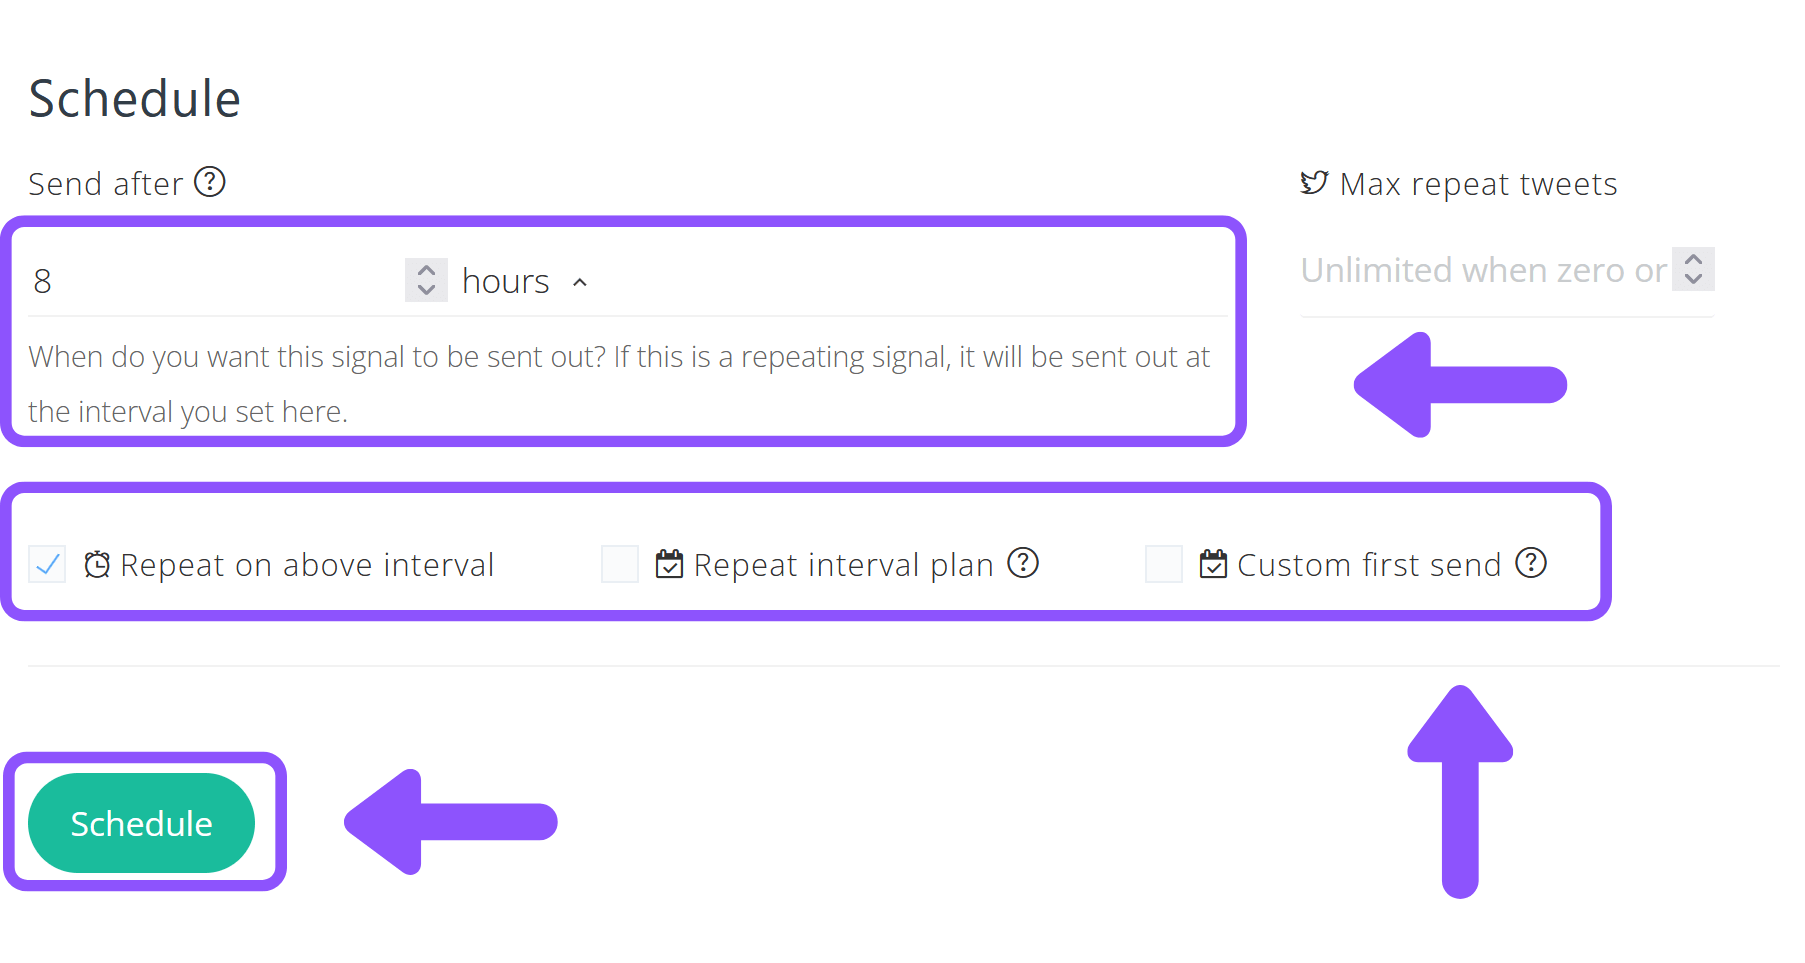
7. Choose How Often You Want to Automatically Repost Your Article
If you scroll down the page, you will see a section labeled Schedule. This is the area where you can customize the pattern, interval, and maximum tweets that you want generated.
Note: 8 hours is the shortest time frame allowed and leaving the “Max repeat tweets” counter blank or at 0 will result in unlimited tweets.
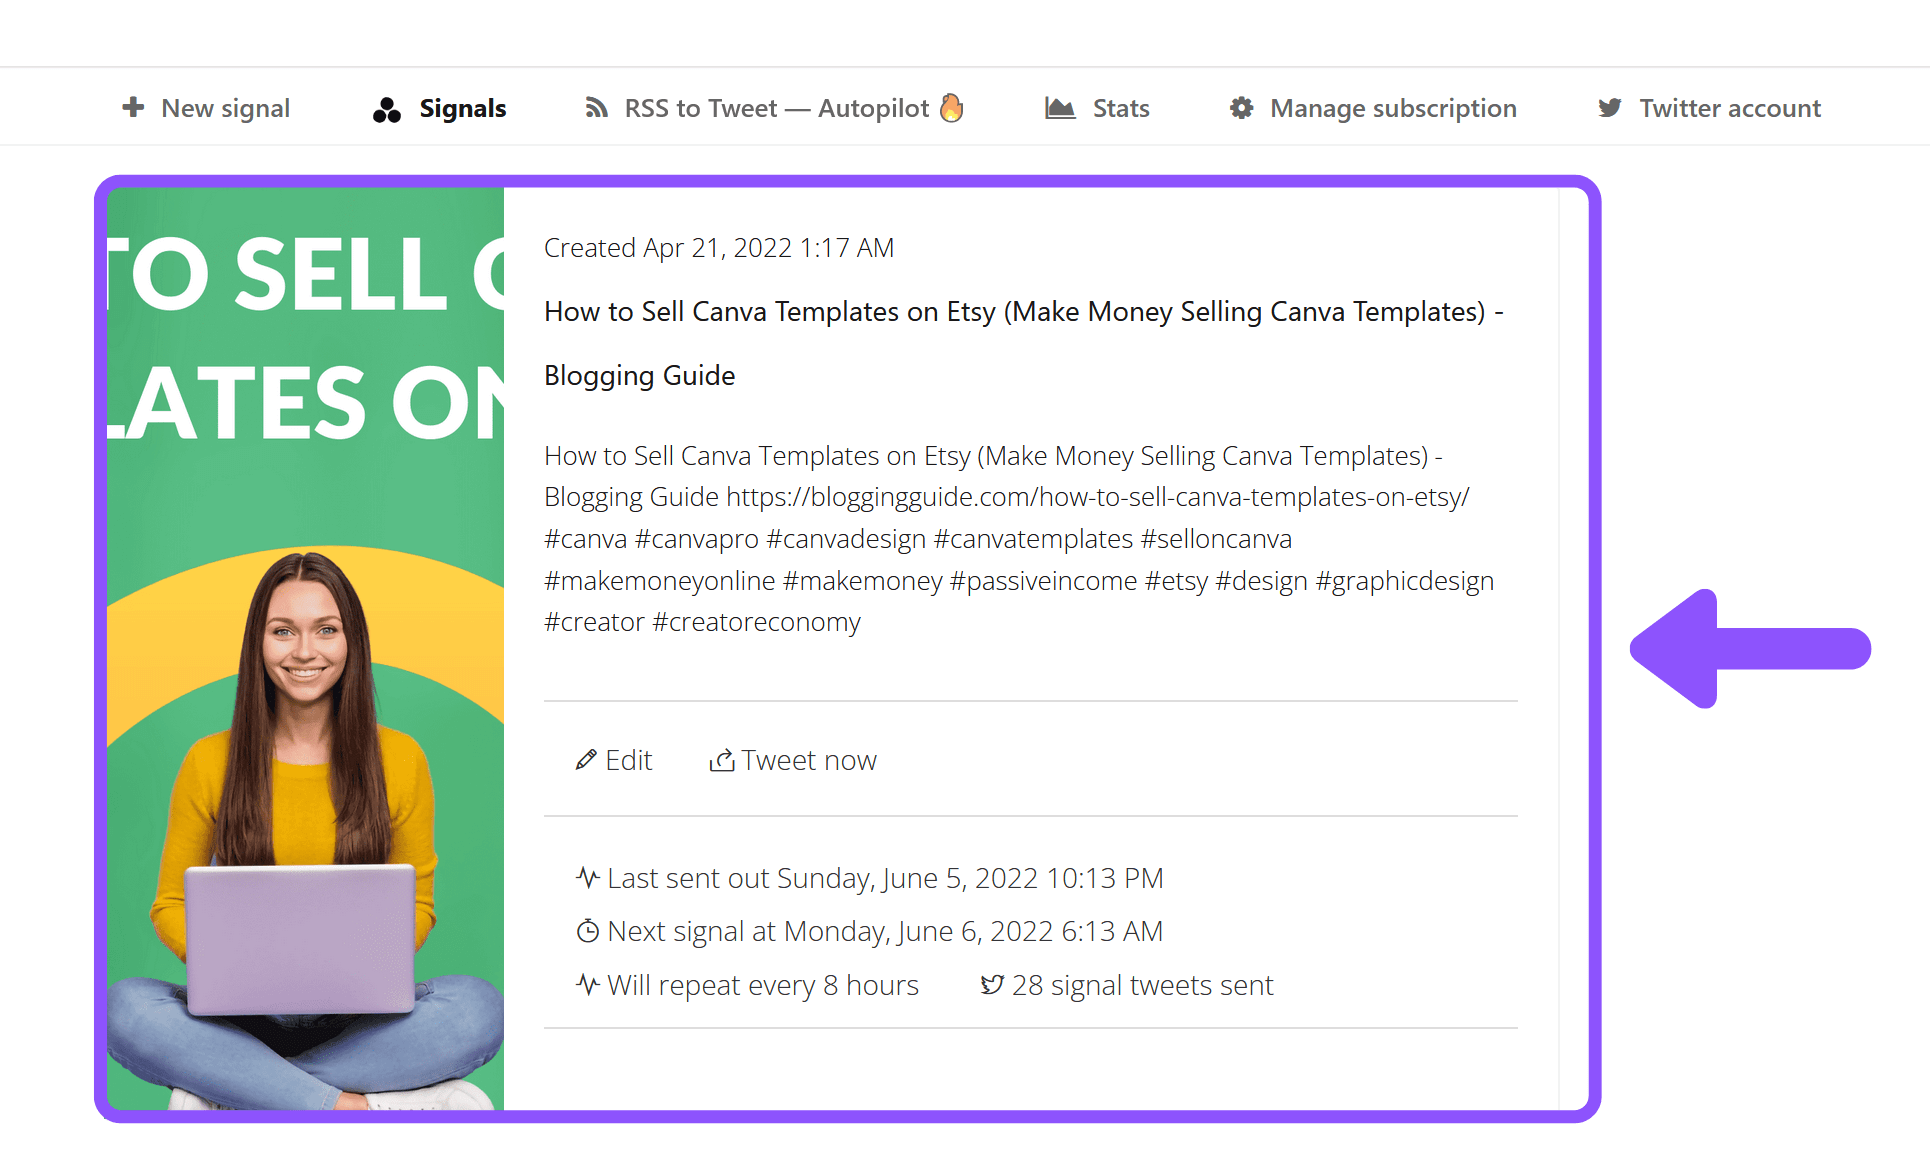
8. Click Schedule and View Your Sent Signals
After you click the green schedule button your tweet will be scheduled for publication. You can then navigate to the Signals section in your account to see a list of previous and upcoming tweets, as well as the history of sent tweets.
Conclusion
Signal is an amazing tool that makes automating tweets of your blog posts a breeze! It is one of my most frequently recommended blogging tools!
Best of all, you can try Signal for free! The free plan is limited to three tweets, but this should be enough for you to determine how useful the tool is. If you want to upgrade to the premium plan, it will cost you $6.99 per month. However, this allows you to create an unlimited number of automatically posted tweets, which is well worth the money if you want to promote your articles at scale.


