Written by Casey Botticello
Disclosure: Some of the links below are affiliate links, meaning that at no additional cost to you, I will receive a commission if you click through and make a purchase. For more information, read our full affiliate disclosure here.
Canva is a graphic design platform that allows users to create social media graphics, presentations, posters and other visual content. Bloggers love using Canva because it allows them to create sleek, custom graphics which can be easily formatted with just a few clicks and WYSIWYG drag and drop functions.
While Canva does make graphic design much easier, there are still a number of Canva tips and tricks that are not obvious to new users, but can potentially save you hours of time when used consistently.
I use Canva every single day to help with website design, blog post featured images, and infographics. Below is a comprehensive list of the most useful Canva tips and tricks. Many experienced Canva designers are not aware of all of these, so if you start implementing even half of the tips on this list, your Canva designs will look better and require far less time.
30 Canva Tips and Tricks
1. Save Frequently Used Brand Colors
Canva allows users to save specific colors under its “Brand Kit” feature. This can be extremely useful for maintaining consistency with your brand design, but it is also a great way to save other sets of colors that you use frequently. This way, you never need to worry about searching for a hex color code again!
Note: Free Canva accounts can have one color palette with up to three colors. Canva Pro users can create 100 color palettes, and save up to 100 colors to each palette.
The steps are simple:
- Navigate to your Canva homepage.
- Click on Brand Kit from the left sidebar menu.
- Click the button labeled “Add and discover palettes” to add a new color. If you already have a color palette established, you can click the + tile to add a new color.
2. Instant Animation
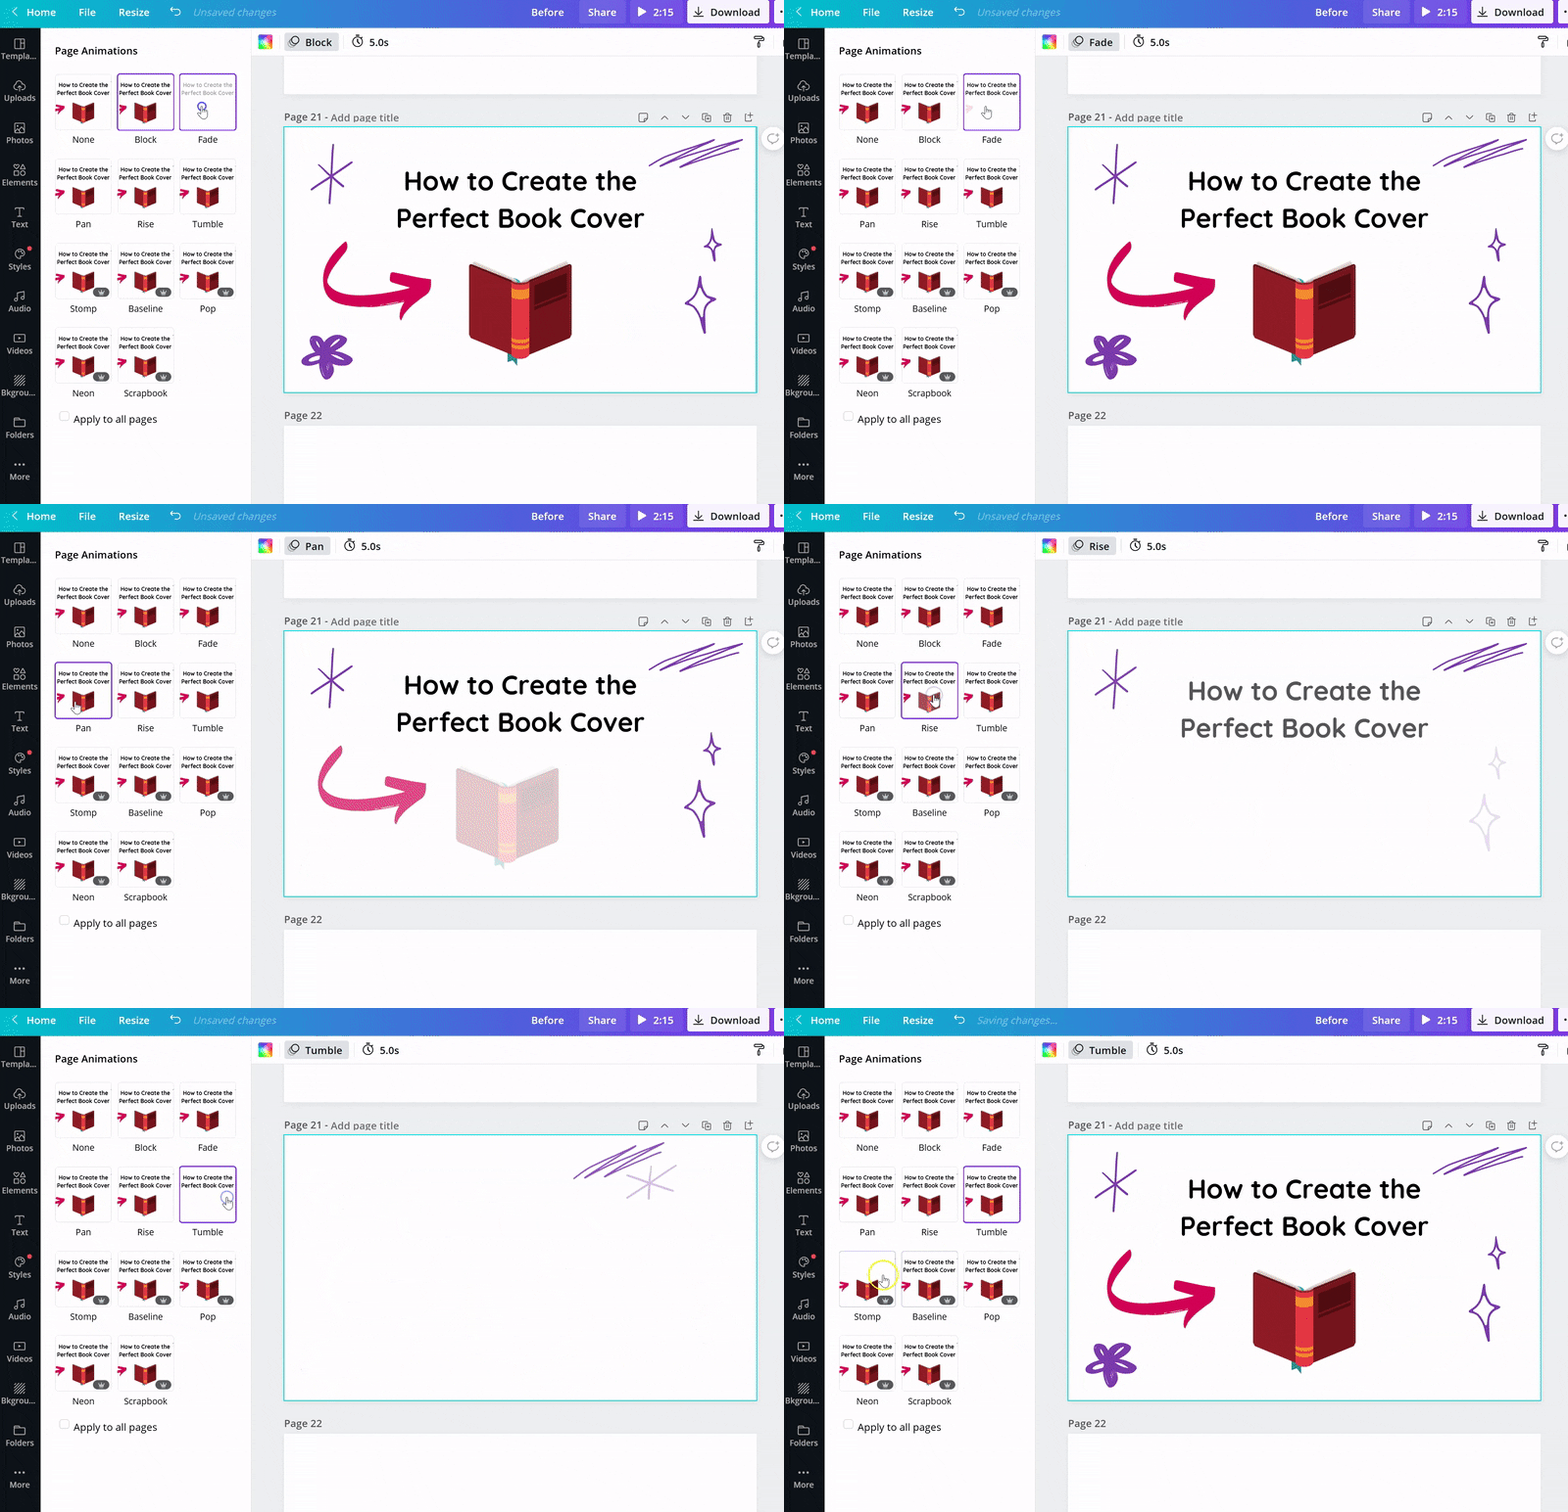
With Canva Pro, you can easily add Instant Animations to social posts, presentations, or anywhere else you need to make a stunning visual impression. Simply click once to animate, then download as a GIF or video format.
Canva Pro makes the once-tricky process of background removal super simple—just one click, and any product, headshot, or logo can stand out and shine.
Select any image, then simply click on ‘Background Remover’ in the Effects section. Like magic, the background will disappear to highlight products or create layers in a design. Plus, the image eraser makes it easy to remove specific areas of an image.
Of all of the features included in Canva Pro, the instant background removal feature is one of the Canva tools that I use the most.
4. Align Text or Images Perfectly
Canva makes aligning text, elements, or photos very simple. Instead of having to manually position each object, or rely upon visual approximation, you can easily use the position tools to align and group text and images.
Align or position
Align elements relative to the design page:
- Click to select the element you want to align.
- Click Position from the toolbar above the editor.
- Choose a position to apply it to the selected element.
Group and ungroup
Group elements to move them together:
- Click and drag your cursor over the elements you want to group. You can also hold Shift on your keyboard, and click on multiple elements to select them.
- Click Group from the toolbar above the editor. You can also use CMD+G (Mac) or CTRL+G (Windows) on your keyboard.
5. Use “Secret” Element Codes
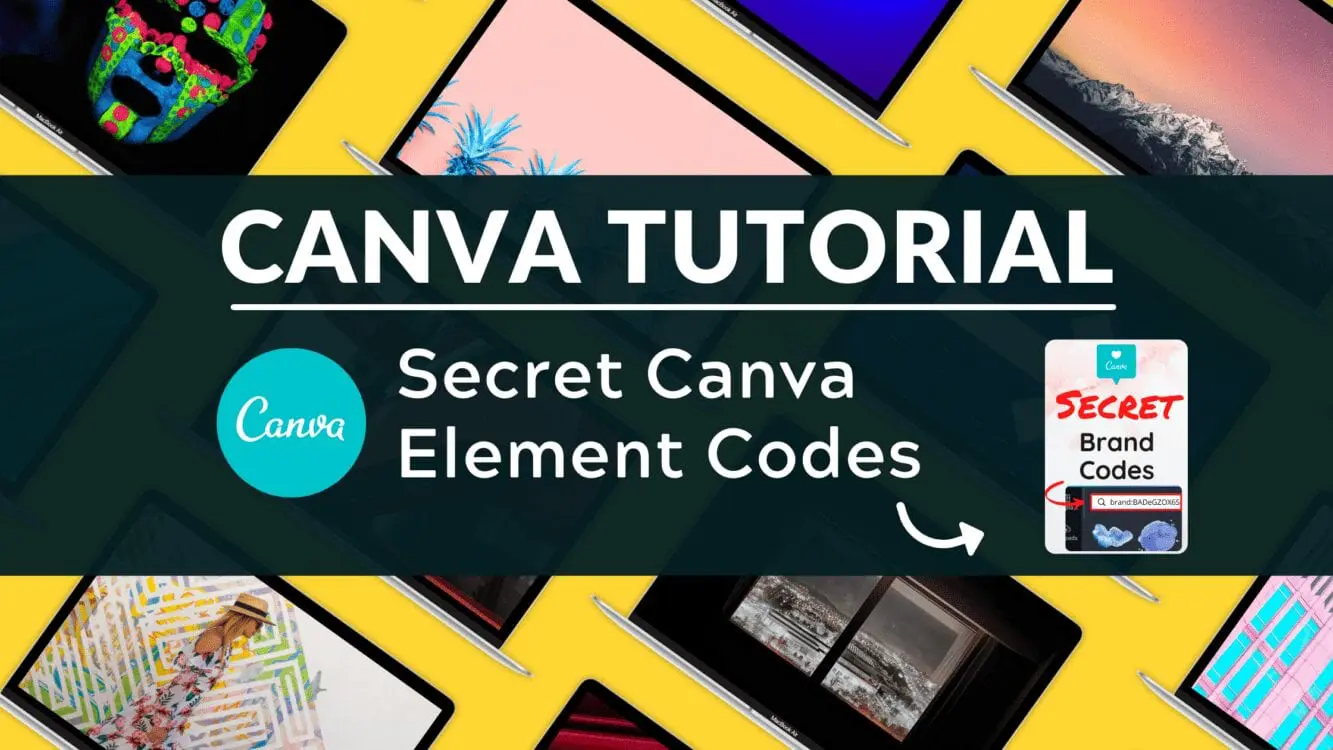
However, as anyone who has ever searched for elements in Canva knows, it is very hard to find some of the best elements and many of these hidden gems are buried deep in the Canva search.
This post will show Canva users a series of secret brand codes or search keywords, which allow users to search for images created by the same designer, or organized by the same theme.
Why is this useful?
These secret Canva brand codes and search keywords help designers create more cohesive and professional-looking designs.
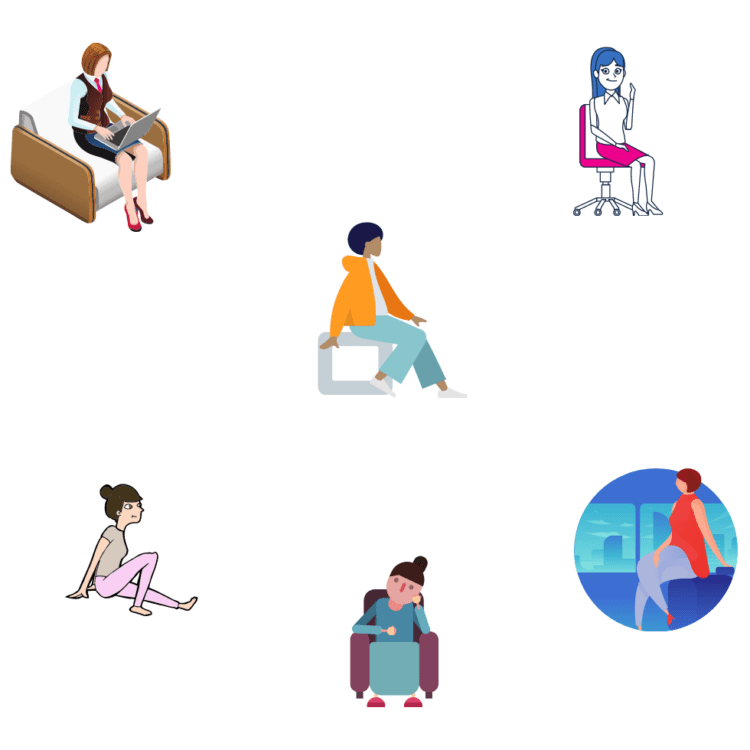
The image below depicts two similar scenes: a group of six people sitting around working at a desk or on their laptop. Each of the six people is a unique element.
However, while the two scenes depict the same general scenario, the “Before” image consists of six images from different themes. The “After” image contains six images from the same theme.
The result is that the image with images from the same theme appears far more professional and cohesive than the image with 6 unique themes:

6. Create a Drop Shadow to Add Depth to Your Images
A drop shadow is graphics effect that makes elements look more three-dimensional and “pop out” of the picture. Using an image editor, a duplicate of the text is made, changed to black or gray and then passed through the filter. The blurred result is aligned under the original text to create the effect. This Canva tutorial will teach you how to create a drop shadow in Canva, in just a few, simple steps!
7. Filter Elements by Color

Canva offers a wide selection of elements. But what if you need elements that are one color type, as opposed to looking for elements with a similar style using secret codes?
Not many people realize that you can actually filter element searches by color. Just type in the element search phrase, click the filter icon, select the color palette you are looking for, and the element search results will update to reflect these color preferences.
For example, if we are looking for a blue smiley face, we would first enter the search term “smile” and then we would select the blue color filter, as seen below:
8. Display Ruler on Design Border
One of the little know Canva tricks is that you can utilize a ruler around the border of your designs. You can turn on rulers for your Canva Design, which creates a ruler above and to the left of your image. These can used to help you line up things and set custom margins.
The ruler is not enabled automatically though. In order to add the ruler, click the file button (when viewing a design page) and then select the option from the drop down menu labeled “show rulers.”
9. Hyperlink Text for PDFs

Did you know that you can add hyperlinks to any text, images, elements, or videos (when saved as a PDF) when creating your design in Canva?
Add hyperlinks
- Create or open an existing design.
- Click to select the element you want to add a link to.
- Click the Link button or the chain icon on the toolbar above the editor.
- Enter the website link.
- Click Apply.
Hyperlinks remain clickable by publishing your design as a PDF or by presenting it.
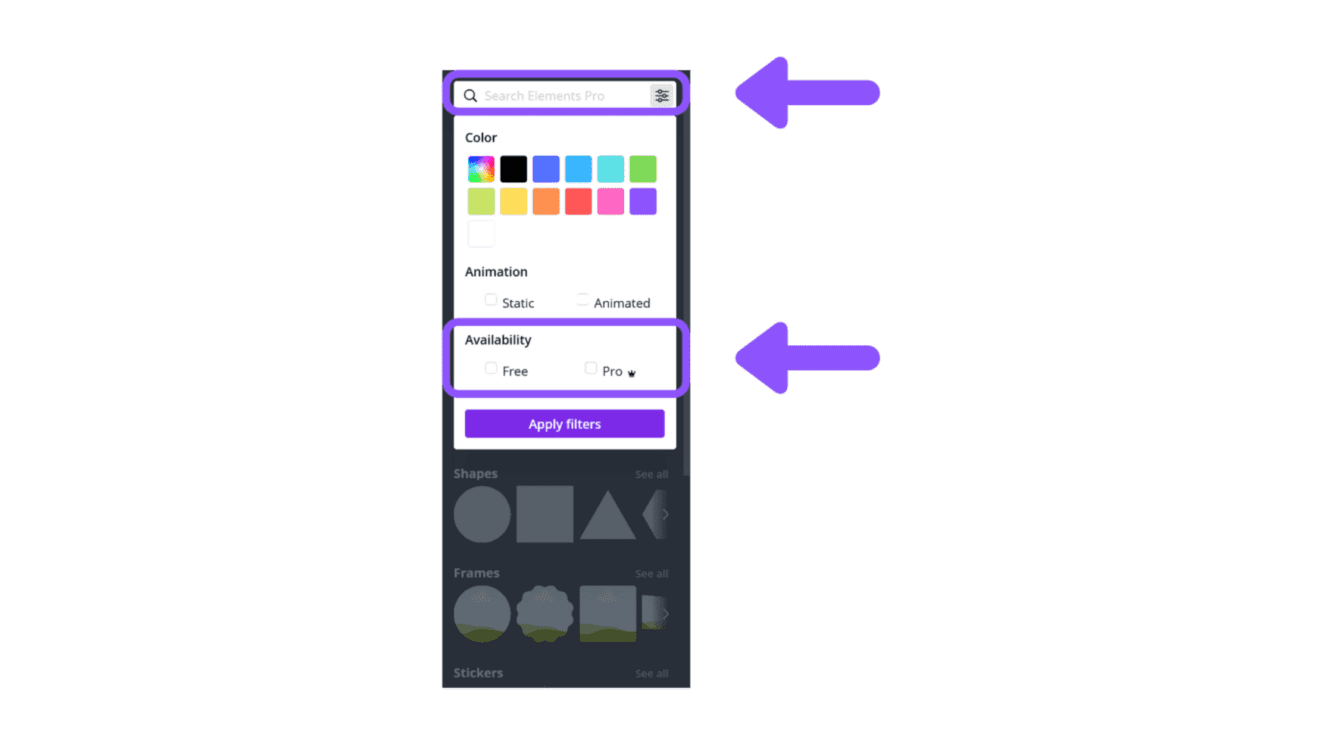
10. Filter Elements by Free/Pro Status

Canva users can easily filter between element types and formats when searching in Canva’s internal search engine. The filter allows you to easily sort by free or pro elements, making the platform very user friendly for any user.
11. Create a Glowing Outline Effect
Sometimes, when creating a graphic design, you want to add flair or underscore the tone that a certain image conveys. If you want to help an image standout, using Canva to create a glow effect that outlines the image, can be a great option. This Canva tutorial will teach you how to create a colorful glow effect in Canva, in just a few, simple steps!
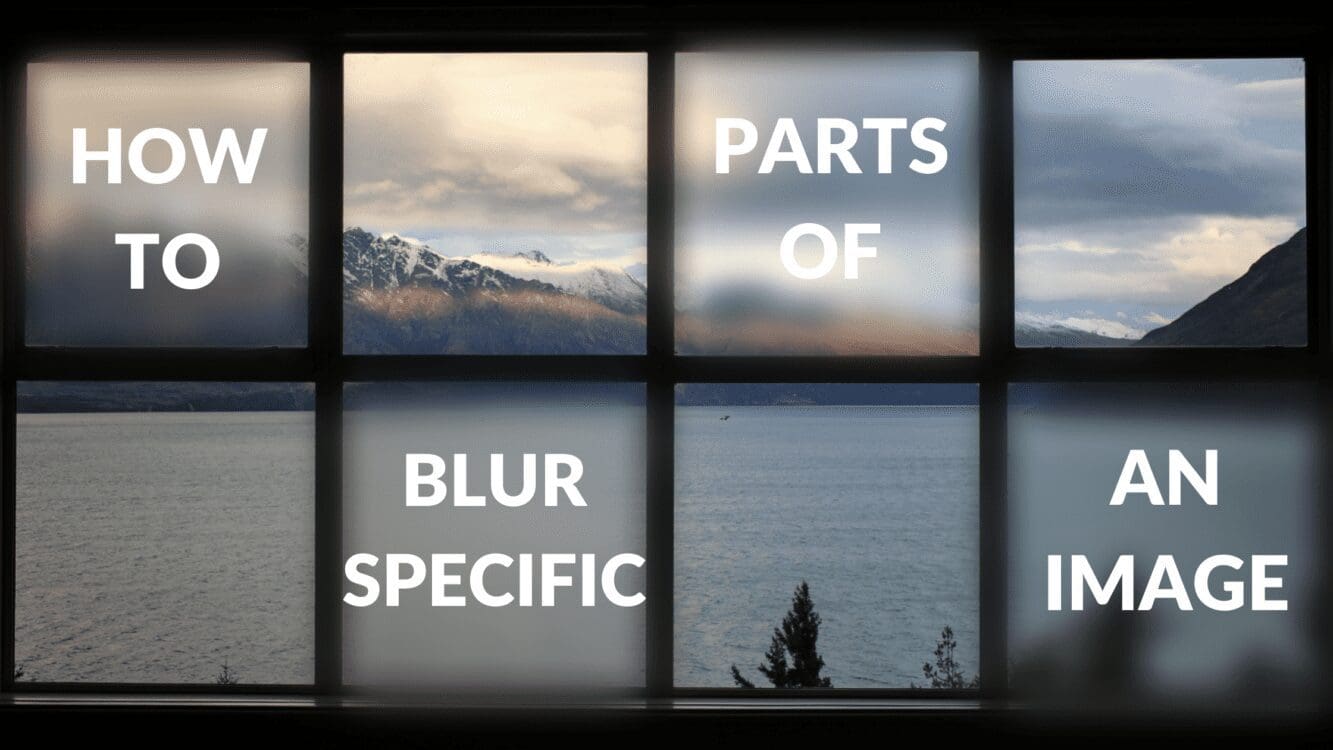
12. Blur Background of Photos
Introducing a background blur to your photos can draw attention to a specific subject, such as an individual in a portrait or an item in a still life, while adding a professional flair to your image. This beautiful background blur, also known as bokeh, can be achieved even after shooting your photo, thanks to advances in free photo editing software, such as Canva. This guide will show you how to blur the background of your photos or how to blur specific parts of your images.
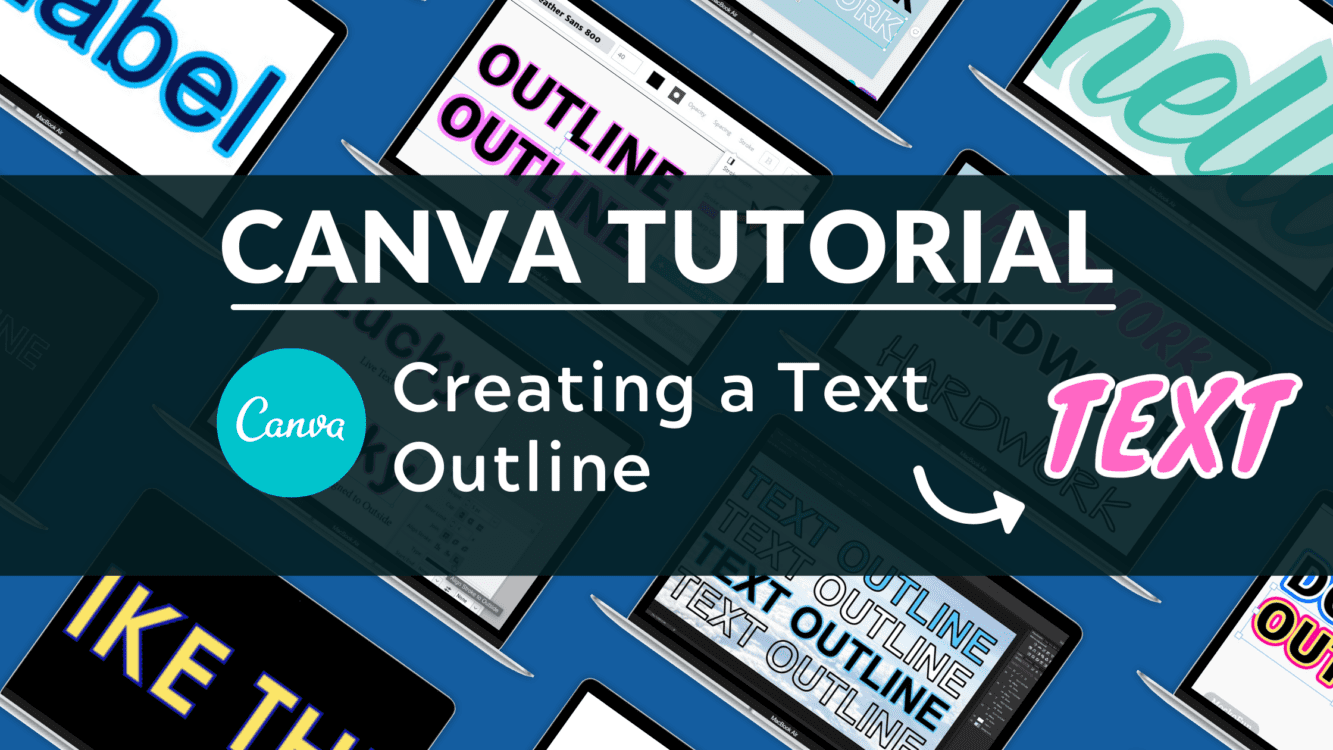
13. Create Text Outline Effect
Adding a white outline to your text in Canva is a great way to make your text stand out from the crowd. This effect is frequently used in popular YouTube videos or in blog banners to help underscore some word in the title text. This Canva tutorial will teach you how to create a text outline in Canva, in just a few, simple steps!
14. Sort Fonts by Style

Looking for the perfect Canva font? Canva lets you easily sort by font type. These categories include:
- Handwriting
- Cursive
- Corporate
- Display
- Website Heading
- Title
- Free Canva Fonts
- CanvaPro Fonts
- Paragraph
- Sans Serif
- Slab Serif
- Script
- Rounded
- Modern
- Bold
- Elegant
- Vintage
- Retro
- Calligraphy
- Minimal
- Brush
- Narrow
- Comic
- School
- Geometric
- Curly
- Graffiti
- Futuristic
- Thin
- Cartoon
- Wide
- Monospace
- Outlined
- Sports
- Blackletter
- Cyrillic
Simply enter any of the keyword in the list above into the font search bar to see a list of relevant fonts.
You can also sort fonts by checking out our lists of the best free Canva fonts and the best Canva Pro fonts. It also has a number of fonts that it can recommend, which Canva can recommend to pair together.
15. Create a Gradient Background

It may not be obvious, but it is actually quite easy to add a gradient in Canva.
A gradient is a graduated blend between two or more colors or between two tints of the same color.
Adding a gradient can give your design a more natural feel, and you can also play with adding color to create an inspiring look.
- To add a color gradient to your image background, simply search for “gradient” under the elements tab.
- Next, add the gradient element to your design. Increase the the gradient element size so that it covers you image background.
- Finally, adjust the gradient colors.
16. Add a Color Overlay to Designs
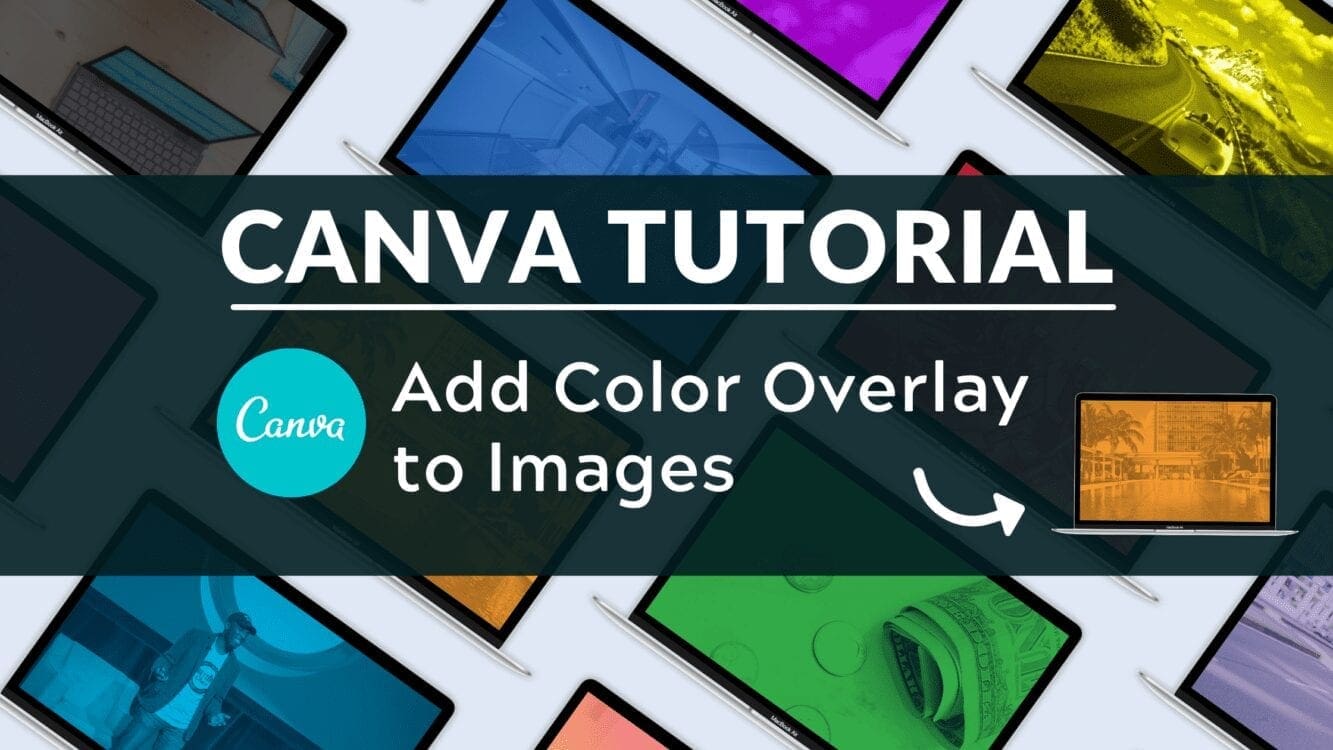
The color overlay effect in Canva is used to apply a transparent color overlay on top of any existing images, elements, or background.
17. Make Color Images Black and White
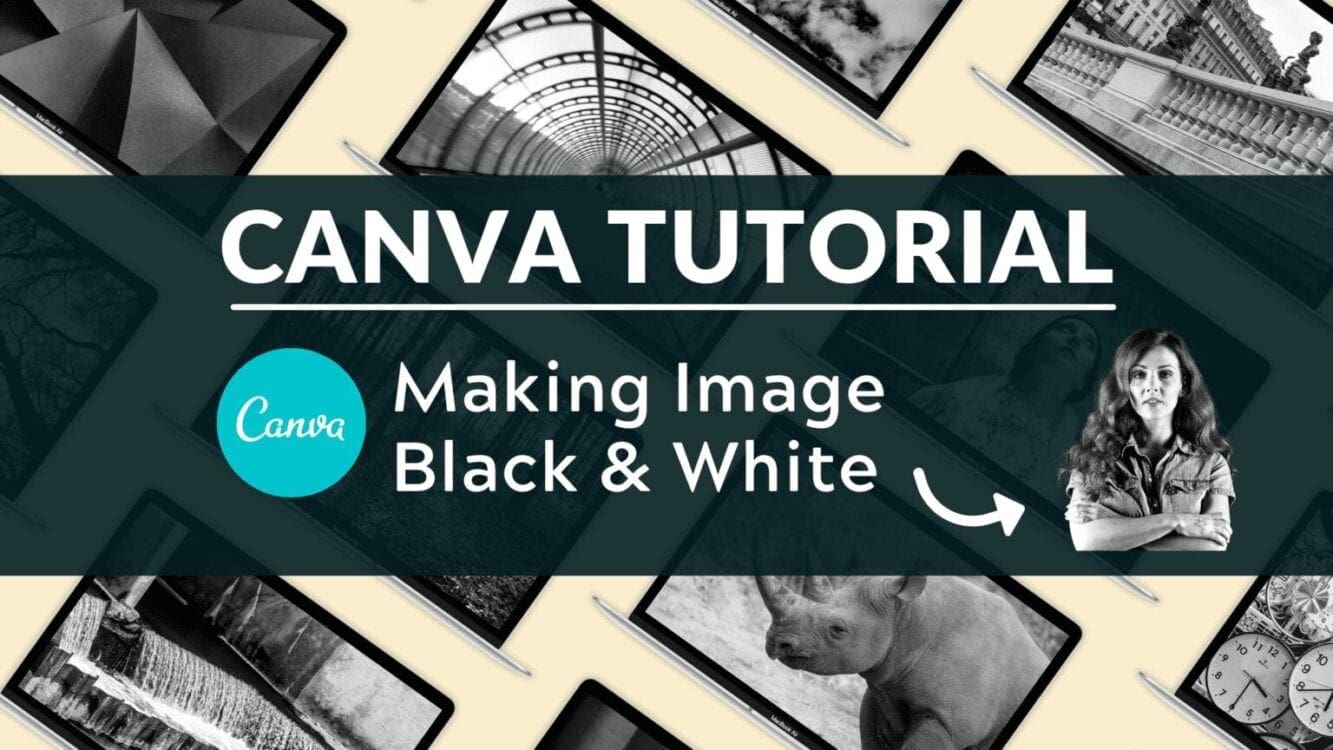
Black and white photography is the art of using different tones of gray, ranging from white to dark, to create compelling images. This genre has a very long history – as long as photography itself. By the time photographers captured the first permanent color image in 1861, monochrome photos had been around for 35 years.
Still, although color is the new kid on the block, it hasn’t replaced the art of black and white. Color can be a distraction; it can be dull and lifeless. One of the tasks of photographers is to simplify an image, distilling a scene down to its essence. Sometimes, that essence is colorless.
Adding a black and white effect to color images has never been easier, thanks to advances in free photo editing software, such as Canva.
What if we wanted to turn an otherwise color image into a completely black and white image? Using the image below as an example, we will learn the steps of making a photo black and white using Canva.
18. Use Canva Templates
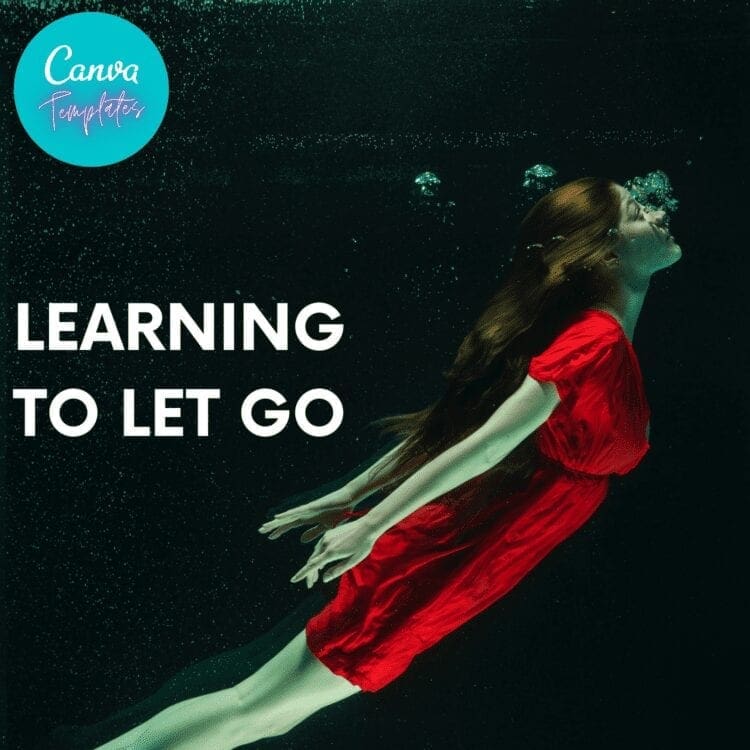
Canva templates are pre-formatted designs in Canva, made to be easily edited by a wide range of users. Canva templates can be purchased on third-party sites that sell digital products such Etsy.
Blogging Guide also offers a regularly updated selection of free Canva templates.
19. Create Text Mask
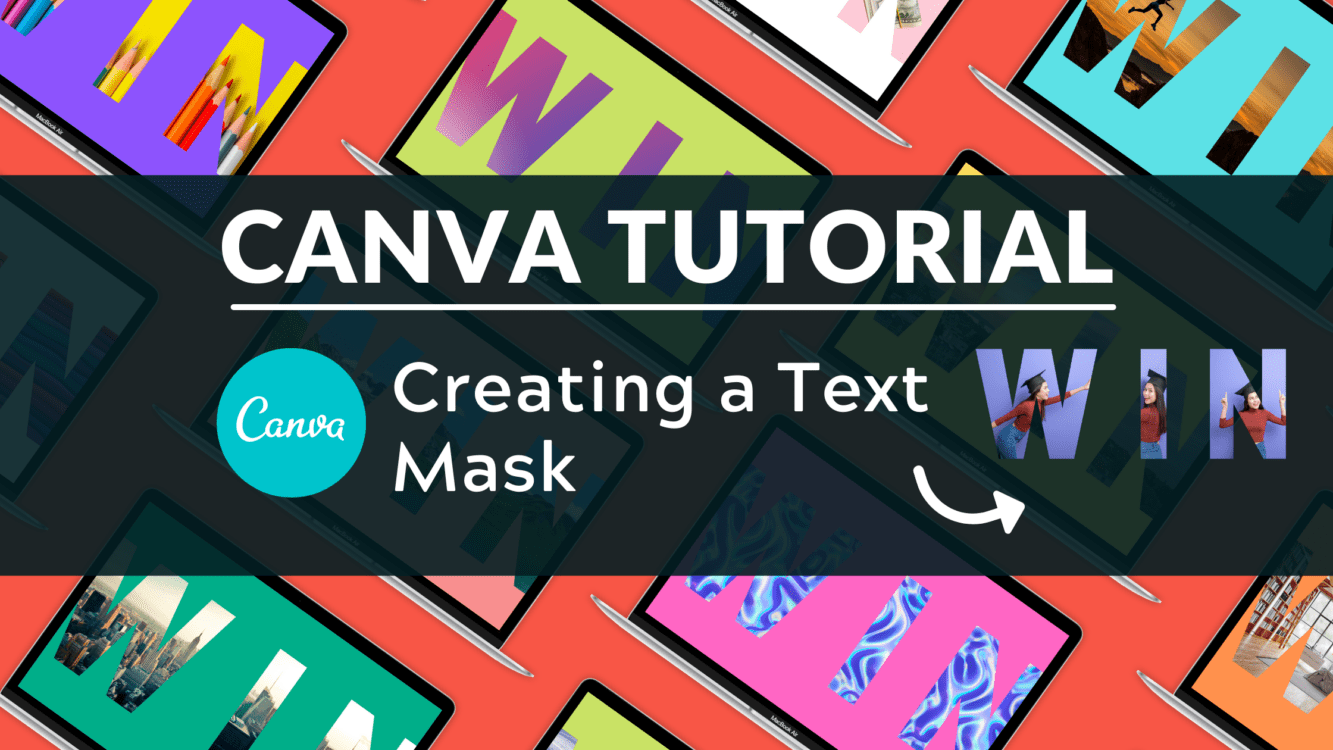
Text masking (also known as “knockout text”) is a technique allowing designers to display images, gradients, patterns, and even videos inside the shape of a piece of text. This Canva tutorial will teach you how to create a text mask in Canva, in just a few, simple steps!
20. Use Canva Filter Codes for Consistency

Using filters properly is an amazing way to improve your graphics and ensure consistent branding. It’s like having a pro-design trick up your sleeve. Canva filters codes are a great way to customize any image or graphic design.
21. Mix Photos and Illustrated Elements

One of my favorite Canva design tricks is to incorporate illustrated elements with traditional stock photos. For example, in my featured blog image for my article comparing Substack vs. Patreon, I have added text (in white) and an illustrated squiggle/underline (in yellow). This tends to work well with high quality stock photos that contain ample blank space (as is the case with the photo of the hot air balloon in the sky).
22. Use Magic Resize Tool

The Canva Pro Magic Resize Tool can save time by creating one design, then magically resizing it with just one click. The Magic Resize Tool takes the guesswork out of resizing designs and documents—the perfect dimensions for each platform are already pre-set. The best part is, you can resize social media posts without stretching or cutting-off images so you look professional with every post.
23. Use High Quality, High Resolution Images (Unsplash)

The photos included with Canva are great. However, since the search function in Canva tends to steer users toward a small group of popular images, this leads to the same stock images being used over and over. Additionally, while some Canva stock images are high quality and high resolution, there are some that only work in limited dimensions since they can’t be enlarged.
My solution to this?
Mix-in images from Unsplash, a royalty free image platform. What I really like about Unsplash is that:
- It’s free.
- The images are all high resolution (the minimum upload size of images is one of the largest on the internet).
- The Unsplash platform moderators are pretty good about only accepting and promoting colorful, original, and vibrant images.
I’m such a fan of these free images, I have put together some collections of images from Unsplash. Feel free to check them out!
24. Use Frames to Customize Images
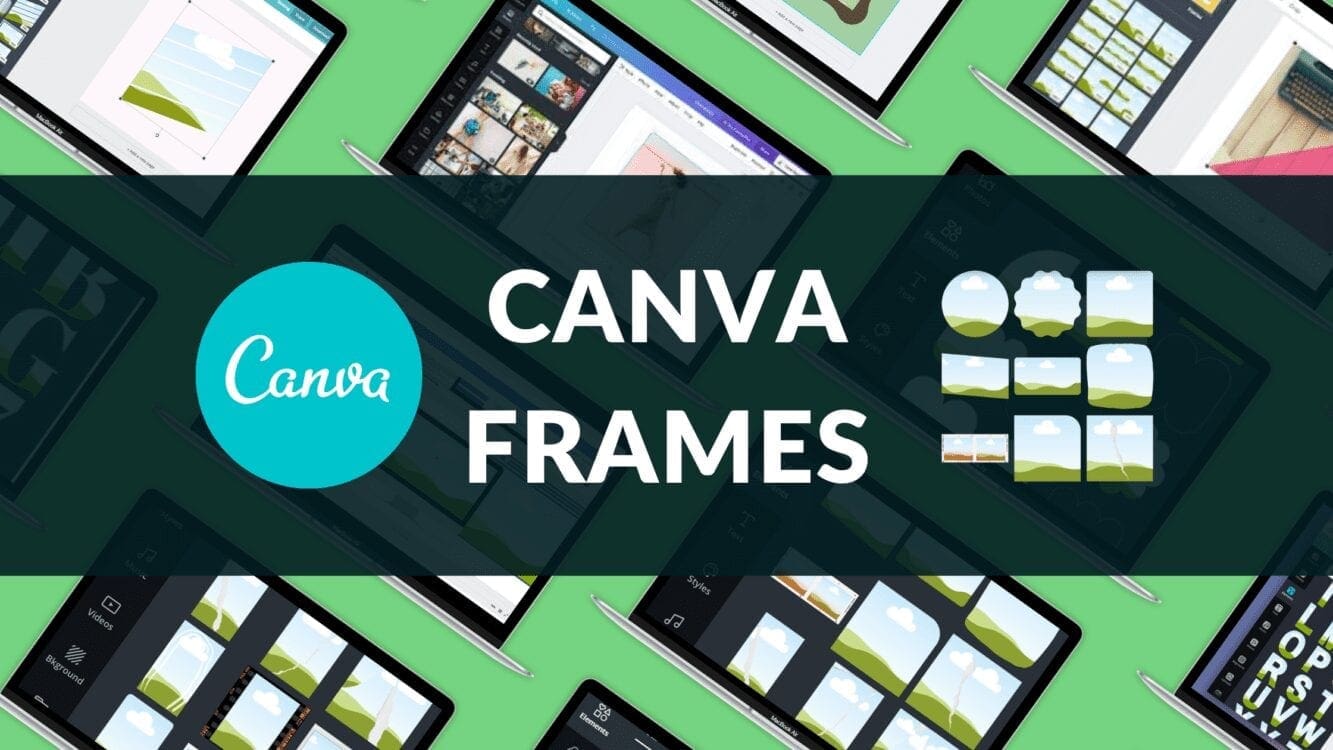
Canva Frames allow you to crop images and videos to their shape.
Create or open an existing design to add a frame, and refer below for ways of customizing it:
Add image or media
- Click the Photos tab from the side panel.
- Use the search bar to look for specific photos, or click the category buttons below the search bar to easily browse photos by category.
- Drag an image to the frame, and drop to add it.
You can add filters or effects, and adjust the settings and transparency of added images.
You can also drag videos and uploaded media to frames to add them.
Resize and reposition added media
- Click to select the image or video you want to adjust.
- Click Crop from the toolbar above the editor.
- Hold any of the white circle handles on the corners, and drag in or out.
- Click Done from the toolbar to apply the changes.
25. Rotate and Flip Elements

Create or open an existing design, and refer below for flipping and rotating elements:
Flip elements
- Click to select the element you want to flip.
- On the toolbar above the editor, click Flip.
- Select Flip Horizontal to flip it right side left, or Flip Vertical to flip it upside down.
Rotate elements
- Click the element, textbox, image, or video that you want to rotate.
- Click and hold the rotating arrows that appear outside the border of the selected element. Drag left or right to rotate.
- Click outside of the selected element to finish.
26. Use Grids to Organize Images
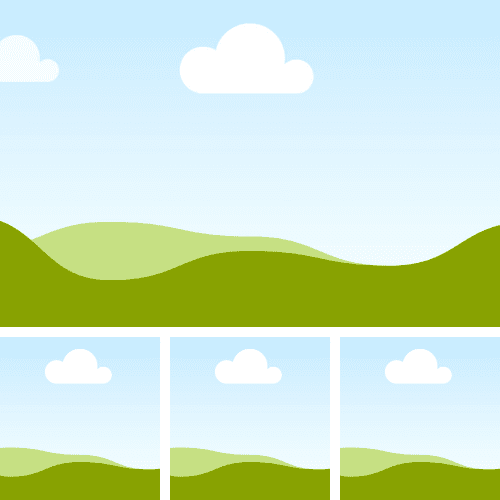
Grids in Canva act like a frame for you to drop images into. In terms of composition, it can be used to stretch images across your entire design, place multiple images together or crop images.
The most commonly used grid is the single frame grid. Whenever you are using an image as a background, you should always apply one of these grids to your designs. This will allow you to drag and drop different images, but retain unique filter codes or effects.
27. Lock Element or Image Positions

Lock elements to avoid making unintentional changes to them while you edit other parts of your design:
- Create or open an existing design.
- Click to select the element you want to lock. You can also hold Shift on your keyboard, and click on multiple elements to select them.
- Click Lock or the padlock icon on the toolbar above the editor.
To unlock, click to select the locked elements, and click the padlock icon again.
Canva Tips & Tricks Conclusion
Canva is an amazing graphic design tool, and I hope you found this series of Canva tips and tricks useful. I personally use these Canva tips on a regular basis and have found that they save me hours of time per week! If you want to learn more about Canva design tips, check out our Canva tutorials.
If you haven’t already, I would highly recommend trying out the free version of Canva. And if you want access to even more features, consider upgrading to Canva Pro.
I’ve written a detailed review of Canva Pro, if you are curious about what the difference is between the free version of Canva and Canva Pro.
Below are several Canva and graphic design-related articles that you might find useful:
